This post may contain affiliate sales links. Please see our full disclosure policy for details.
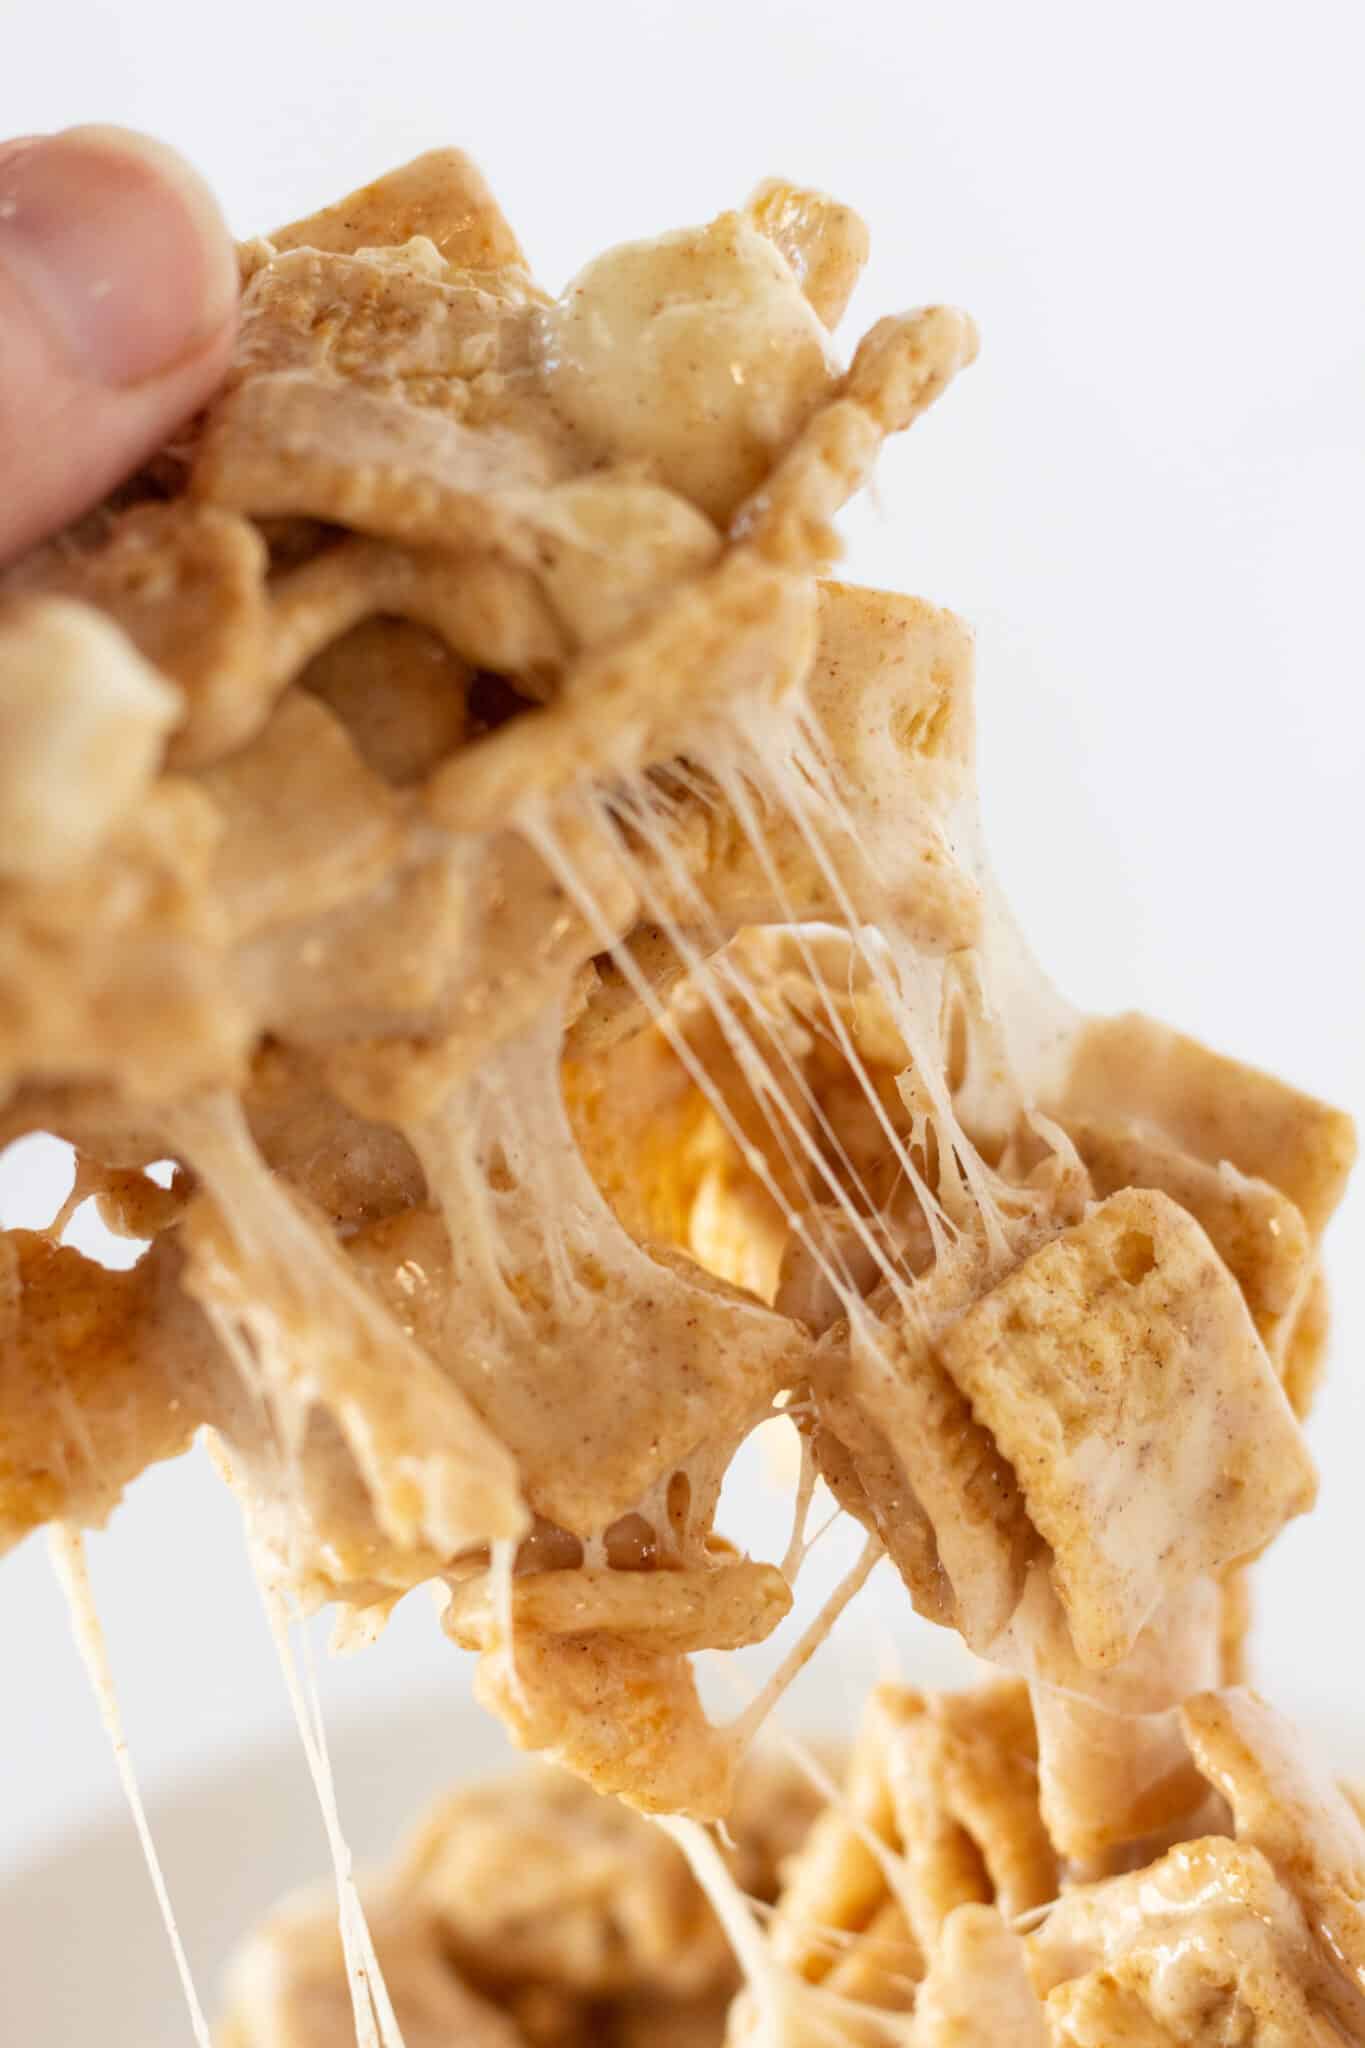
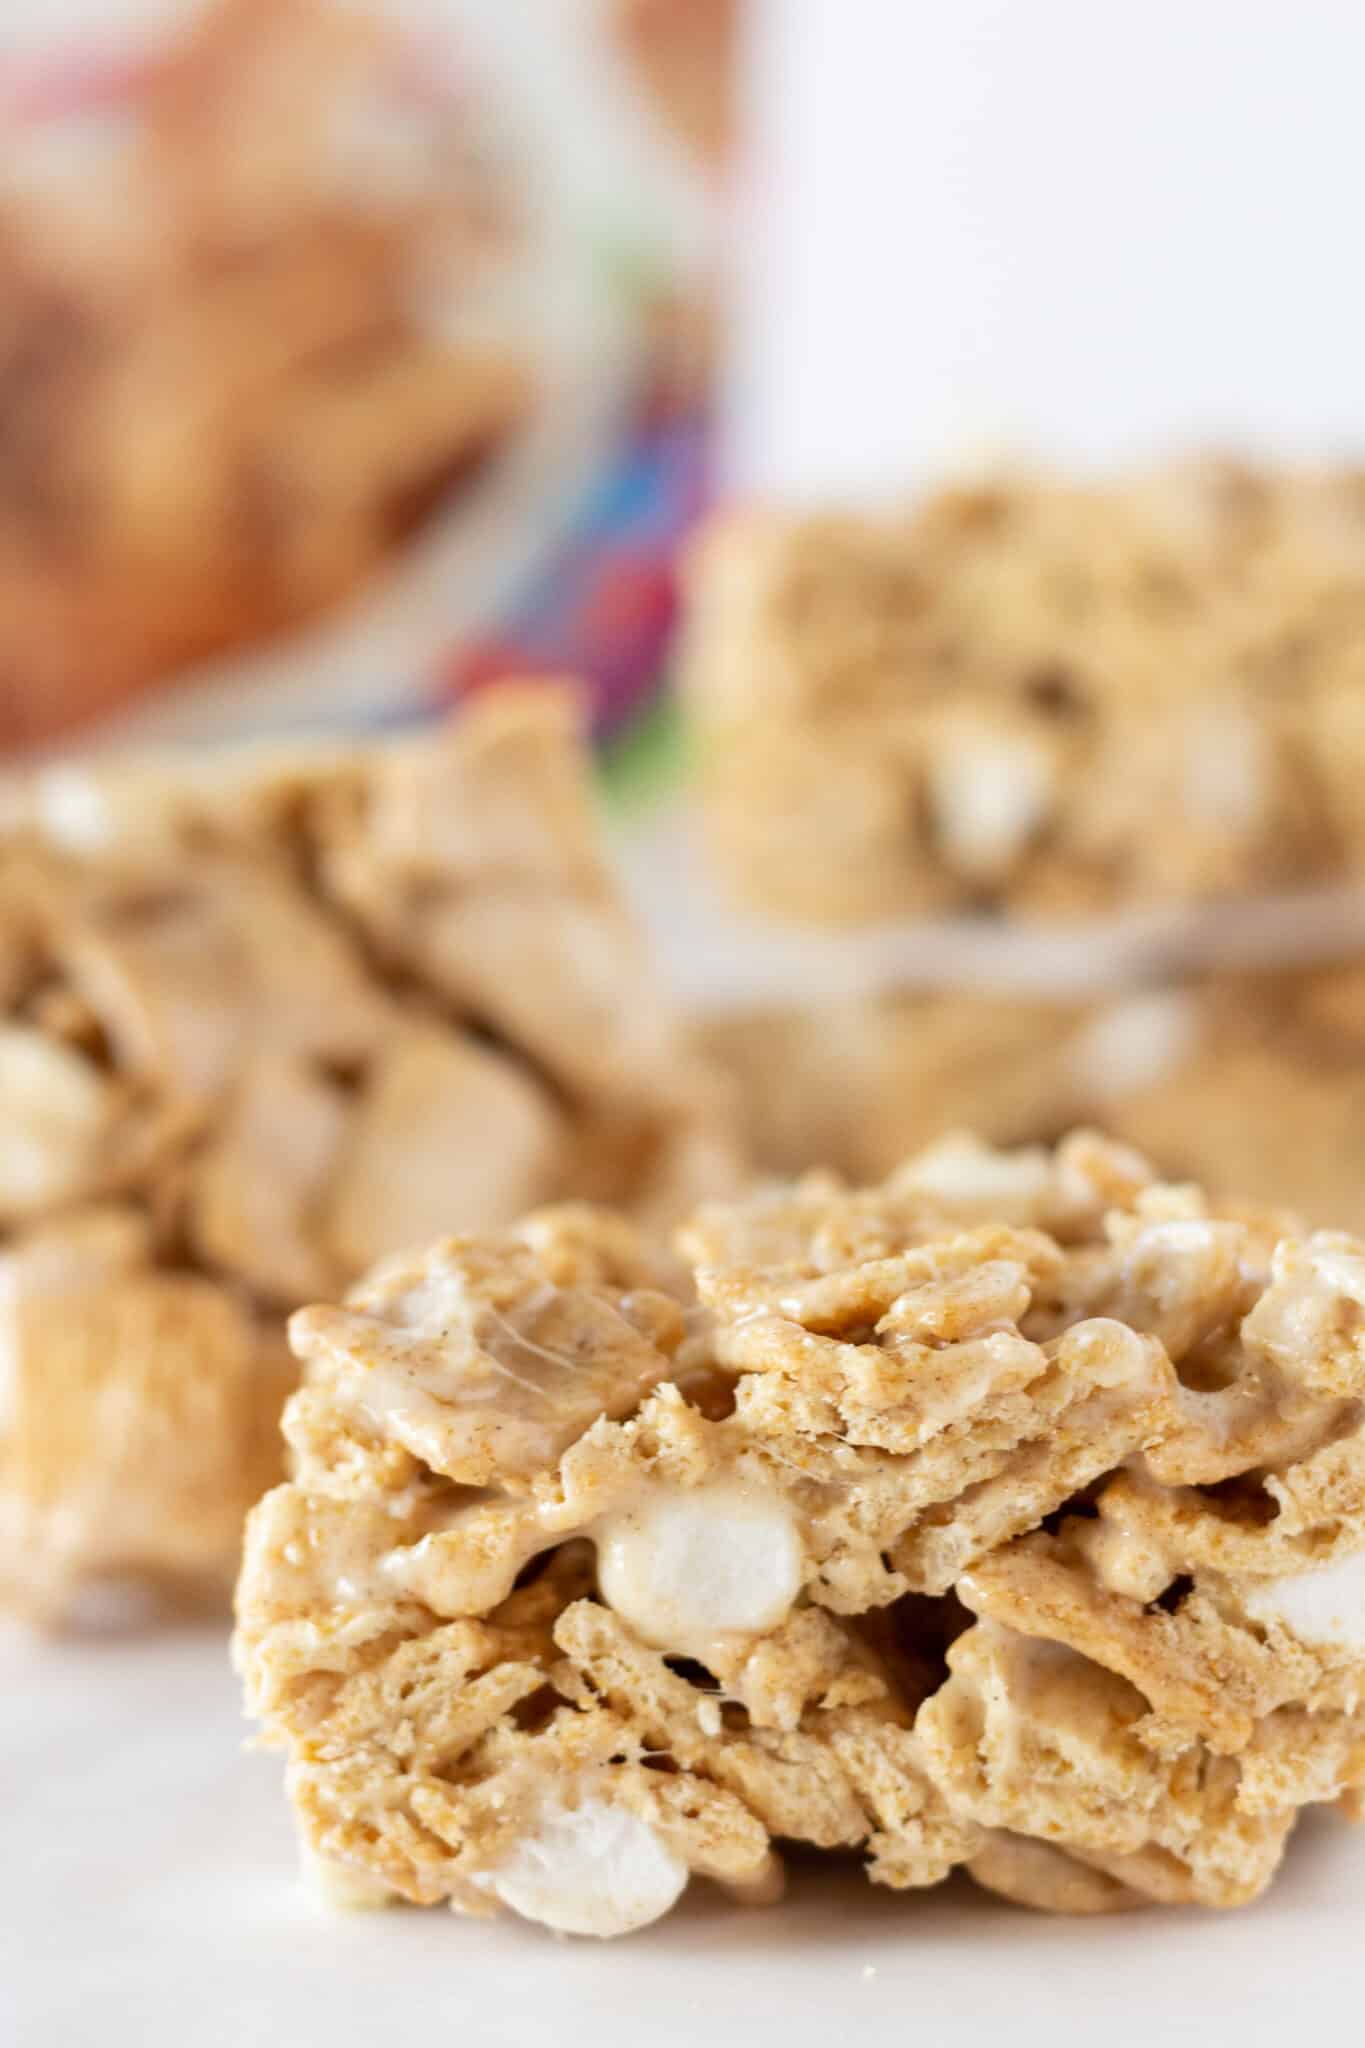
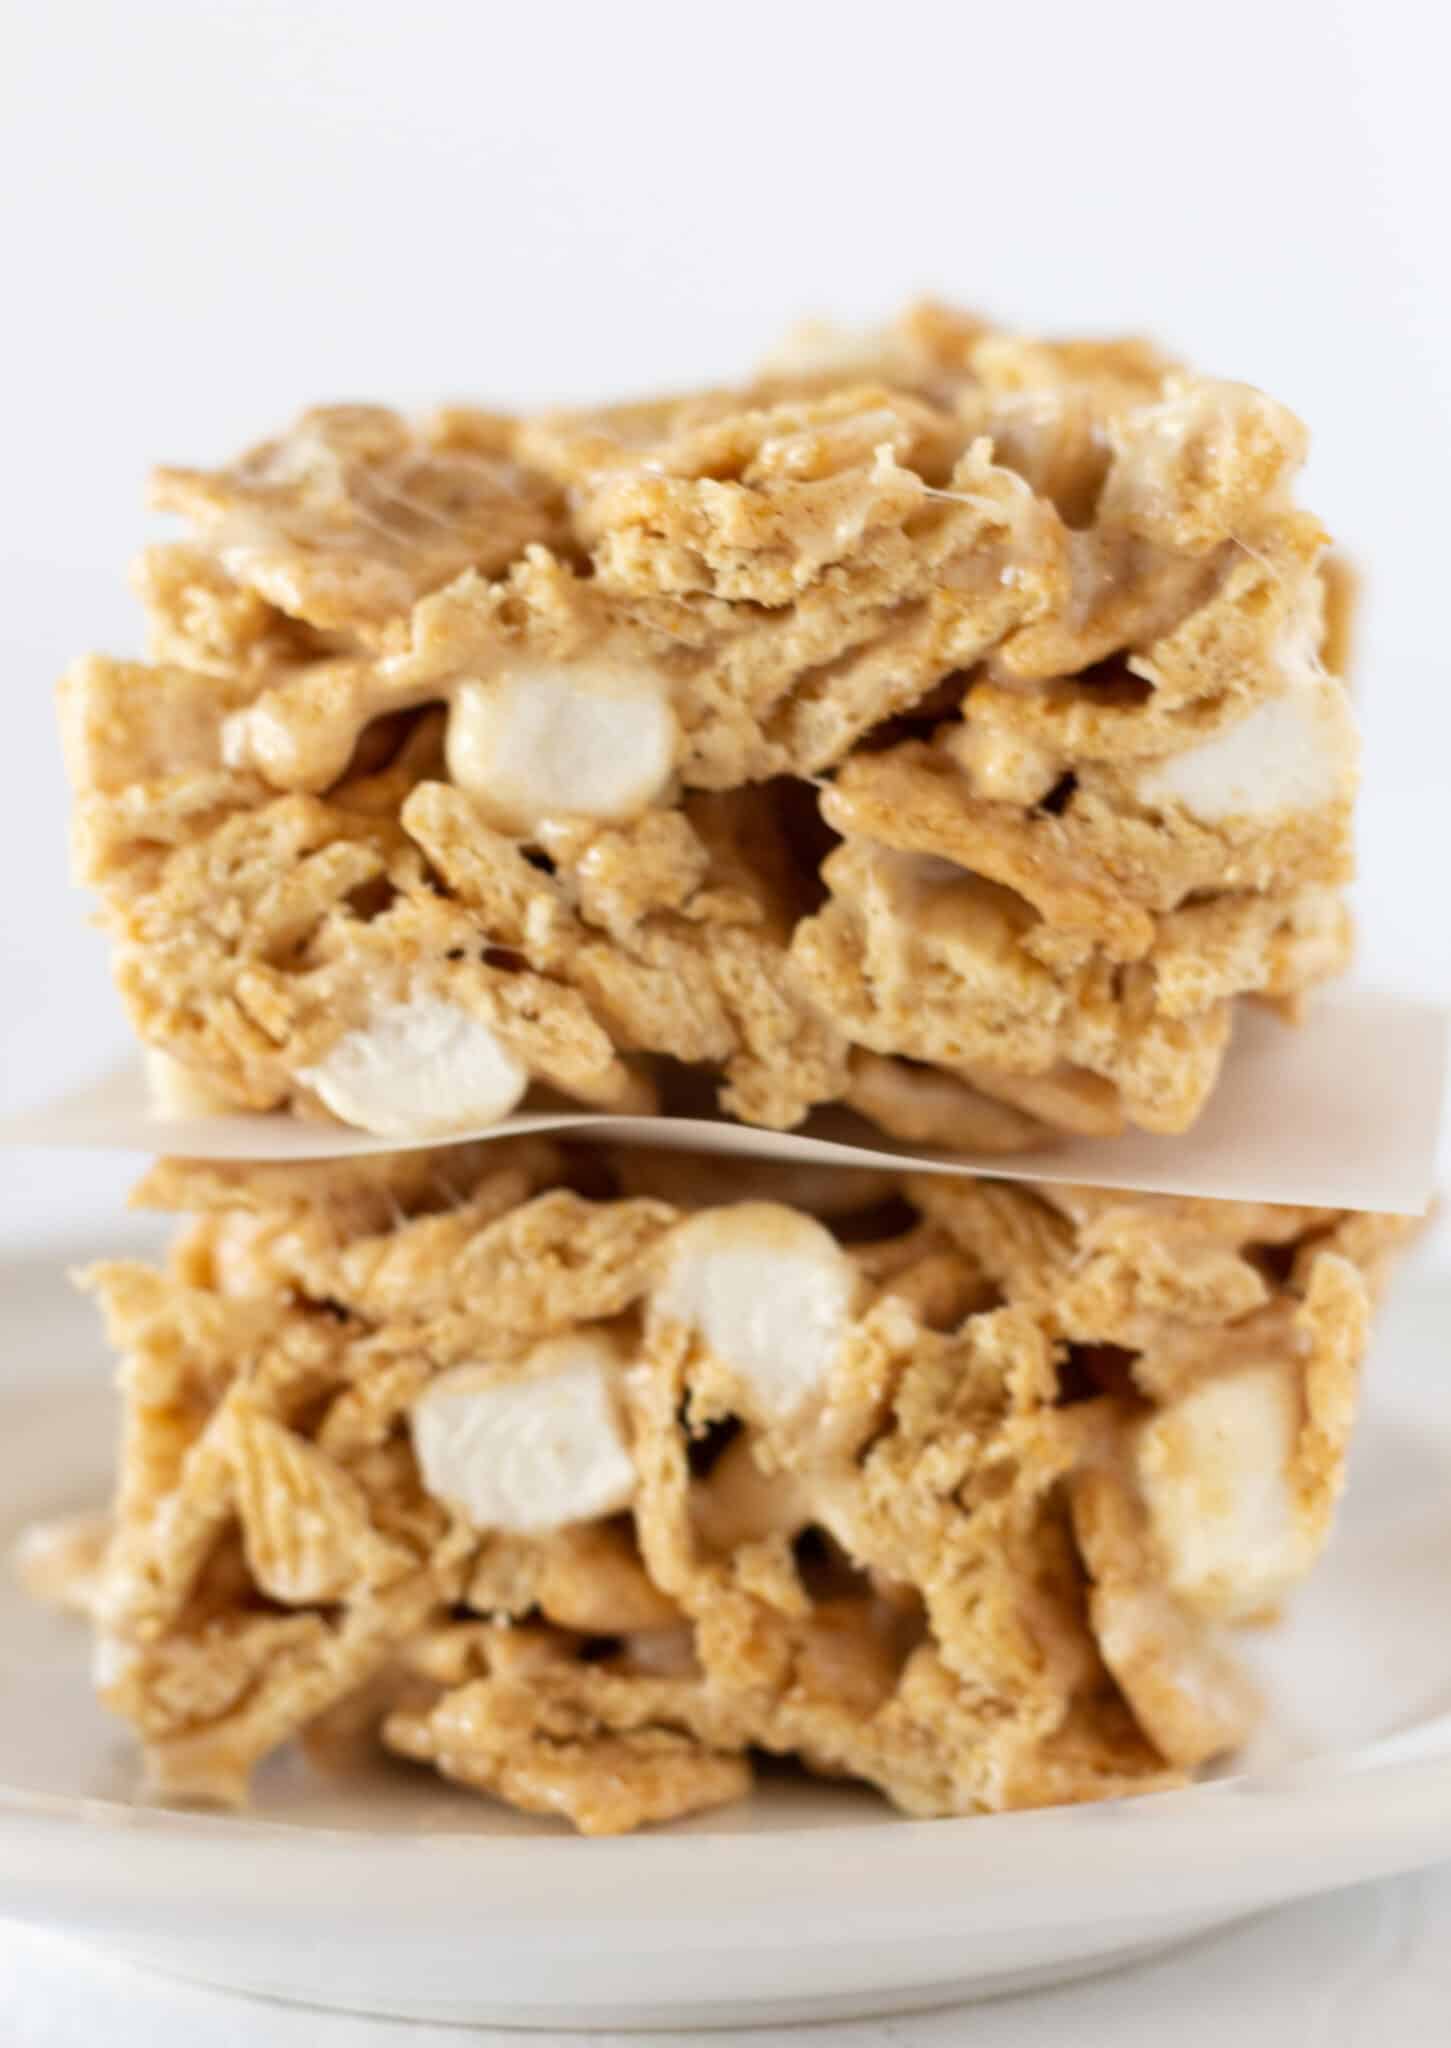
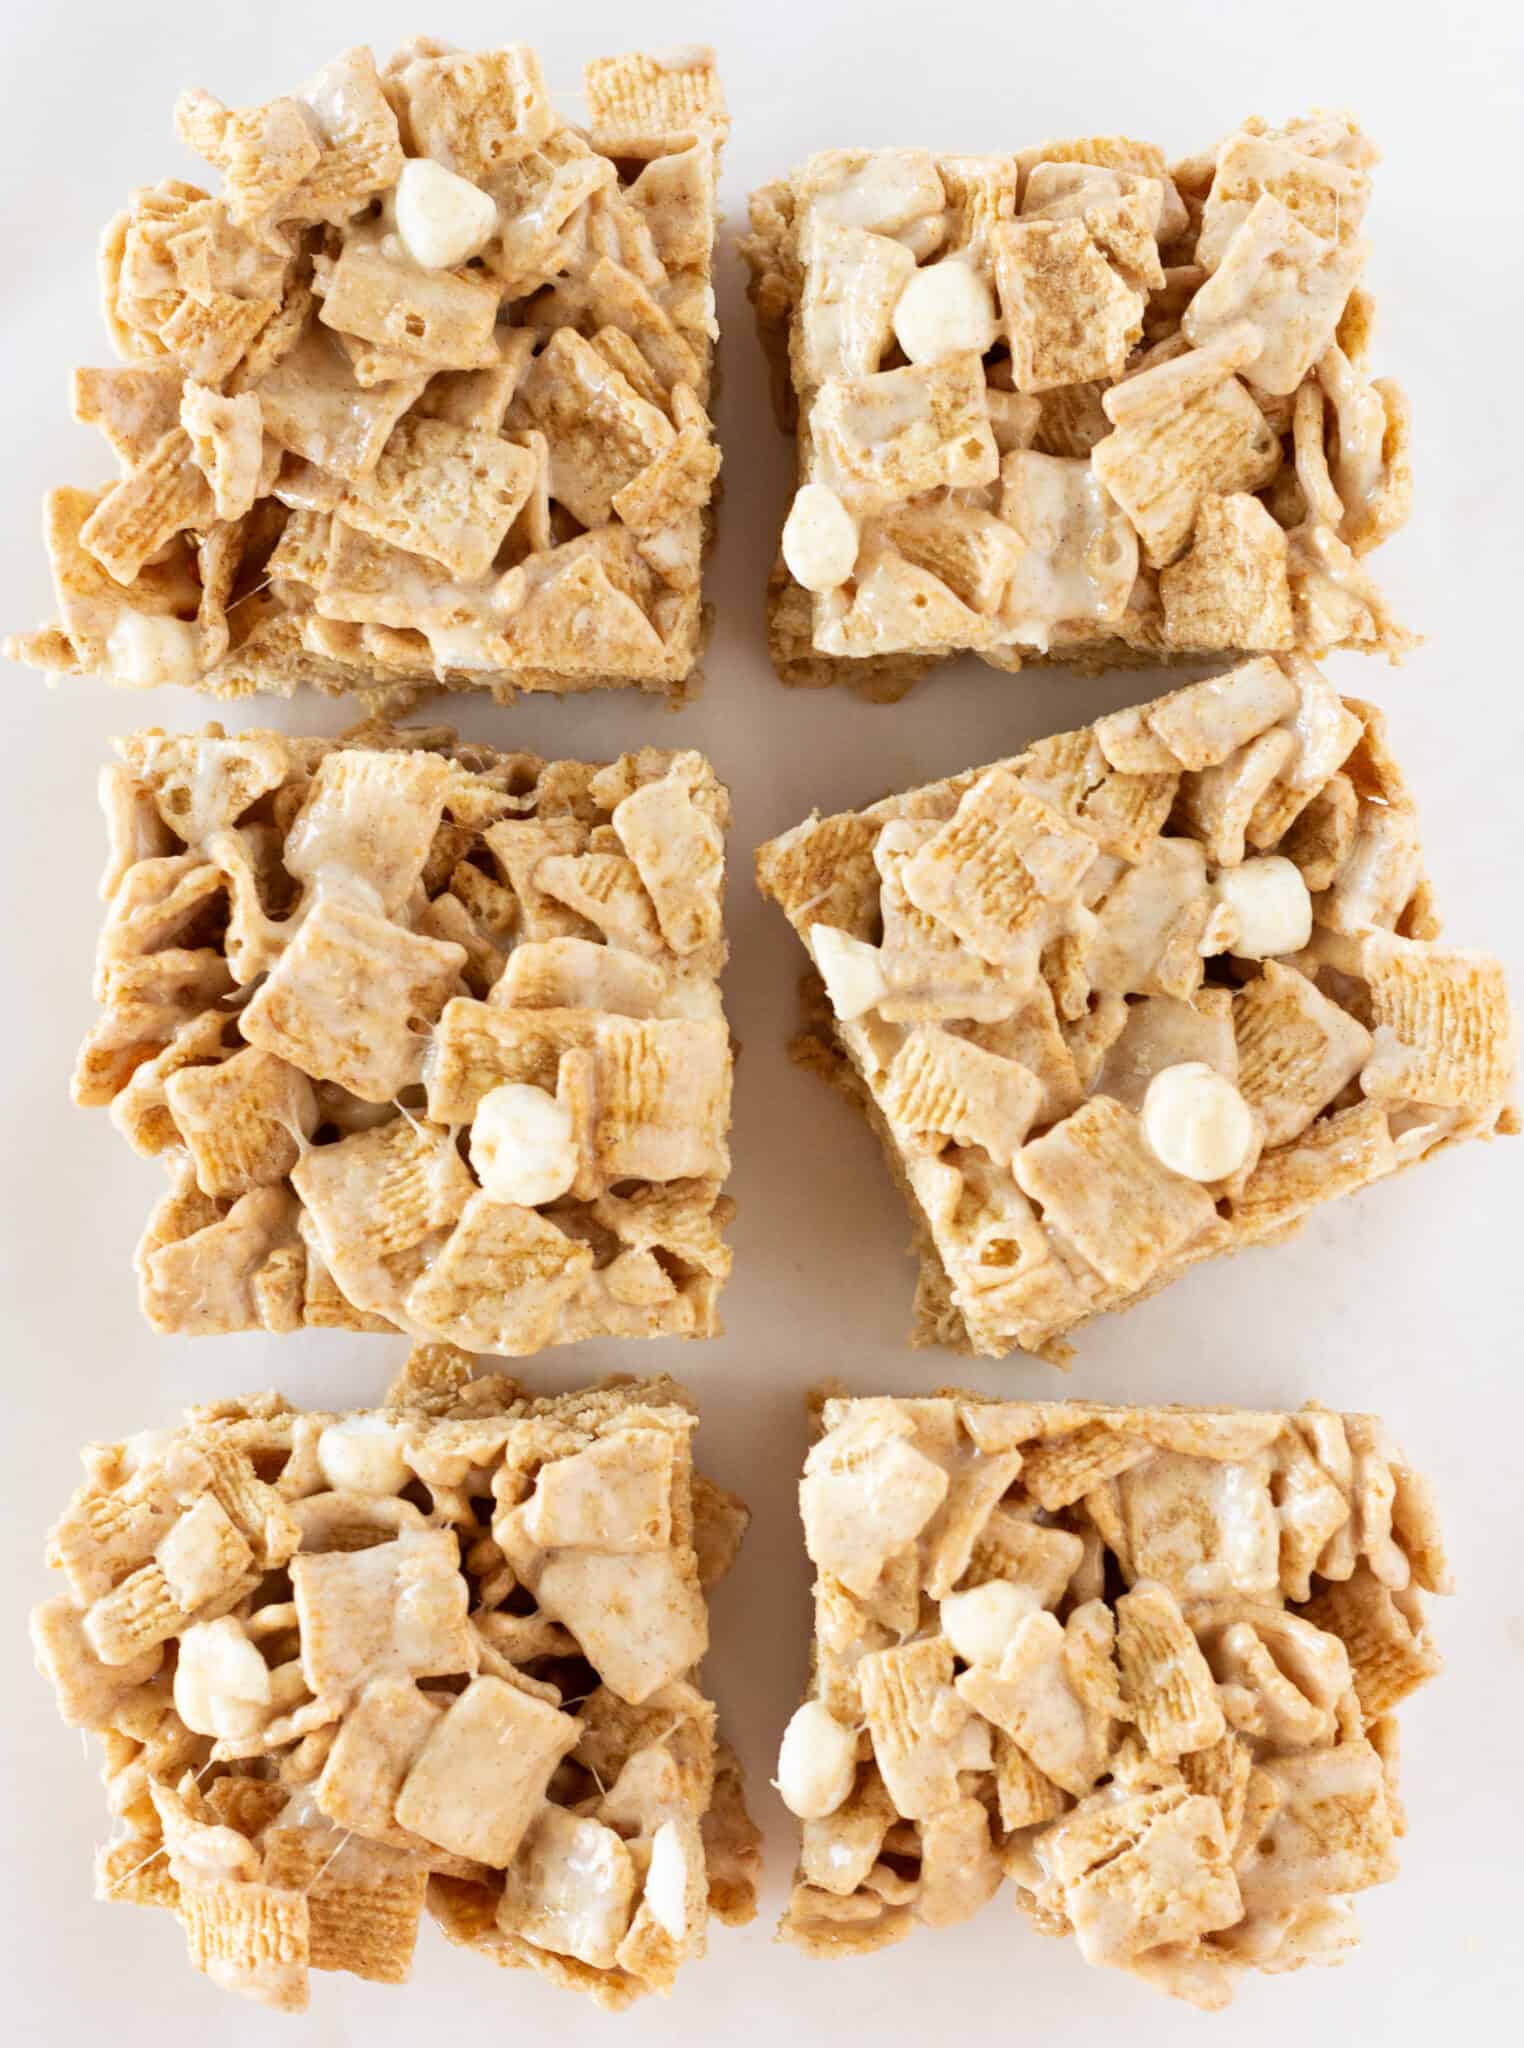
Turning Cinnamon Toast Crunch cereal into a No Bake Bar Cookie recipe was a total no brainer. They are like a Rice Krispie Treat…only better! Between the crispy cereal squares that are loaded with cinnamon sugar and the melted marshmallow mixture, these Bars can’t be beat!
Do you love cereal recipes? Try my Homemade Cookie Crisp Cereal!
Thank you so much for stopping by! This post contains affiliate links, I receive a small amount of compensation if you choose to purchase from my links (for example – as an Amazon Associate I earn from qualifying purchases). I only link to products that I know and love!
No Bake Cinnamon Toast Crunch Bars
The best part about these No Bake Cinnamon Toast Crunch Bars is that they only require 3 ingredients.
Being able to make such a tasty treat with a handful of ingredients and without turning on the oven is a total triumph {or at least it is in my opinion}.
Ingredients Needed to Make Recipe
- Cinnamon Toast Crunch Cereal-you will need a 12 oz. box or about 8 cups.
- Mini Marshmallows-use a 10 oz. bag, making sure to reserve 2/3 cup.
- Butter-I prefer to use salted butter but you can always use what you have on hand.
How to make Cinnamon Toast Crunch Bars
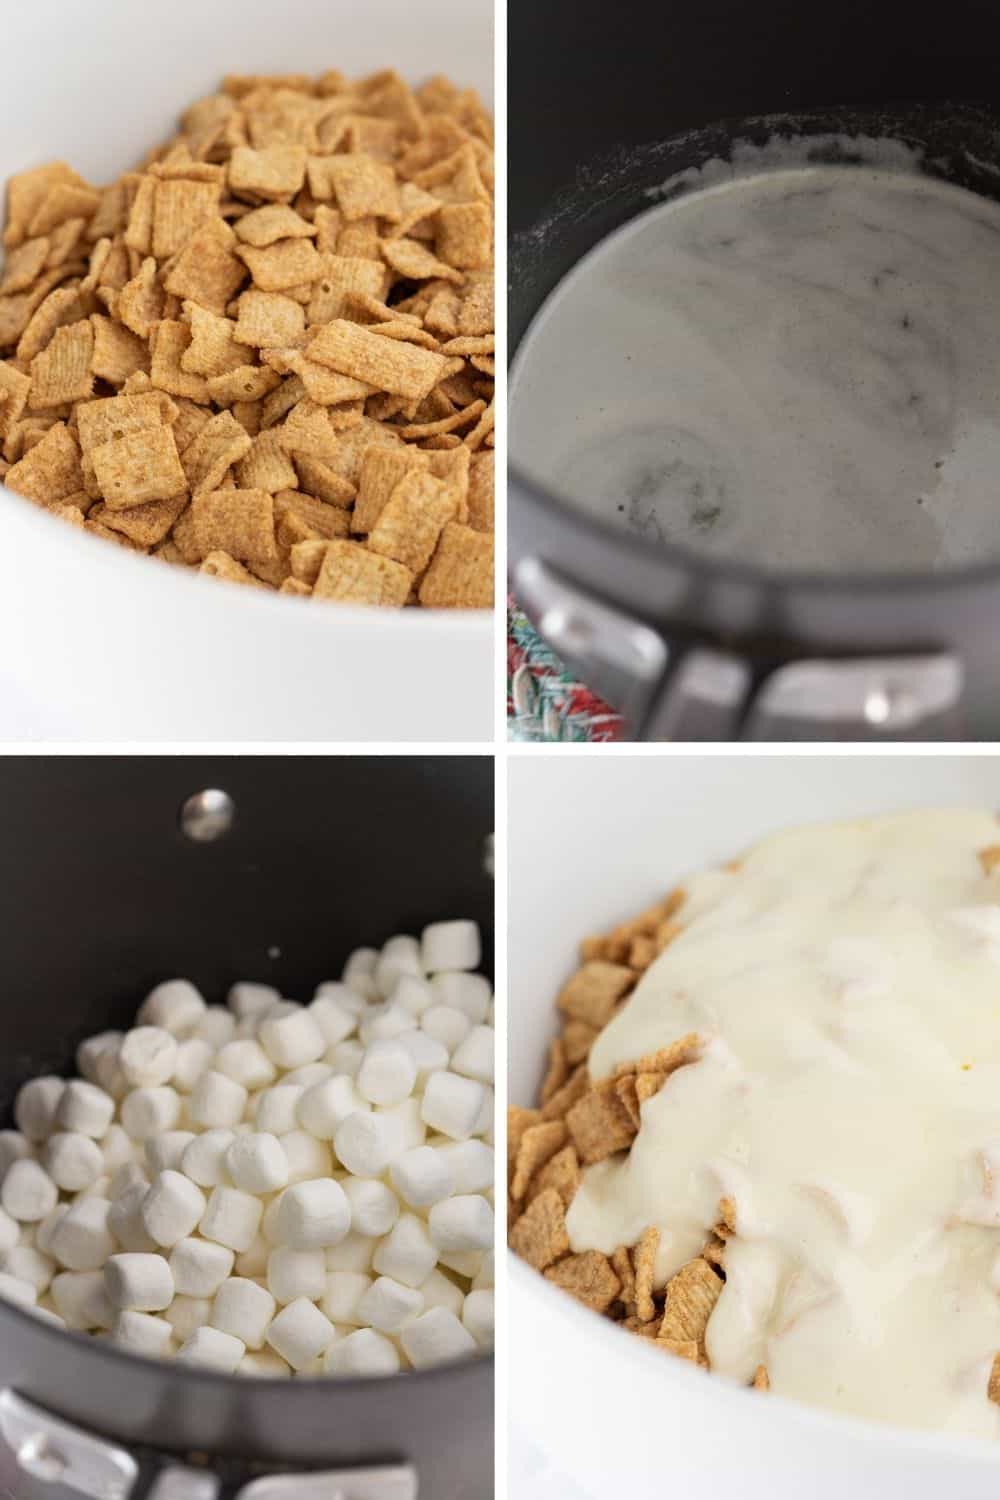
- Pour the Cinnamon Toast Crunch cereal into a large bowl.
- Melt the butter in a medium saucepan over medium low heat. Don’t turn it on too high, low and slow is the best way to go.
- Once the butter is melted, add the marshmallows {reserving 2/3 cup}. Continue to cook over medium low heat until the marshmallows have melted.
- Pour the melted butter and marshmallow mixture over the cereal.
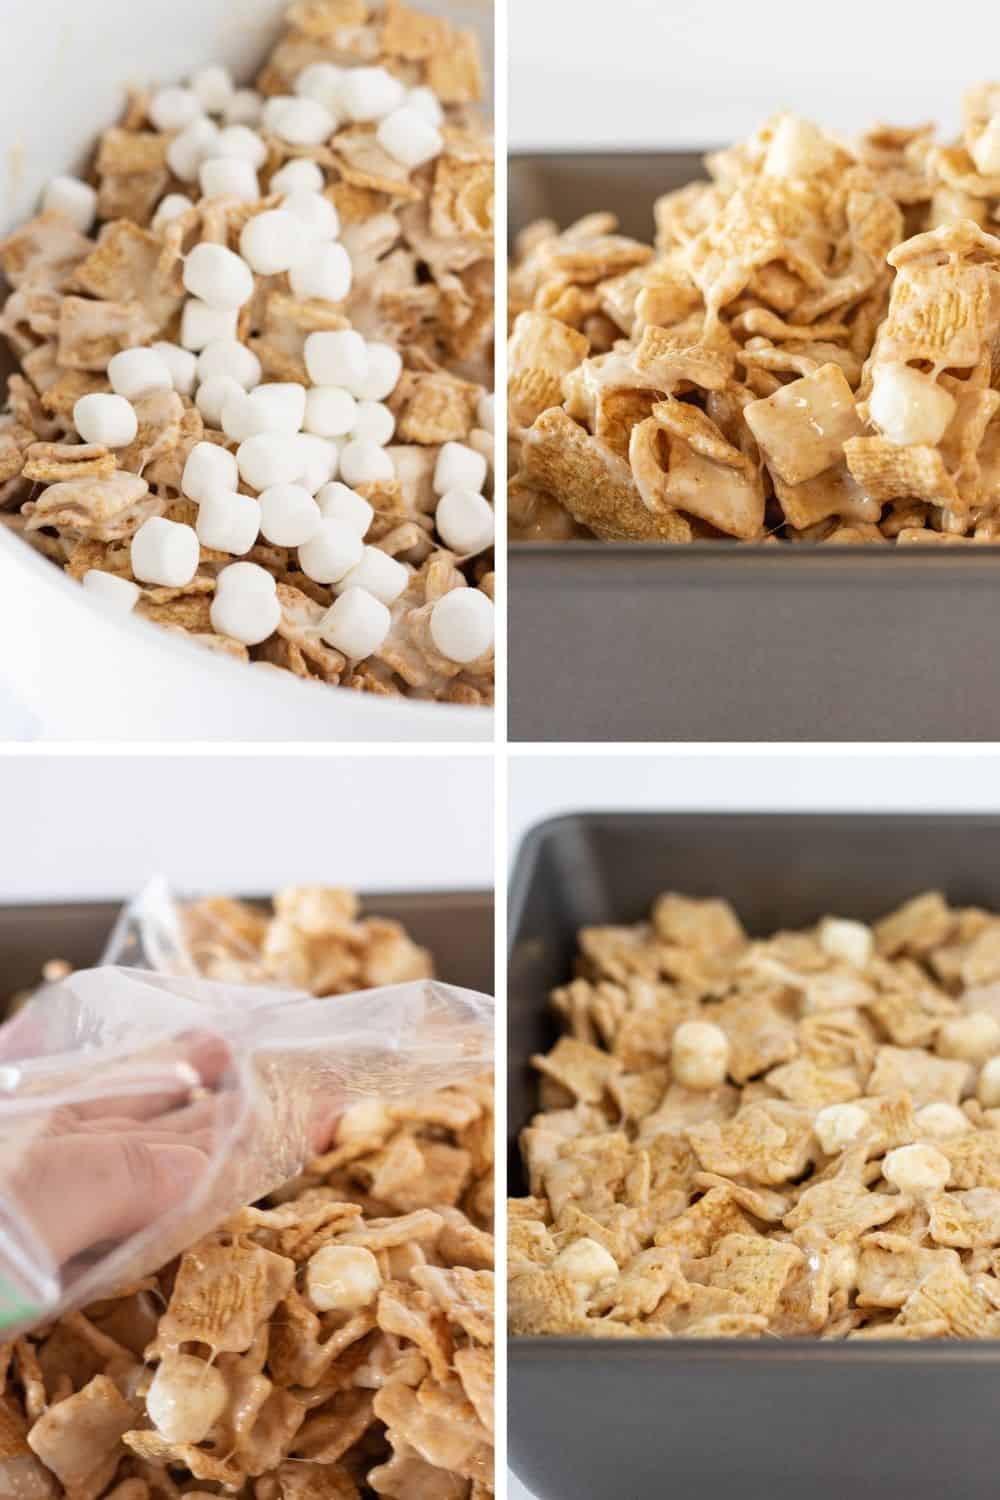
- Stir the melted marshmallow mixture into the cereal carefully, being sure to not break the cereal.
- Add the reserved mini marshmallows and stir them in until they are evenly incorporated.
- Pour into a 9×9 pan that has been sprayed with nonstick spray.
- Press the mixture down into the pan. I like to use a zipper bag that I have sprayed with nonstick spray so that it doesn’t stick to my hand.
Frequently Asked Questions:
Can you use other cereals for the bars?
Yes, you could use other cereals instead of Cinnamon Toast Crunch. Fruit Loops, Captain Crunch, Apple Jacks, Cocoa Pebbles and Honey Grahams would all be good.
Can you make Cinnamon Toast Crunch Bars ahead?
Yes. I like to make them a day ahead of time so that they have time to set up properly.
Can I use large marshmallows instead of mini?
Yes. You can use large marshmallows. Use a 10 oz. bag of large marshmallows. If you want the marshmallows to add at the end, hold out 5 large marshmallows and cut them into small pieces.
How do I store my No Bake Cinnamon Toast Crunch Bars?
Store them in an airtight container at room temperature. Use a piece of wax paper or parchment between layers to be sure that they don’t stick together.
Tips for Making Cinnamon Toast Crunch Bars
- Be sure that you spray the 9×9 pan liberally with non-stick spray before adding the Cinnamon Toast Crunch mixture.
- Press the bars firmly into the pan. This will ensure that the bars hold together well.
- Allow the bars to set up for at least 1 hour before cutting. I prefer 4 hours to overnight but just be sure you aren’t cutting them too soon.
- Store in an airtight container to ensure that the no bake bars don’t get stale.
Do you love fun desserts? Try these recipes…
- Hostess Cupcake Cookies
- Texas Sheet Cake Bundt Cake
- Reese’s Peanut Butter Cookies
- Cosmic Brownie Cookies
- Muddy Buddy Cookies
- Chocolate Rice Krispie Treats
No Bake Cinnamon Toast Crunch Bars Recipe
Ingredients
- ½ cup butter
- 10 oz. bag mini marshmallows
- 12 oz. box Cinnamon Toast Crunch Cereal
Instructions
- Spray a 9x9 baking pan liberally with non stick cooking spray and set aside.
- Pour the Cinnamon Toast Crunch cereal into a large bowl and set aside. Open the marshmallows and reserve ⅔ cup.
- Add the butter to a medium saucepan and melt over medium-low heat. Pour the marshmallows {except for the reserved amount} into the melted butter and continue to cook over medium-low heat until melted.
- Pour the melted butter and marshmallow mixture over the Cinnamon Toast Crunch Cereal and stir to combine {making sure to not break up the cereal as you stir}. Once combined, add the reserved marshmallows and stir until evenly incorporated.
- Pour the mixture into the prepared 9x9 baking pan and press down firmly. NOTE: I like to use a zipper bag over my hand that is sprayed with non stick spray to be sure it doesn't stick.
- Cover and allow the no bake bars to set up at room temperature for 4 hours to overnight. Store the leftovers in an airtight container for up to 3 days. Use parchment or wax paper between layers.
Nutrition
Nutrition information is automatically calculated, so should only be used as an approximation.

