This post may contain affiliate sales links. Please see our full disclosure policy for details.
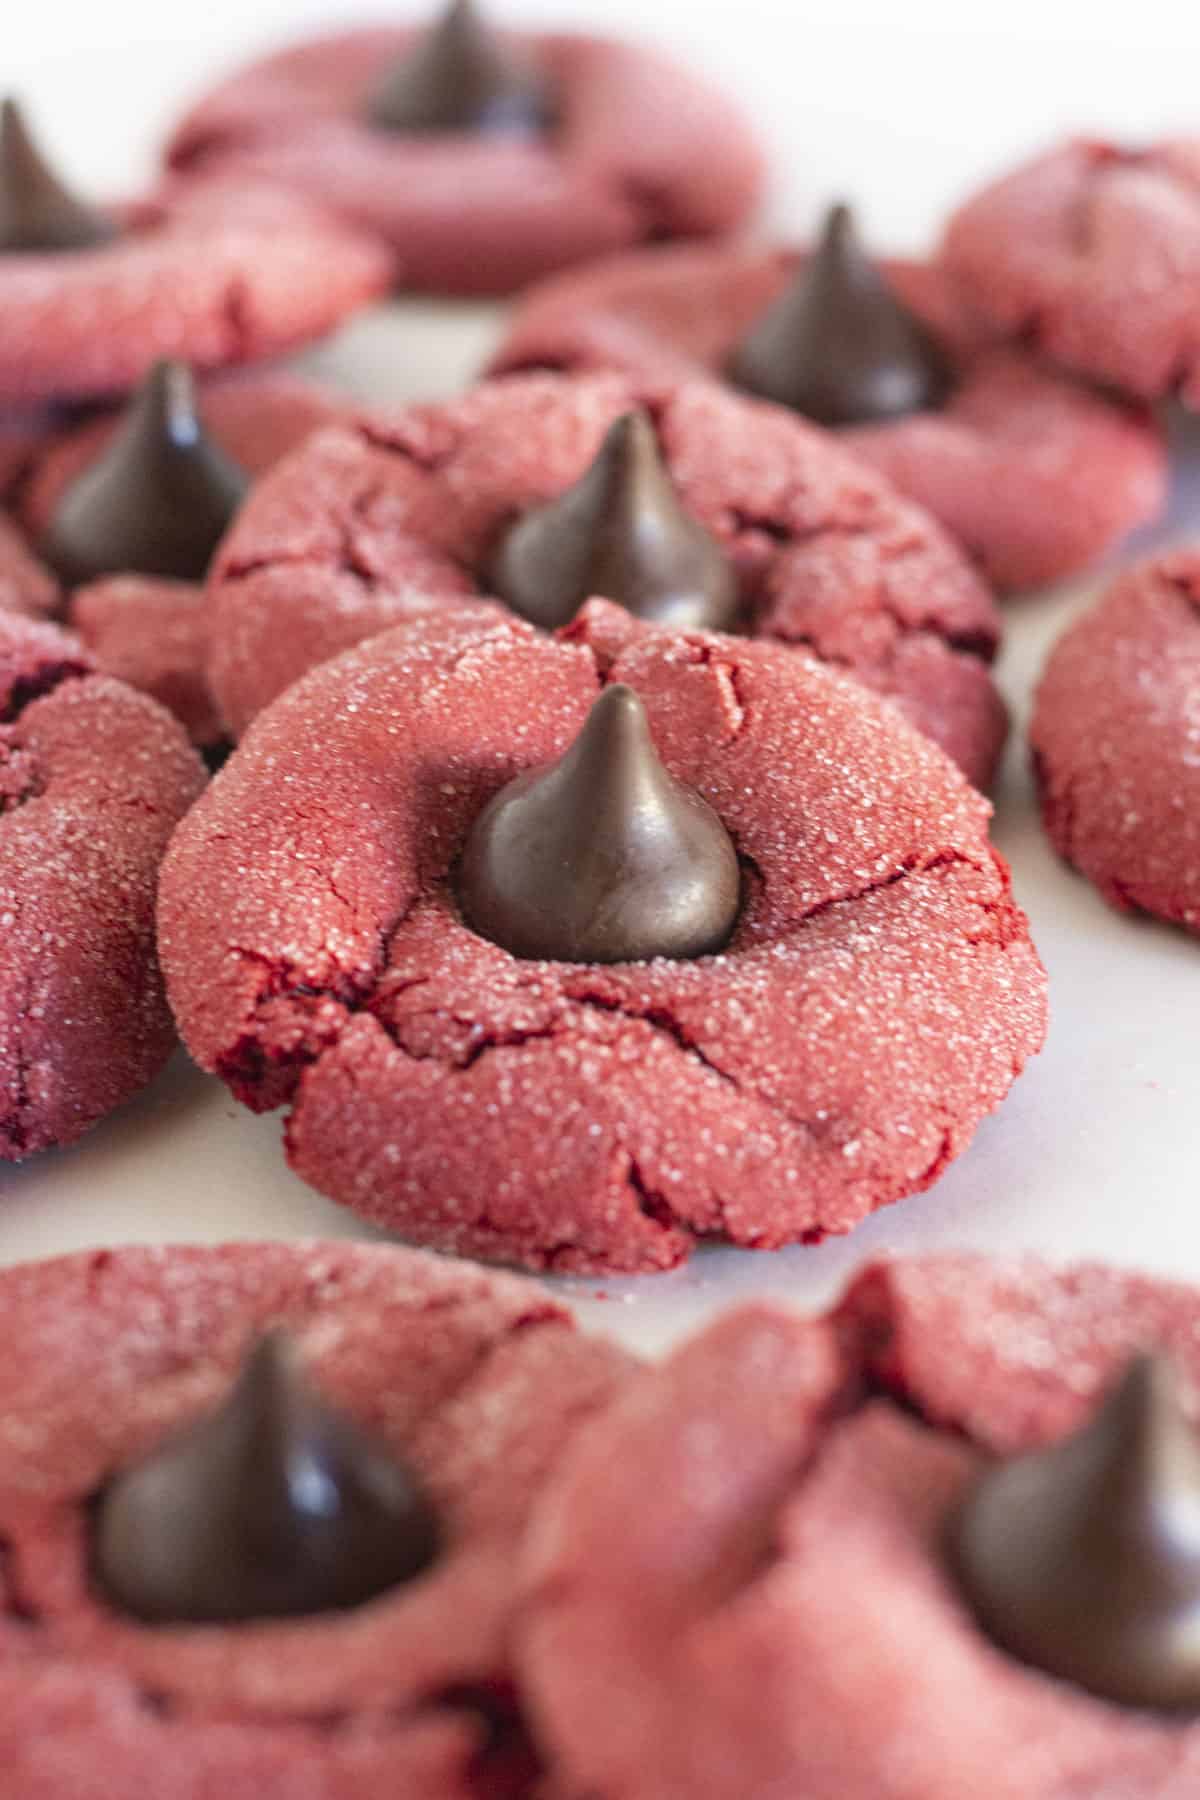
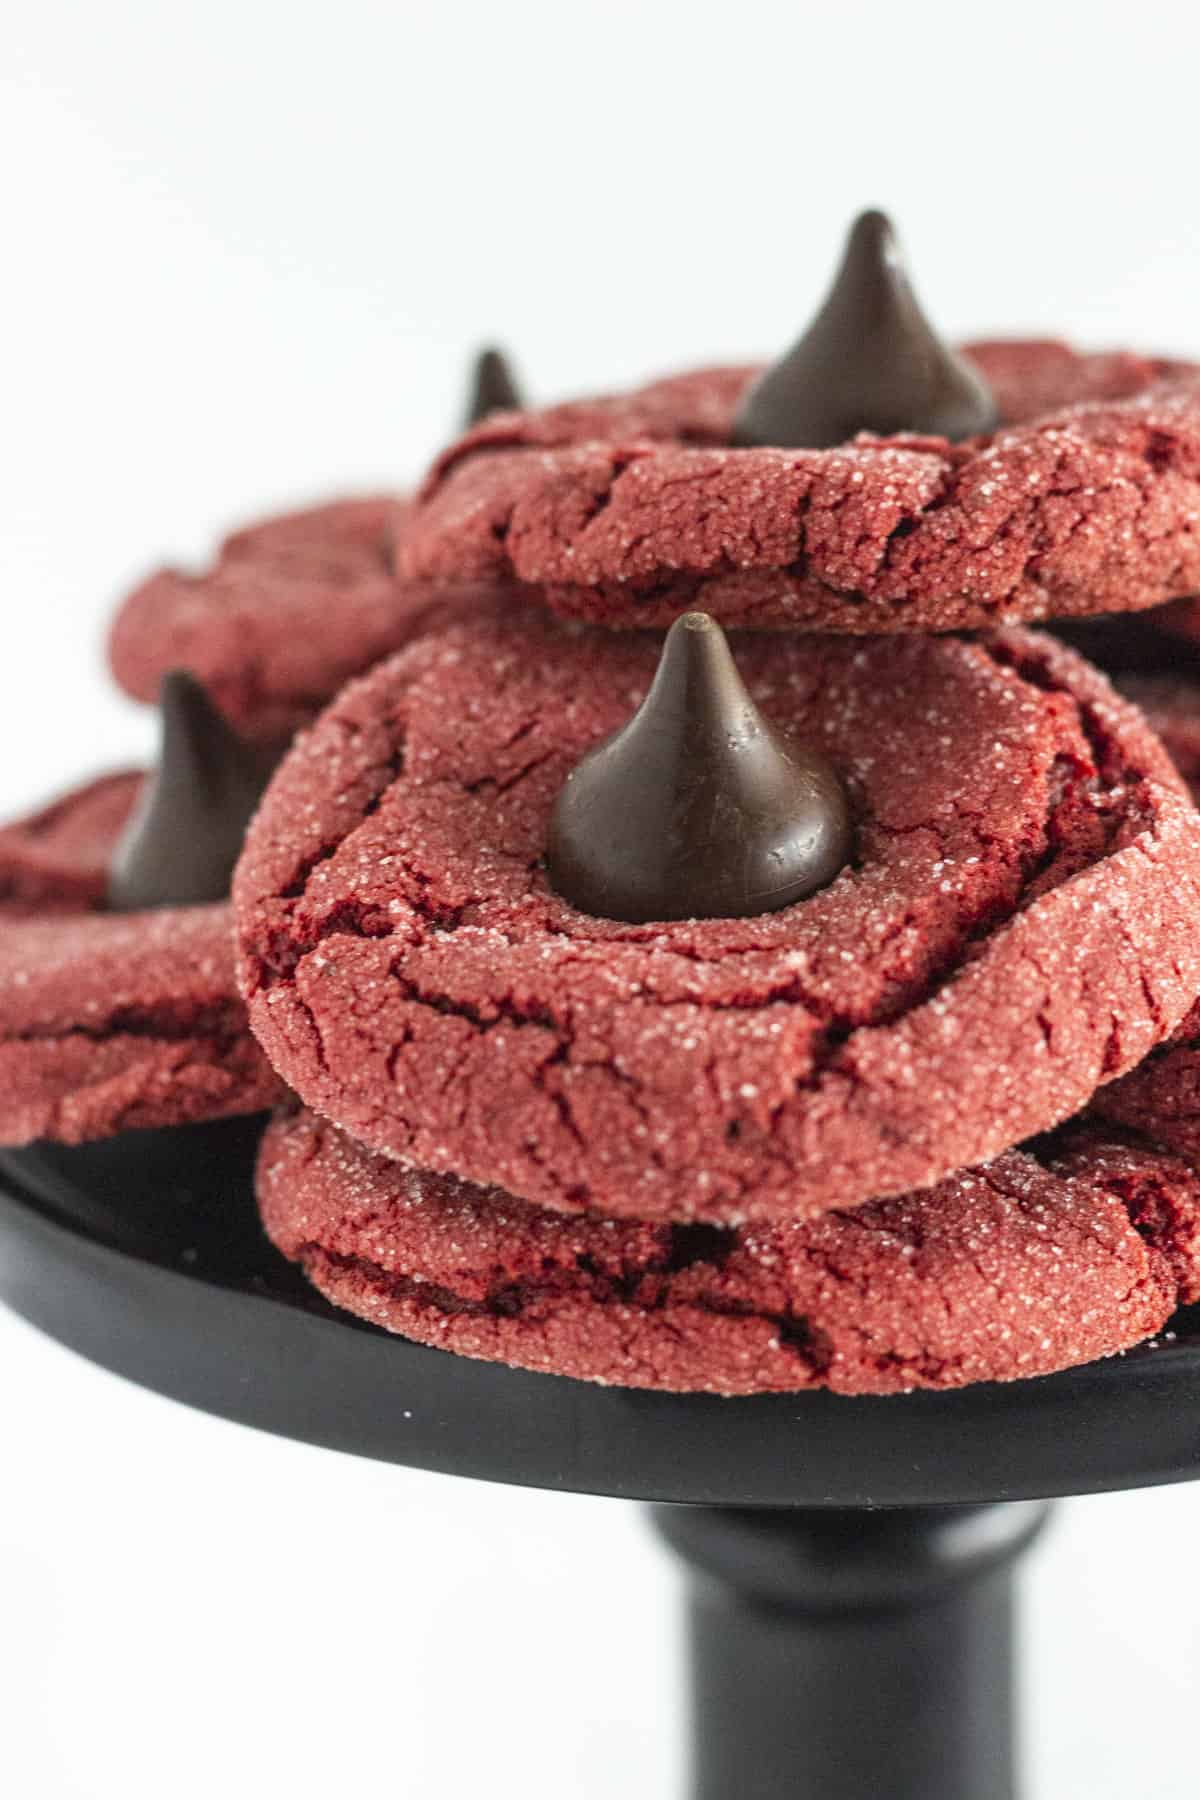
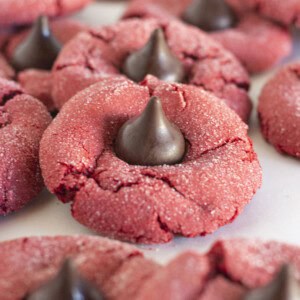
These Red Velvet Kiss Cookies are soft, thick, and slightly cakey with the perfect balance of chewy texture. Made with a box of red velvet cake mix, they’re easy to make and incredibly reliable — no extra food coloring required. Rolling the dough in sugar creates a lightly crisp exterior, while a Hershey’s Kiss pressed into the center adds the perfect chocolate finish.
If you’re searching for classic red velvet blossom cookies with Hershey’s Kisses, this shortcut version delivers the same festive look and rich red velvet flavor with fewer steps and less fuss. The dough can even be chilled to help prevent spreading, making these cookies a great option for holiday baking or anytime you want a bakery-worthy treat.
Why Cake Mix Works for Red Velvet Kiss Cookies
I love starting these red velvet kiss cookies with a cake mix because it takes care of all the dry ingredients in one step and removes a lot of the guesswork. The result is a dependable cookie that bakes up beautifully every time.
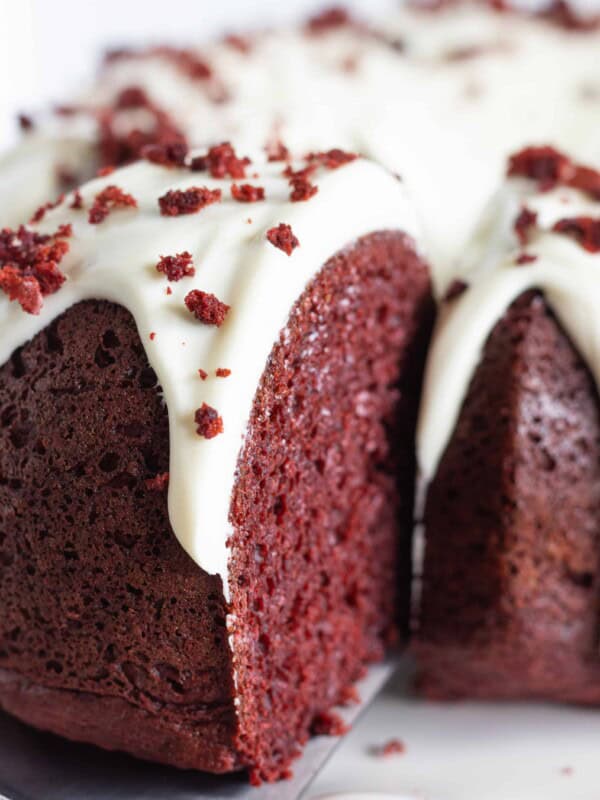
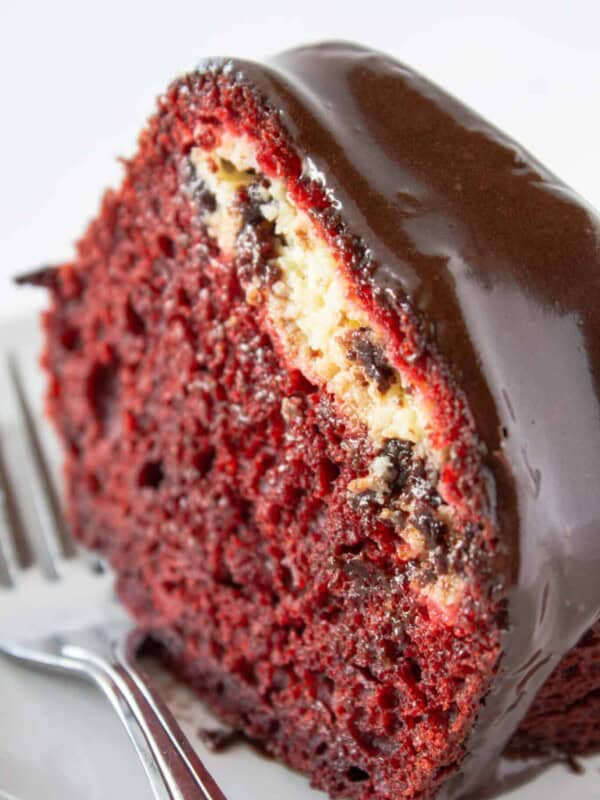
If you love red velvet desserts, you may also enjoy these rich red velvet brownies or this classic red velvet bundt cake.
Red Velvet Kiss Cookies vs Red Velvet Blossom Cookies
Red velvet kiss cookies and red velvet blossom cookies are essentially the same thing — the name simply comes from the chocolate kiss pressed into the center after baking. You may see them called “blossom cookies” around the holidays, but the method and flavor are identical.
What Goes Into This Recipe
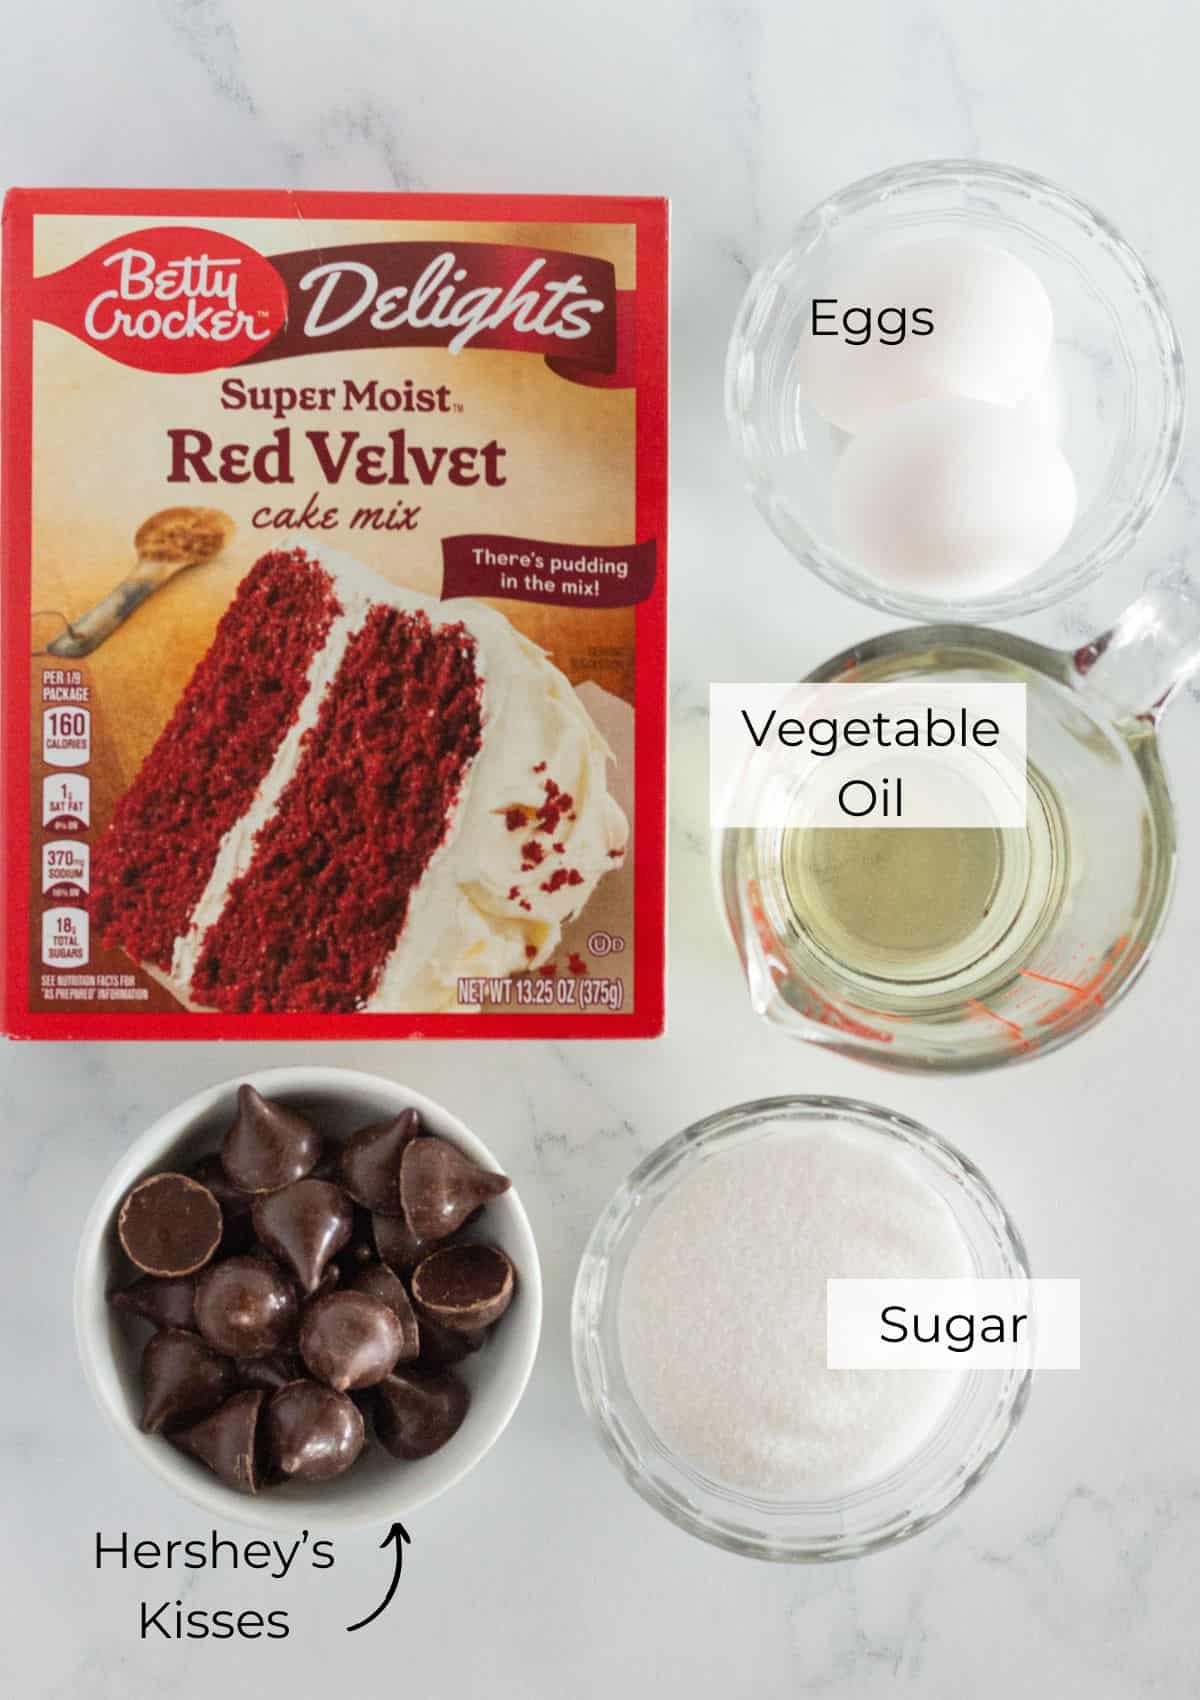
- Red Velvet Cake Mix- Using a cake mix for the base of this cookie is the perfect place to start and allows you to make these cookies with only a handful of ingredients. It also means you don’t have to worry about messy red food coloring. For even more ideas, check out all of my red velvet cake mix recipes.
- Vegetable Oil- Added to both bind the cookie dough and give the red velvet cookies a nice soft texture.
- Eggs- Another binding ingredient, eggs also give you a light soft cookie.
- Granulated Sugar- In this recipe the cookies are rolled in the granulated sugar for an excellent texture on the outside.
- Hershey’s Kisses- A kiss cookie would not be complete without a silky smooth milk chocolate Kiss in the middle.
See recipe card for full information on ingredients and quantities.
Recipe Variations
There are a few easy things you can do to change the recipe and flavors slightly.
- Use other kinds of chocolate kisses. There are so many varieties of Hershey Kisses. Choose your favorite and don’t feel like you have to stick to the milk chocolate.
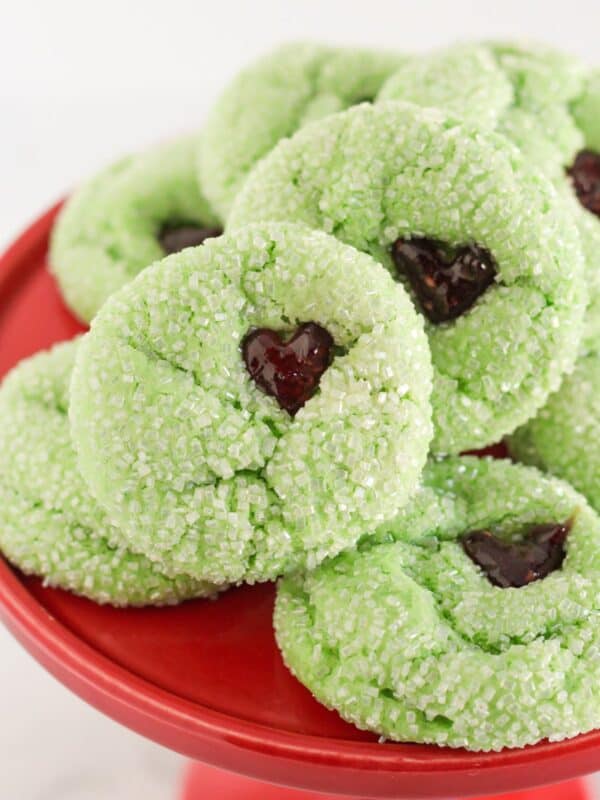
- Shape the cookies into a heart for Valentine’s Day. You could even replace the Hersey’s kisses with Dove chocolate hearts!
- Roll the cookies in a colored sanding sugar. There are a variety of colored sanding sugars in the baking aisle of the grocery store. Roll the cookies in that for a different color and slightly different texture.
- You could always try this awesome Classic Peanut Butter Blossom Cookie recipe. It is an easy version of the traditional peanut butter blossoms.
How to make Easy Red Velvet Kiss Cookies
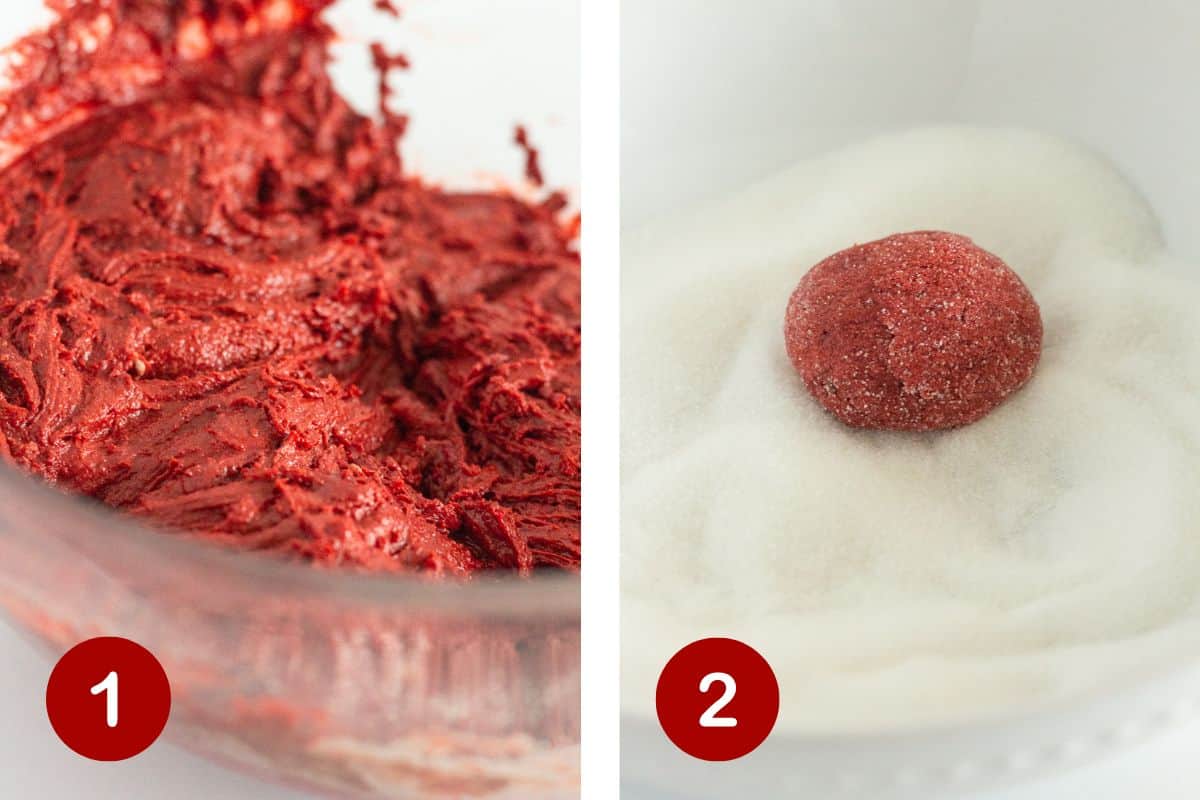
- Combine the cake mix, oil and eggs in a large bowl and mix together using an electric mixer {or by hand}. You want a nice and thick beautiful deep red cookie dough.
- Use a medium cookie scoop to scoop mounds of red velvet cookie dough and then roll the cookie dough ball in granulated sugar. Place the sugar coated cookie mounds onto a parchment paper {or wax paper} lined baking sheet and refrigerate for an hour.
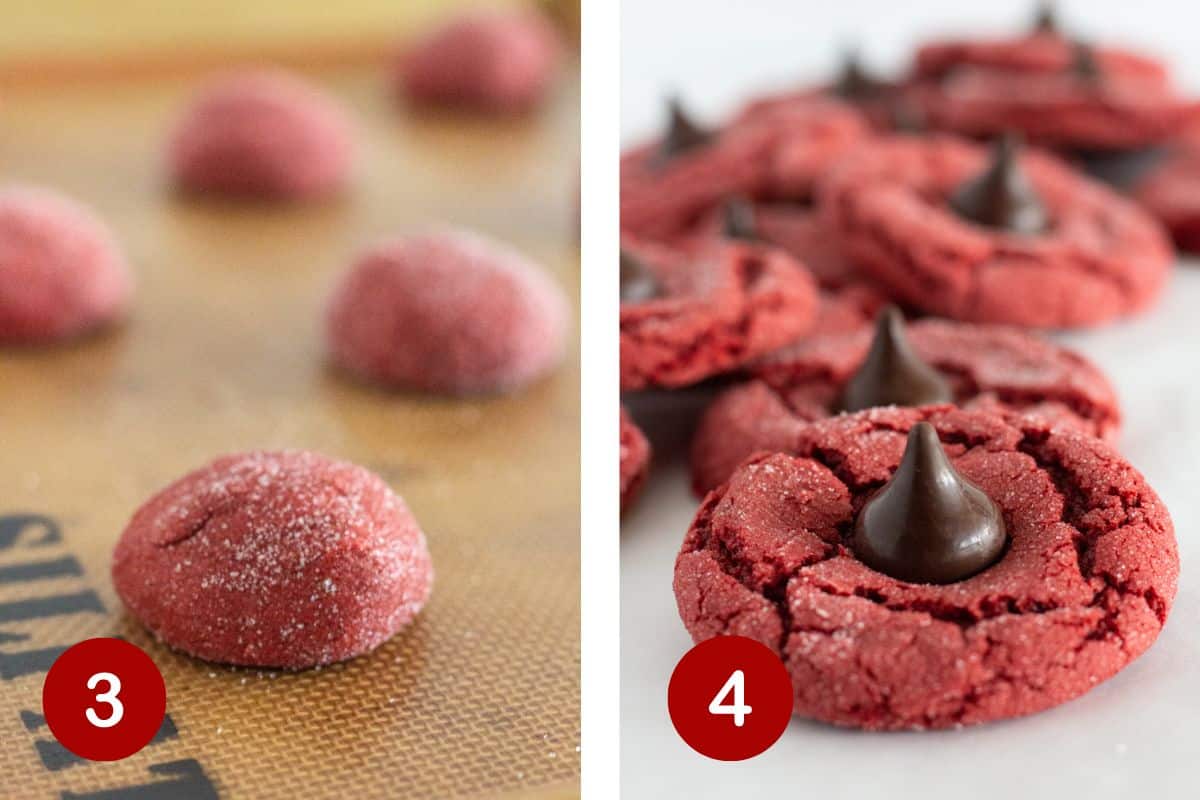
- After an hour, preheat the oven and place the cookie dough mounds onto a silicone mat {or parchment paper} lined baking sheet. Bake for 9-11 minutes or until they are set.
- Remove the cookies from the oven and allow them to cool on the baking sheet for 5 minutes. After 5 minutes move the cookies to a cooling rack and place an unwrapped Hershey’s Kiss into the center of each cookie. Allow the cookies to cool completely and the Hershey’s Kisses to set up {they will melt slightly as the cookies cool} before serving or storing.
Expert Tips
- Use a cookie scoop to scoop the cookie dough. This helps keep all of the cookies the same size and allows them to bake evenly.
- Add the unwrapped Hershey’s Kiss after the cookies have baked and cooled for 5 minutes and once they are on the cooling rack. If you add the Hershey’s Kisses before baking they will totally melt into the cookie.
- Whether using a hand-held mixer or stirring by hand, avoid over mixing the dough. Mix until fully combined and no lumps remain, but don’t overwork the dough to maintain a soft and light cookie texture.
Storage and Freezing
Store: Red Velvet Kiss Cookies can easily be stored in an airtight container at room temperature for up to 4 days.
Freeze: These easy cookies can also be frozen for up to 3 months.
Recipe FAQs
There are a couple of reasons that we roll Red Velvet Blossom Cookies in sugar before baking. First of all, the sugar will melt slightly into the cookie dough and create this wonderful crust around the outside of the cookie. It adds such great texture!
The sugar on the outside also helps the cake mix cookies from spreading out while they bake which is nice because you want thick Blossom Cookies.
You can experiment with other cake mixes for a different flavor. Any flavor would be delicious, but they won’t have the iconic flavor unless you use red velvet cake mix. Here is a chocolate cake mix blossom cookie you can try.
While milk chocolate is the classic flavor, using seasonal varieties of Hersheys Kisses is the perfect way to change up the look of these cookies to make them perfect for a variety of holidays. I love them made with Hershey’s Hugs, too!
No additional food coloring is needed when using a red velvet cake mix. The mix already contains cocoa and coloring, which gives these cookies their classic red velvet flavor and color without any extra steps.
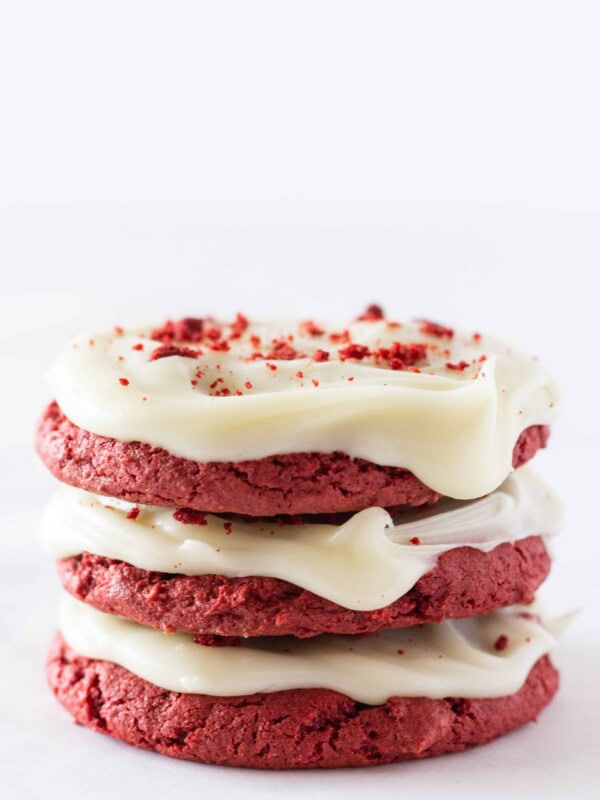
Do you love Red Velvet? Try these easy recipes…
Did you try this recipe?
Leave a ⭐️ review below and tag @practicallyhomemade on Pinterest!
Easy Red Velvet Kiss Cookies
Ingredients
- 1 box Red Velvet Cake Mix, {13.25 ounces}
- 2 large eggs
- ¼ cup oil
- ⅓ cup granulated sugar
- 20 Hershey Kisses , {unwrapped}
Instructions
- In a medium sized bowl, combine the red velvet cake mix, eggs and vegetable oil. Mix using an electric mixer {or by hand} until you have a thick dough.
- Use a medium cookie scoop to scoop dough and roll each cookie dough ball in sugar. Place the sugar coated cookie dough onto a baking sheet that is lined with parchment paper {or wax paper}. Cover with plastic wrap and refrigerate the dough for 1 hour.
- After an hour, preheat the oven to 350° and place 8 cookie dough balls onto a silicone mat {or parchment paper} lined baking sheet. Bake the cookies for 9-11 minutes or until set.
- Remove the cookies from the oven and let them cool for 5 minutes on the baking sheet. After 5 minutes, move the cookies to a cooling rack and place an unwrapped candy into the middle of each cookie. Allow the cookies to cool until the Hershey's Kisses have set back up and then serve. Store in an airtight container at room temperature for 4 days or freeze for up to 3 months.
Notes
- Refrigerating the cookie dough is optional but will help to give you thicker cookies.
- Add the unwrapped Hershey’s Kiss after the cookies have baked and cooled for 5 minutes. If you add the Hershey’s Kisses too soon the cookies will melt the chocolate.
- Wait to move the cookies until the candy kiss has set back up, otherwise the shape of the candy may change.
- Change up the kind of Hershey’s kiss you add to the middle of the cookies. Dark chocolate, milk chocolate and even peppermint would all be great choices.
Nutrition
Nutrition information is automatically calculated, so should only be used as an approximation.


I live in high altitude state, how much flour should I add to this?
I also live in high altitude and so you shouldn’t need any adjustments. If you are worried, 2-3 Tablespoons would work.
Now I’m using a pumpkin cake to make these cookies. I’m adding orange food coloring and putting rolos on them instead of a kiss because that’s what’s on hand, but I don’t think anyone will complain. I think those candy pumpkins would be cute too for Halloween. I really love using this cake/cookie recipe with any kind of cake. Thank you June!!!!
My granddaughter and I used confetti cake with confetti kisses. A fun change and yummy too. Thanks for this fun recipe 😀