This post may contain affiliate sales links. Please see our full disclosure policy for details.
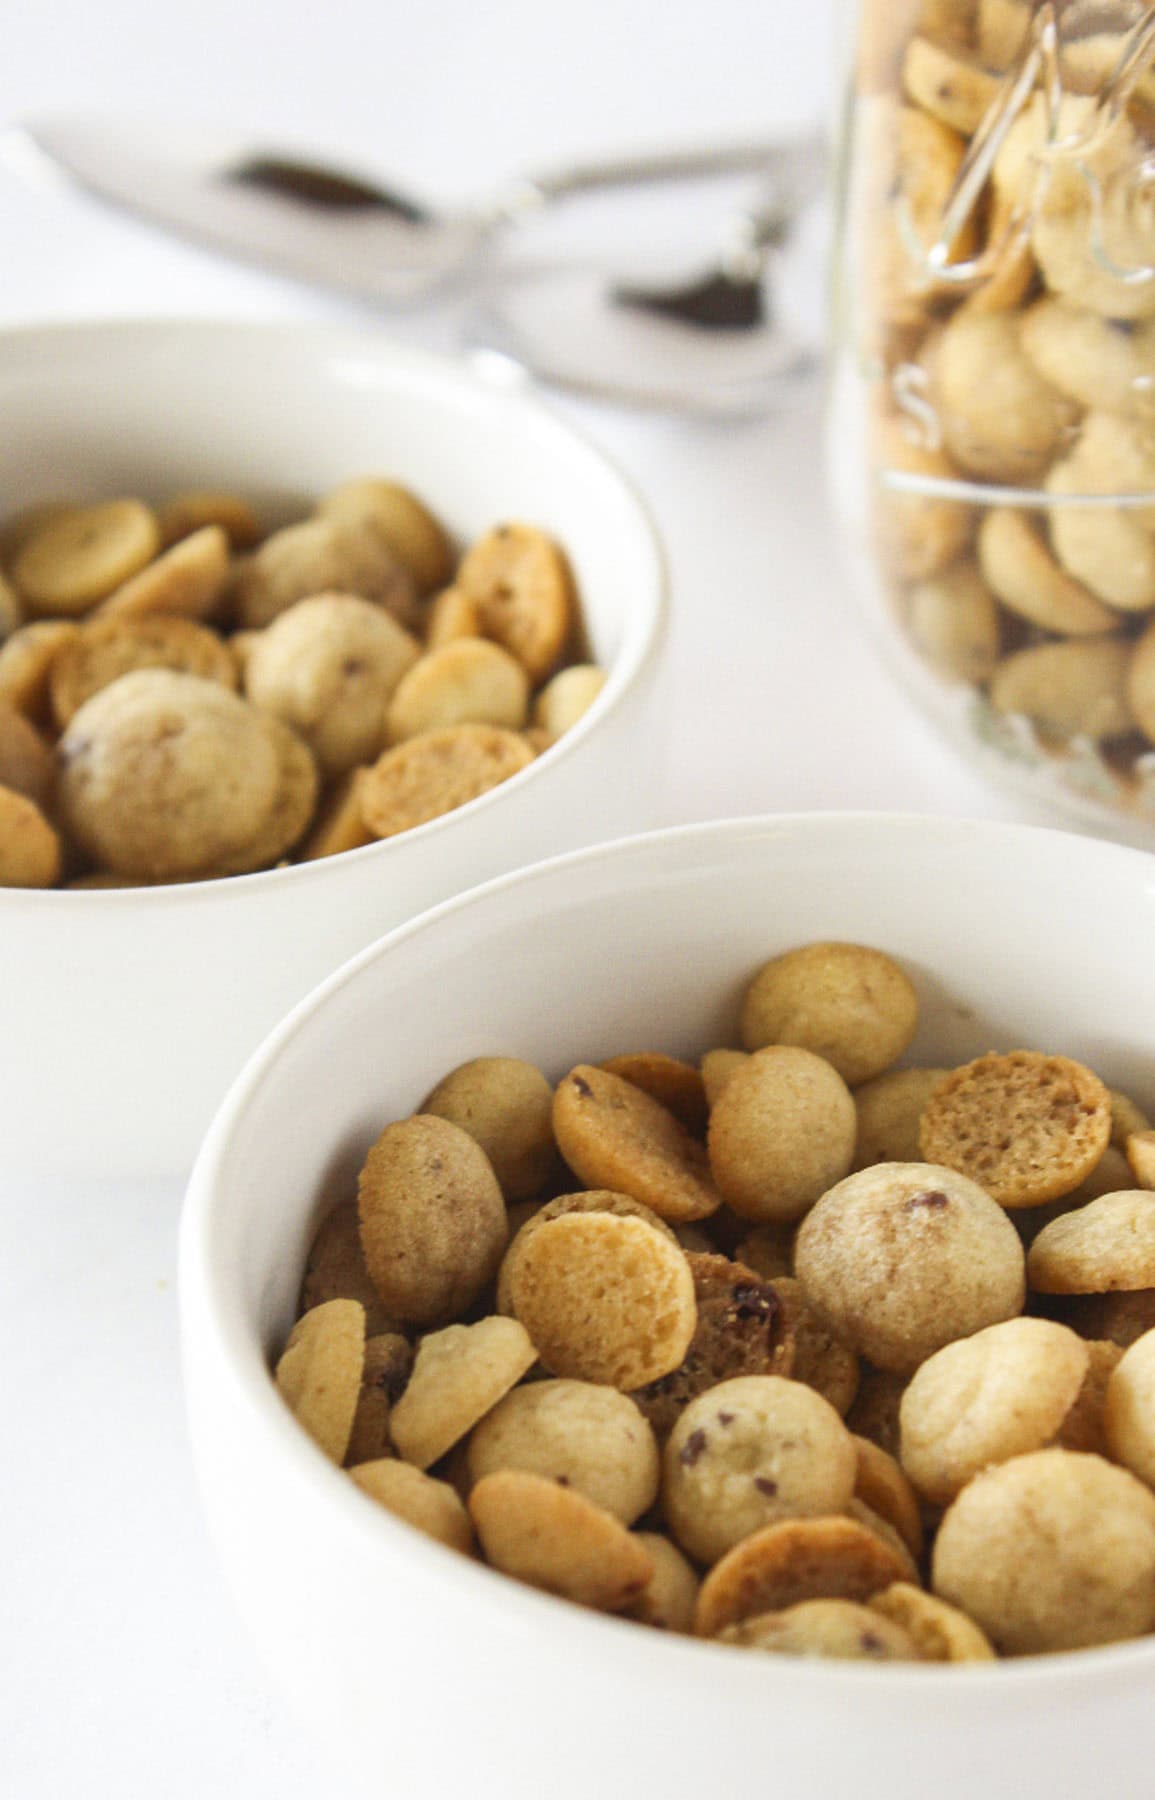
You’re going to love this Homemade Cookie Crisp Cereal! What could be more fun than teeny tiny chocolate chip cookies that you eat in a bowl of milk? At breakfast no less! Keep scrolling for all of the fun details.
This easy to make Cookie Crisp Cereal might take a little more time than my usual quick and easy cake mix recipes, but trust me—it’s worth every minute. These teeny tiny cookies are baked until perfectly crisp and just the right size for a spoon. Pour over some cold milk, and it’s basically every cookie lover’s dream breakfast (or snack!).
I actually used this recipe as a fun lesson back when I was teaching high school culinary arts. The kids loved shaping the mini cookies and were so proud to eat a cereal they made from scratch. It’s one of those nostalgic treats that brings smiles with every bite—especially when you know you made it yourself.
Cookie Crisp Cereal Ingredients
Butter
Granulated and Brown Sugars
Vanilla Extract
Mini Chocolate Chips
How to Make Homemade Cookie Crisp Cereal
- This cookie cereal starts just like any other cookie dough that you make. Begin by creaming together the butter, both sugars, eggs and vanilla. I like to use a hand held mixer but you could totally do this step by hand. Then add the dry ingredients all at once and combine. The key is to not add too much flour because if the dough is too thick then it will be REALLY hard to pipe the dough in a later step. Finally add the chocolate chips. I actually chopped up mini chocolate chips. These cookies are super small, so regular mini chocolate chips are still too big. Plus, they need to be small enough to pass through a piping bag. Stir the chocolate chunks into the dough by hand.
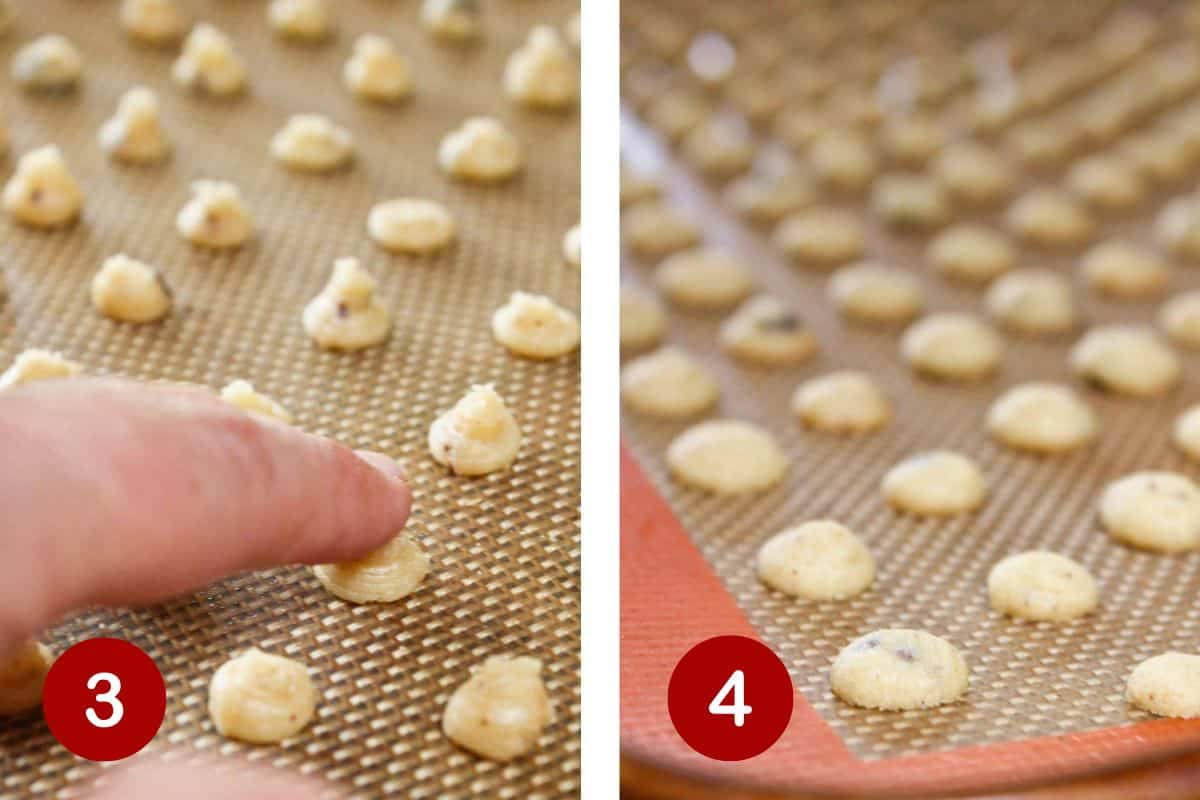
- Put the dough into a piping bag {a Ziploc bag might work but a piping bag is stronger}. Cut a small triangle from the bottom of the bag. Begin piping small dots of dough onto a silicone mat {or parchment} lined baking sheet. The mounds of dough will be SUPER small. In fact, you should be able to fit a lot of cookies on one sheet.

- If you have ridges on the top of the cookie mounds then go through and press down the tops with your finger, so that you have a smooth top.
- They bake at 325 degrees for about 6 minutes. It is important that you keep an eye on them. You want the edges to be browned but not over baked. Remove them from the oven and let them cool completely on the baking sheet.
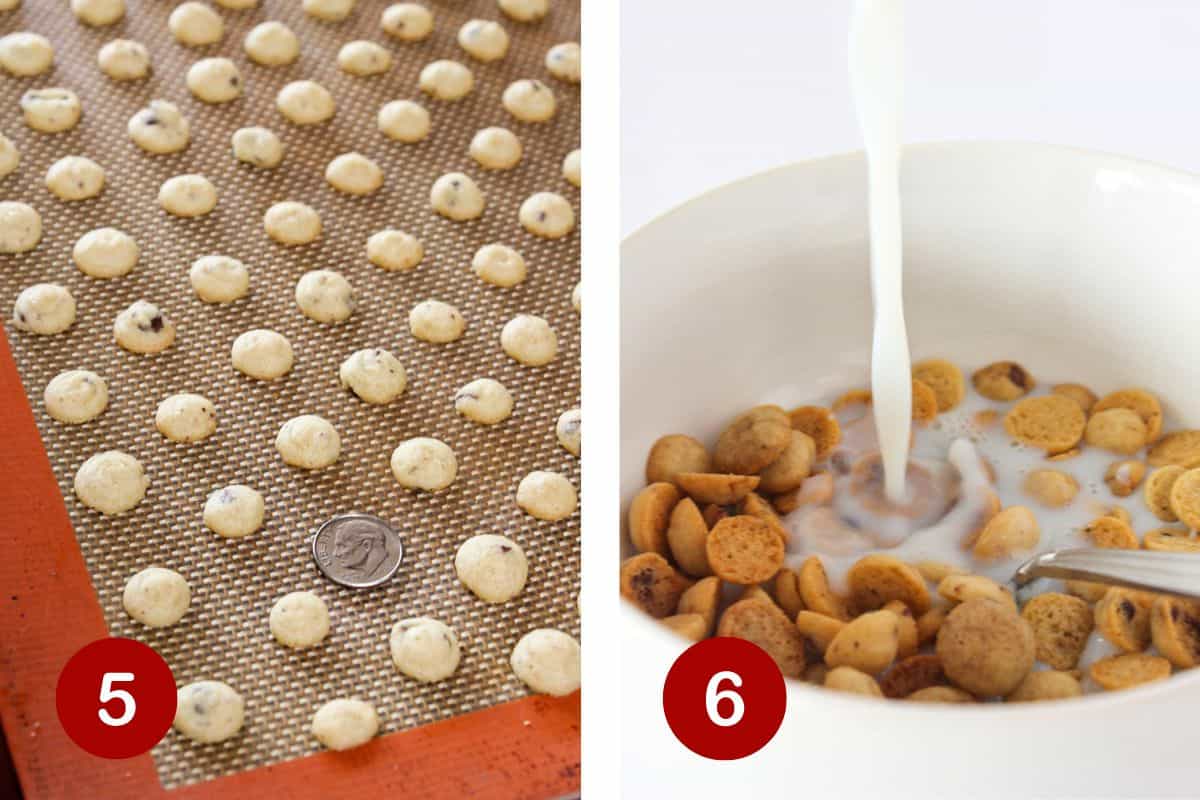
- This photo gives you a little bit more of an idea of the size of the cookies. They are pretty tiny…smaller than a dime.
- Serve in a bowl with milk and enjoy it for breakfast or dessert.
Expert Tips
- Don’t add more flour than the recipe requires. Because we are going to be piping the dough from a piping bag we want to be sure that it isn’t too thick.
- Chop up your chocolate chips super small. I suggest chopping miniature chocolate chips because they would even be too large to pass through the piping bag.
- Use a piping bag. Normally I would say that a Ziploc bag can be used in place of a piping bag but I am not sure it would work in this case. The piping bag is much sturdier and you are going to need that.
- Pipe the cookies super small. They should be smaller than a dime. Remember they are going to be cereal so they need to be tiny.
- Let the cookies cool completely on the cookie sheet. This will help them crisp up and get the texture that you want for a cereal.
Storage Tips
Once my cookie crisp cereal was all baked and cooled, I stored the tiny cookies in a mason jar, but any airtight container would work great.
I highly encourage you guys to make this sweet homemade cookie crisp cereal. It’s SO much fun! Whether you are eating them for breakfast or dessert, this recipe is awesome.

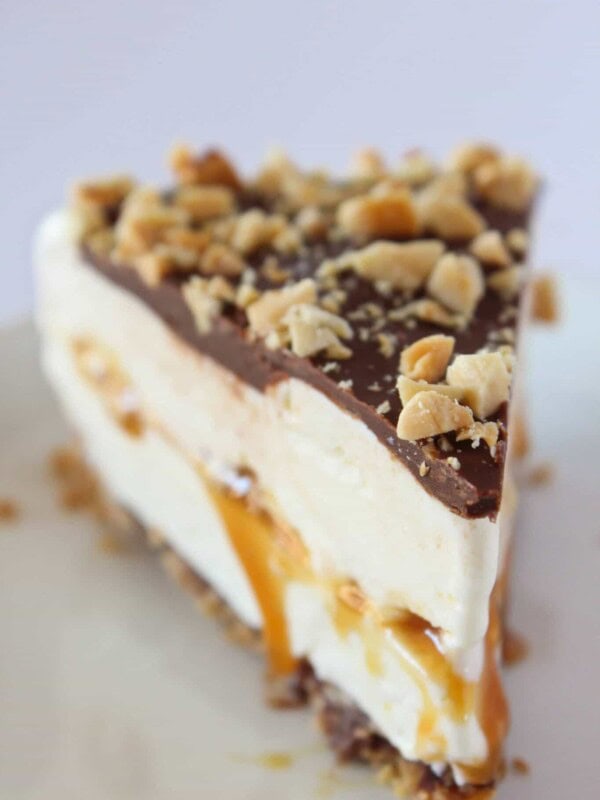
Do you love fun Recipes? Try these Favorites…


Did you try this recipe? Leave a ⭐️⭐️⭐️⭐️⭐️ review below and tag @practicallyhomemade on Pinterest!

Homemade Cookie Crisp Cereal
Ingredients
- ½ cup butter, softened
- 2 Tablespoons granulated sugar
- ¼ cup brown sugar
- 1 large egg
- ½ teaspoon vanilla extract
- 1 ¼ cup all purpose flour
- ½ teaspoon salt
- ½ teaspoon baking soda
- ¼ cup mini chocolate chips, chopped
Instructions
- Preheat the oven to 325° and line baking sheets with silicone mats {or parchment paper}.
- In a medium bowl, cream together butter, both sugars, egg and vanilla until combined.
- Add flour, baking soda and salt and mix until just combined. Do not over mix. Add chopped mini chocolate chips and mix until they are equally distributed throughout the dough.
- Scoop dough into a piping bag and cut a small triangle from bottom of the bag. Begin piping small cookies onto the lined cookie sheet in long lines. We want the cookies to be smaller than dimes. Continue to pipe until your cookie sheet is full, leaving a small space between each cookie.
- If the cookies have a tip from the piping bag, then take your finger and press it down so that you have a smooth top to each of the cookies. Place in the oven and bake for about 6 minutes. You want the cookies to start browning around the edges. Remove from the oven and let them cool completely on the cookie sheet. Remove and continue to pipe and bake until you have baked all of your dough.
- Store cookies in a mason jar or other airtight container and serve over milk for breakfast or dessert. They will last at room temperature for at least 7 days. The drier they get the better they are at holding up to being in the milk. Enjoy!
Nutrition
Nutrition information is automatically calculated, so should only be used as an approximation.


Yummy