The Best Strawberry Crunch Cheesecake Cones
Updated Sep 23, 2025, Published Aug 18, 2022
This post may contain affiliate sales links. Please see our full disclosure policy for details.
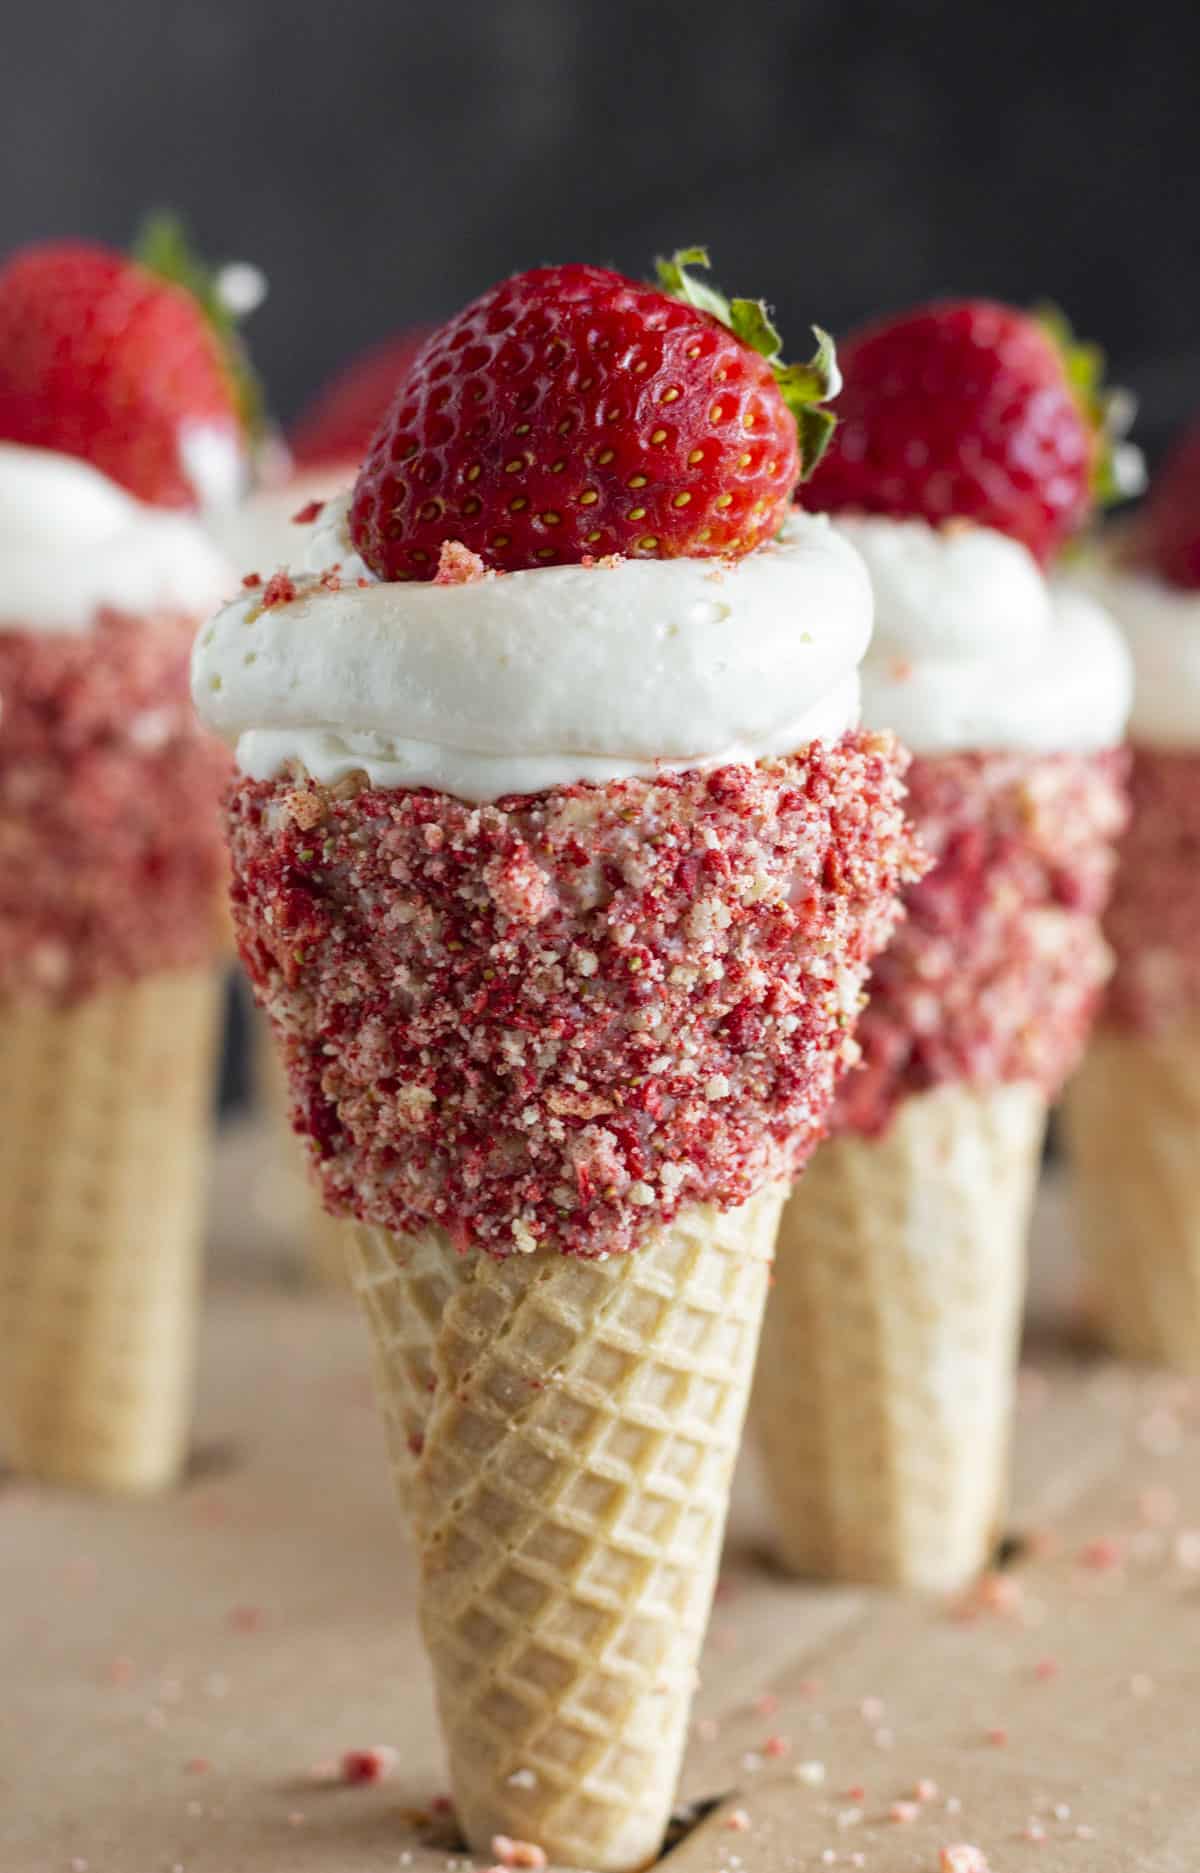
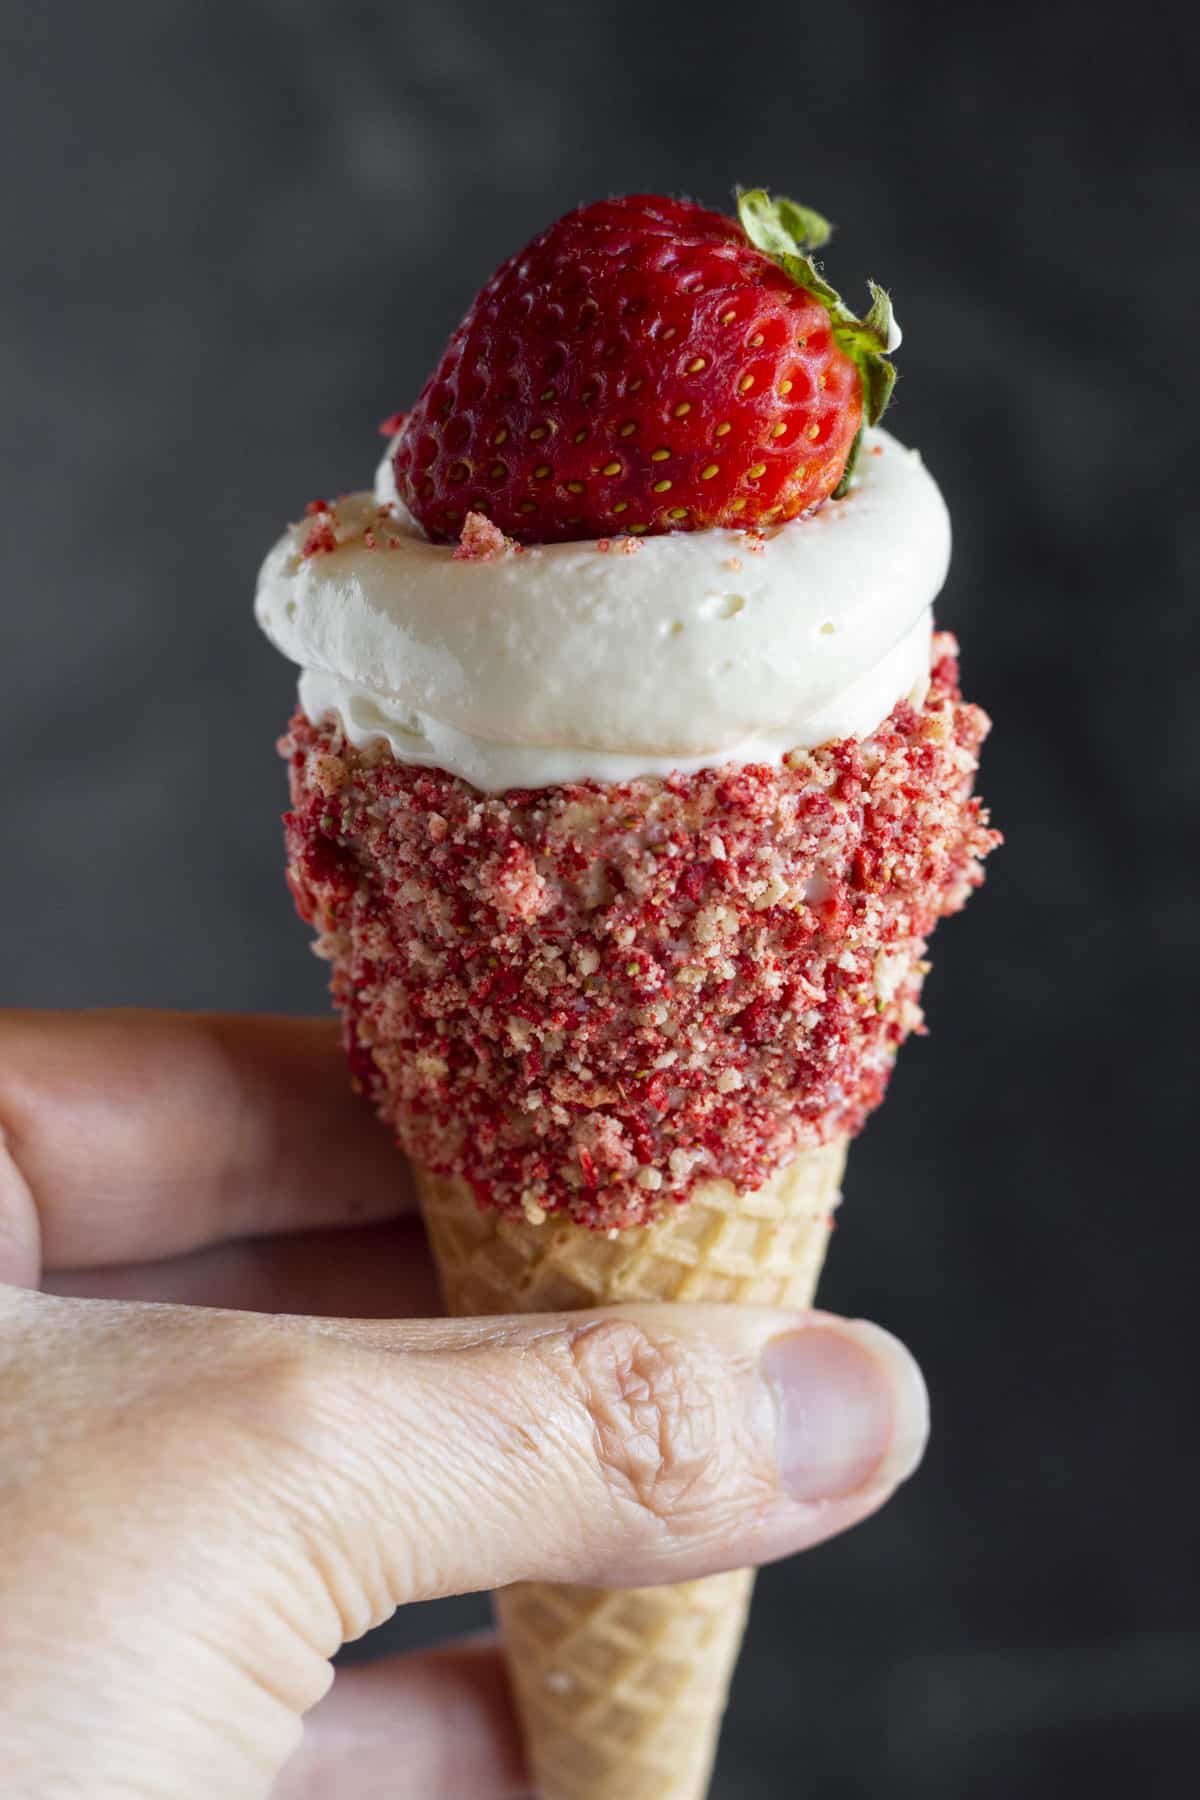
No bake cheesecake filling has never been more fun or delicious! All it takes is one bite of the best Strawberry Crunch Cheesecake Cones to get excited. Strawberry crunch topping is added to a waffle cone that is stuffed with no bake cheesecake and more topping. It is the ultimate portable treat!
The no bake strawberry crunch topping is what really makes this summer dessert stand out. You can also use it for this Strawberry Crunch Cheesecake recipe, Strawberry Shortcake Crunch Cake and Strawberry Crunch Cookies!
Table of Contents
What is Strawberry Crunch Topping made of?
This strawberry crunch topping {aka- strawberry shortcake crunch topping} starts with a base of Golden Oreo crumbs and freeze dried strawberry dust.
Softened butter brings the mixture together and creates the ultimate strawberry flavored crunchy topping. Other recipes use strawberry jello mix but I prefer the flavor you get from the dried fruit.
What goes into this Recipe
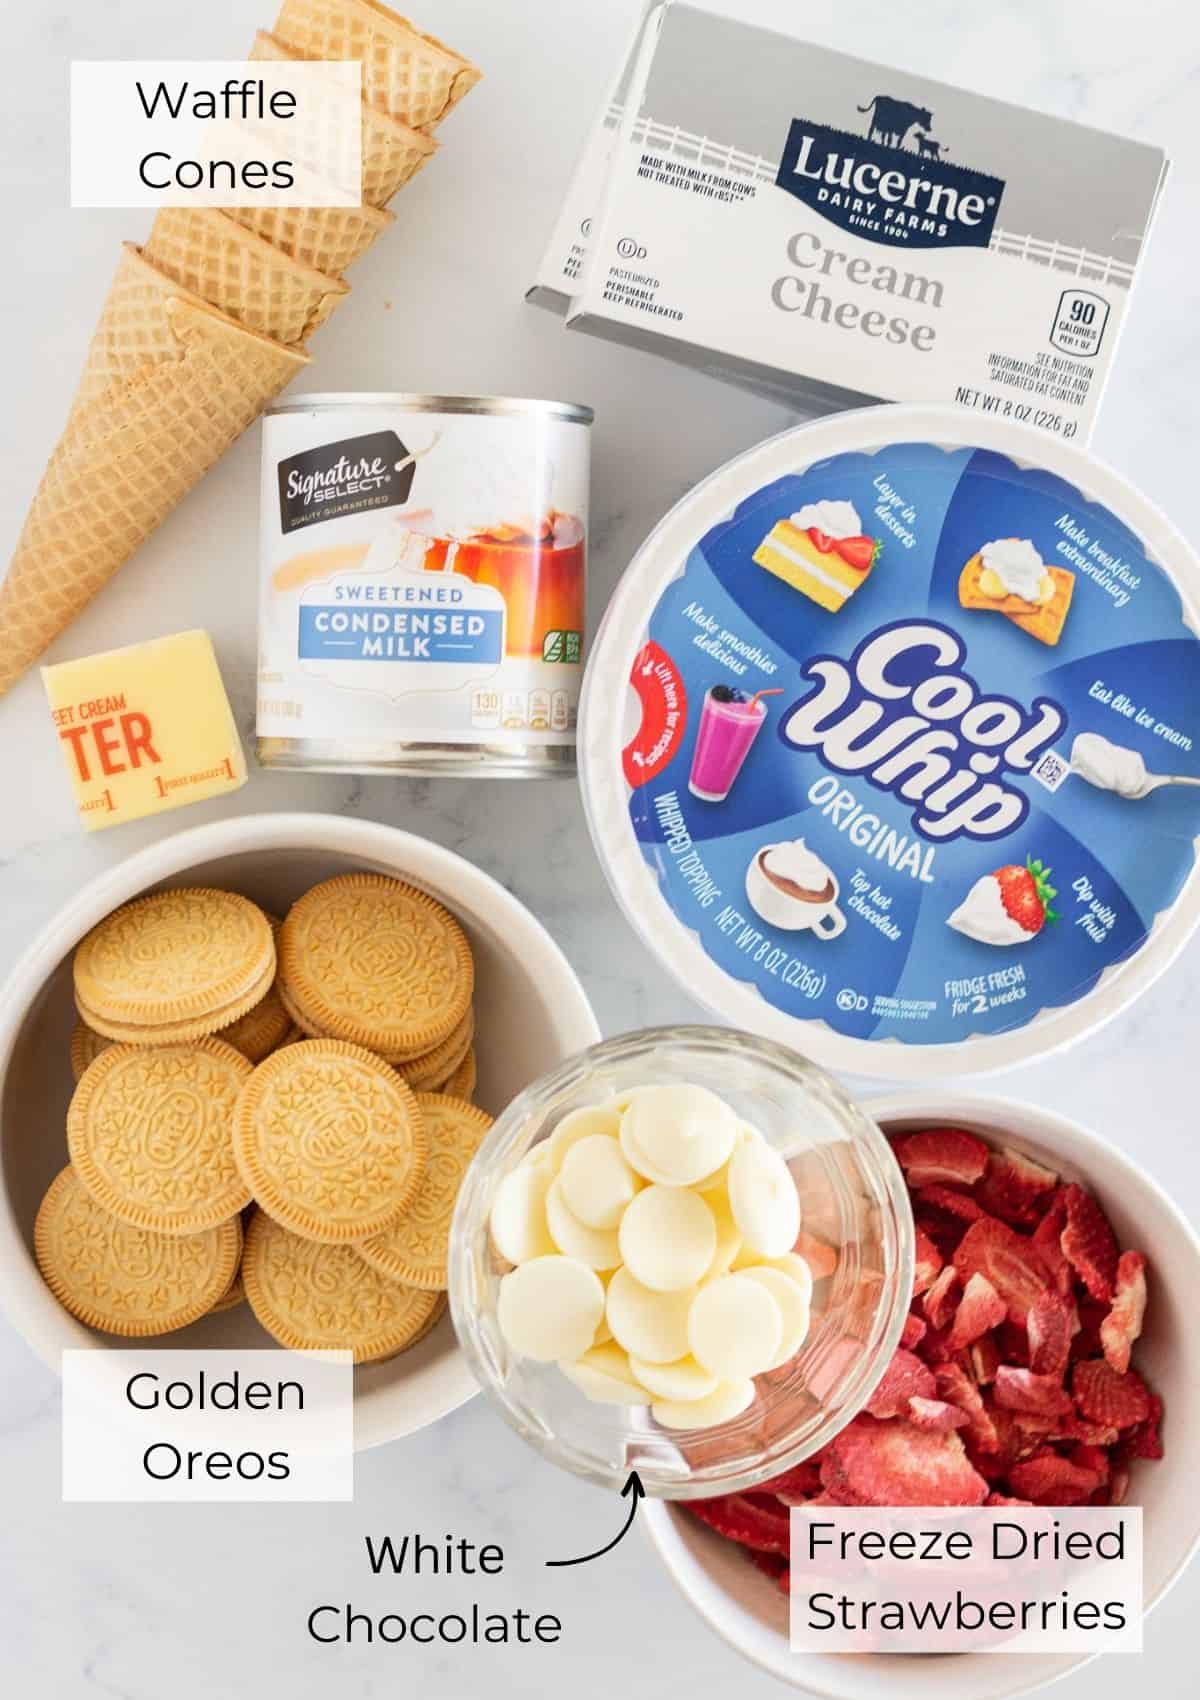
- Waffle Cones- The cones are so gorgeous with the contrast of the Strawberry Crunch Topping. They are also the perfect vessel for this fun treat.
- Cream Cheese- Full fat cream cheese is best when making cheesecake filling.
- Sweetened Condensed Milk- Added to sweeten the filling and give it an extra creamy texture.
- Whipped Topping- Creates a little more sweetness in the filling along with a lightness.
- Strawberry Crunch Topping
How to make Strawberry Crunch Cheesecake Cones
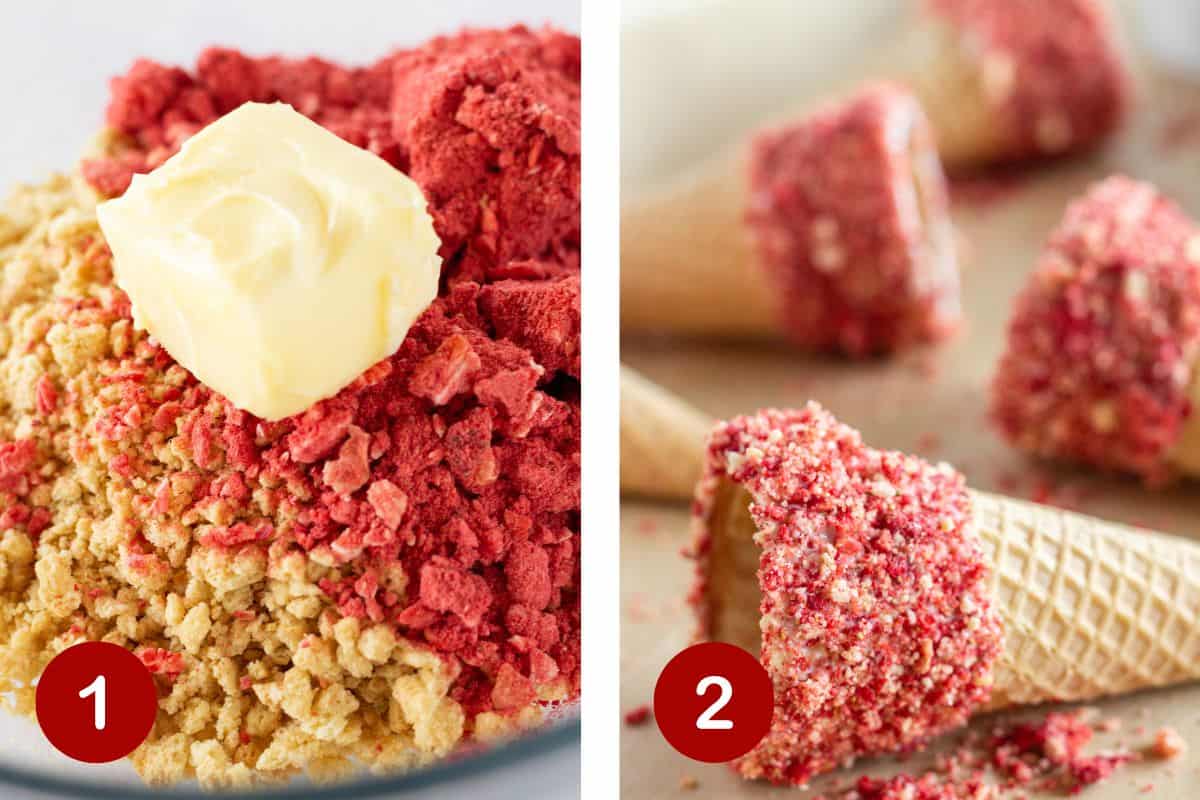
1. Add Golden Oreos to the food processor and pulse until you have crumbs. Pour 1 cup into a bowl. Add freeze dried strawberries to the food processor and pulse until you have a powder {there can be a few chunks}. Put 1 1/4 cups of freeze dried strawberry powder into the Golden Oreo crumbs that you set aside, then add the softened butter. Work the butter into the ingredients using your hands {or a spoon}. Continue to work it together until everything is evenly coated.
2. Dip or spread white melting chocolate around the upper quarter section of the waffle cone. Working while the chocolate is still wet, add Strawberry Topping to coat the chocolate.
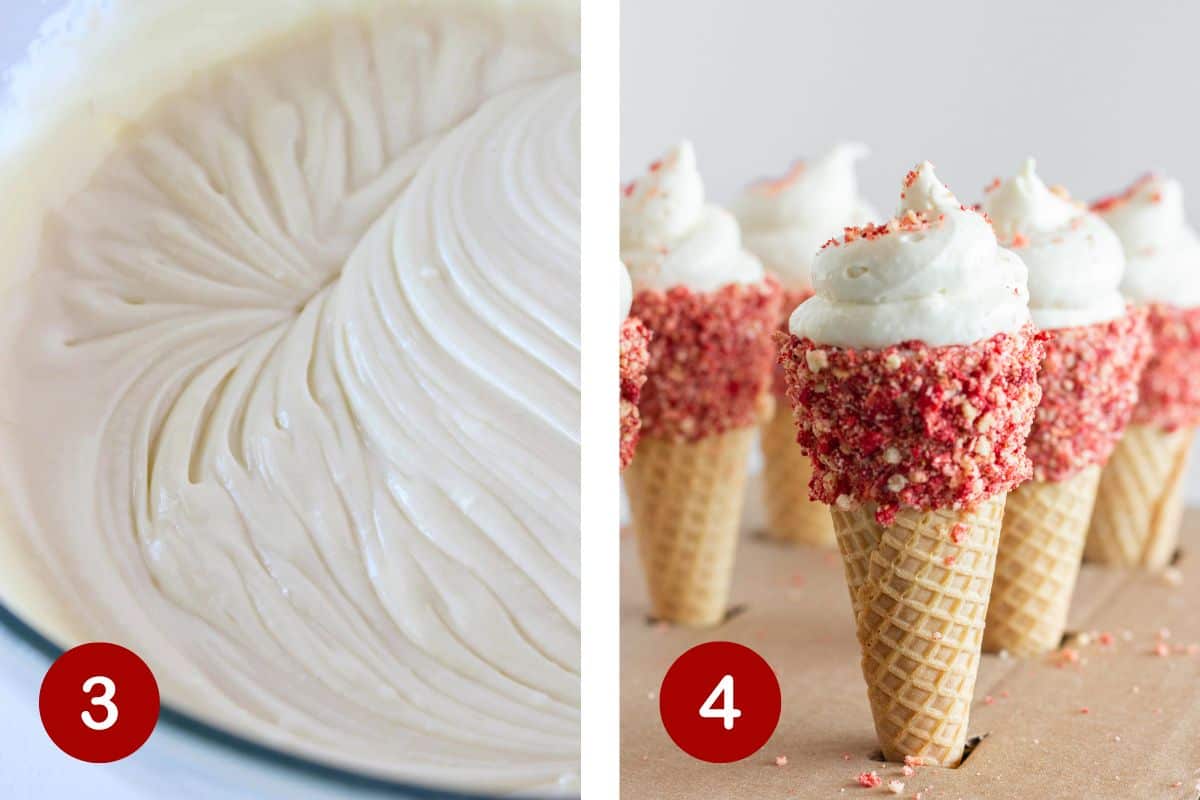
3. Mix cream cheese with a hand held mixer {or stand mixer} until creamy and smooth. Add sweetened condensed milk and continue to mix hand held {or stand mixer}. Add the whipped topping and fold into the cream cheese mixture until combined. Refrigerate for at least 2 hours or until the filling is set.
4. Add the cheesecake filling to each cone using a spoon or pipe it into each cone. Top with additional Strawberry Shortcake Topping.
Expert Tips
- If you don’t have a food processor use a zipper bag and rolling pin. Add the Golden Oreos and freeze dried strawberries to a zipper bag and crush that way.
- Use a silicone brush to add the white chocolate to the outside of the cones. This allows you to paint it on and gives you control of how much you want to add.
- Roll the cones in the Strawberry Crunch Topping while the white chocolate is still wet. This will allow the topping to adhere to the cones easily.
- Make sure that the cream cheese is softened before using it to make the no bake filling. If it is still cold then it might be hard to get a creamy consistency.
- Allow the no bake filling to chill for at least 2 hours before adding it to the cones. It needs that much time to set up properly.
- Fill a piping bag {or zipper bag} with chilled cheesecake filling and then pipe it into the cones. It makes it super easy and you can fill the entire cone with awesome filling.
Storage and Freezing
Storage- The best way to store No Bake Cheesecake waffle cones is to make all of the ingredients and store them separately. Assemble them before serving. Refrigerate leftovers for up to 4 days.
Freezing- Both the filling and the cones can be frozen but the assembled cones would be hard to freeze. They are an odd shape and hard to store. It would be best to freeze each part separately and then assemble after defrosting.
To defrost, remove from the freezer and put in the refrigerator overnight.
Recipe FAQs
You can make all of the elements ahead of time but I don’t recommend assembling them ahead of time. They can be hard to store because of their shape. Although this ice cream cone holder works great for serving.
A sugar cone would also work great for these Strawberry Crunch Cheesecake Cones. You could even fill a waffle cone cup or use a different flavored waffle cone with great results.
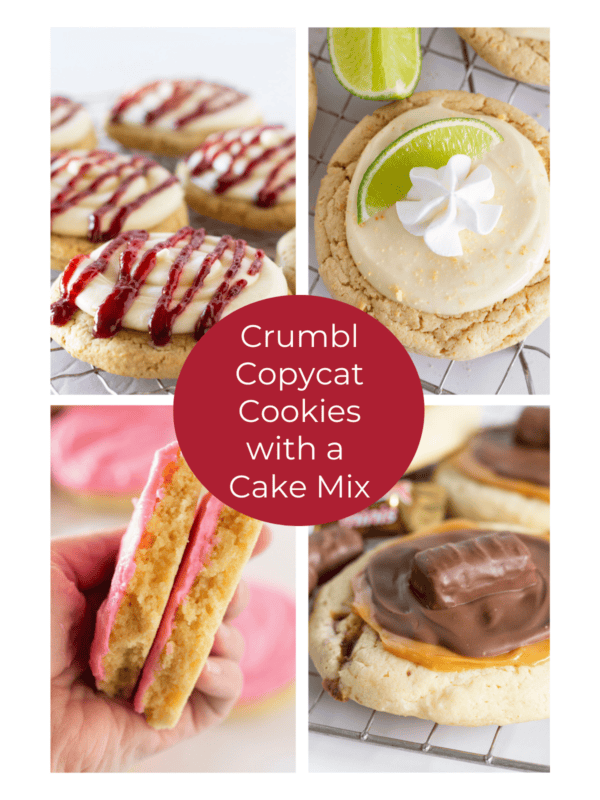
There are so many different ways to use this Strawberry Crunch Topping. My favorite is this Easy Strawberry Crunch Cookies recipe. They start with a cake mix and are so darn delicious.
The topping is also amazing in this Easy Strawberry Shortcake Crunch Cake and Easy Strawberry Crunch Cheesecake with a Golden Oreo Crust.
No bake cheesecake takes at least 2-4 hours to set. In fact, most of the time the cheesecake filling does best when refrigerated overnight because it is softer than traditional cheesecake.
You can put no bake cheesecake in the freezer to set and it will be ready a lot faster. It will also give the cheesecake more of a soft ice cream texture.
Do you love strawberry desserts? Try these awesome recipes…


Strawberry Crunch No Bake Cheesecake Cones
Ingredients
- 12 waffle cones
- 16 ounces cream cheese, {softened}
- 14 ounces sweetened condensed milk
- 8 ounces whipped topping
- 1/2 cup white chocolate melting wafers
Strawberry Crunch Topping
- 1 ¼ cup freeze dried strawberries, {pulsed to fine powder}
- 1 cup Golden Oreo crumbs, {about 15 cookies}
- 3 Tablespoons butter, {softened}
Instructions
- Mix cream cheese with a hand held mixer {or stand mixer} until creamy and smooth. Add sweetened condensed milk and continue to mix hand held {or stand mixer}. Finally, add the whipped topping and fold into the cream cheese mixture until combined. Refrigerate for at least 2 hours or until the filling is set.
Strawberry Crunch Topping
- Add Golden Oreos to food processor and pulse until you have crumbs. Pour 1 cup into a bowl. Add freeze dried strawberries to the food processor and pulse until you have a powder {there can be a few chunks}. Put 1 1/4 cups freeze dried strawberry powder into the Golden Oreo crumbs that you set aside. Add the softened butter and work it into the ingredients using your hands {or a spoon}. Continue to work it together until everything is evenly coated.
- Dip or spread white melting chocolate around the upper quarter section of the waffle cone. Working while the chocolate is still wet, add Strawberry Crunch Topping to coat the chocolate. Set on a parchment lined baking sheet to set up for at least 15 minutes or until the cheesecake filling is set.
Assembly
- Add the cheesecake filling to each cone using a spoon or pipe it into each cone. Top with additional Strawberry Crunch Topping. Serve and enjoy. Refrigerate any leftover filling for up to 3 days or cones for up to 24 hours.
Video
Notes
- If you don’t have a food processor use a zipper bag and rolling pin. Add the Golden Oreos and freeze dried strawberries to a zipper bag and crush that way.
- Use a silicone brush to add the white chocolate to the outside of the cones. This allows you to paint it on and gives you control of how much you want to add.
- Roll the cones in the Strawberry Crunch Topping while the white chocolate is still wet. This will allow the topping to adhere to the cones easily.
- Make sure that the cream cheese is softened before using it to make the no bake filling. If it is still cold then it might be hard to get a creamy consistency.
- Allow the no bake filling to chill for at least 2 hours before adding it to the cones. It needs that much time to set up properly.
- Fill a piping bag {or zipper bag} with chilled cheesecake filling and then pipe it into the cones. It makes it super easy and you can fill the entire cone with awesome filling.
- Both the filling and the cones can be frozen but the assembled cones would be hard to freeze. They are an odd shape and hard to store. It would be best to freeze each part separately and then assemble after defrosting. To defrost, remove from the freezer and put in the refrigerator overnight.
Nutrition
Nutrition information is automatically calculated, so should only be used as an approximation.