This post may contain affiliate sales links. Please see our full disclosure policy for details.
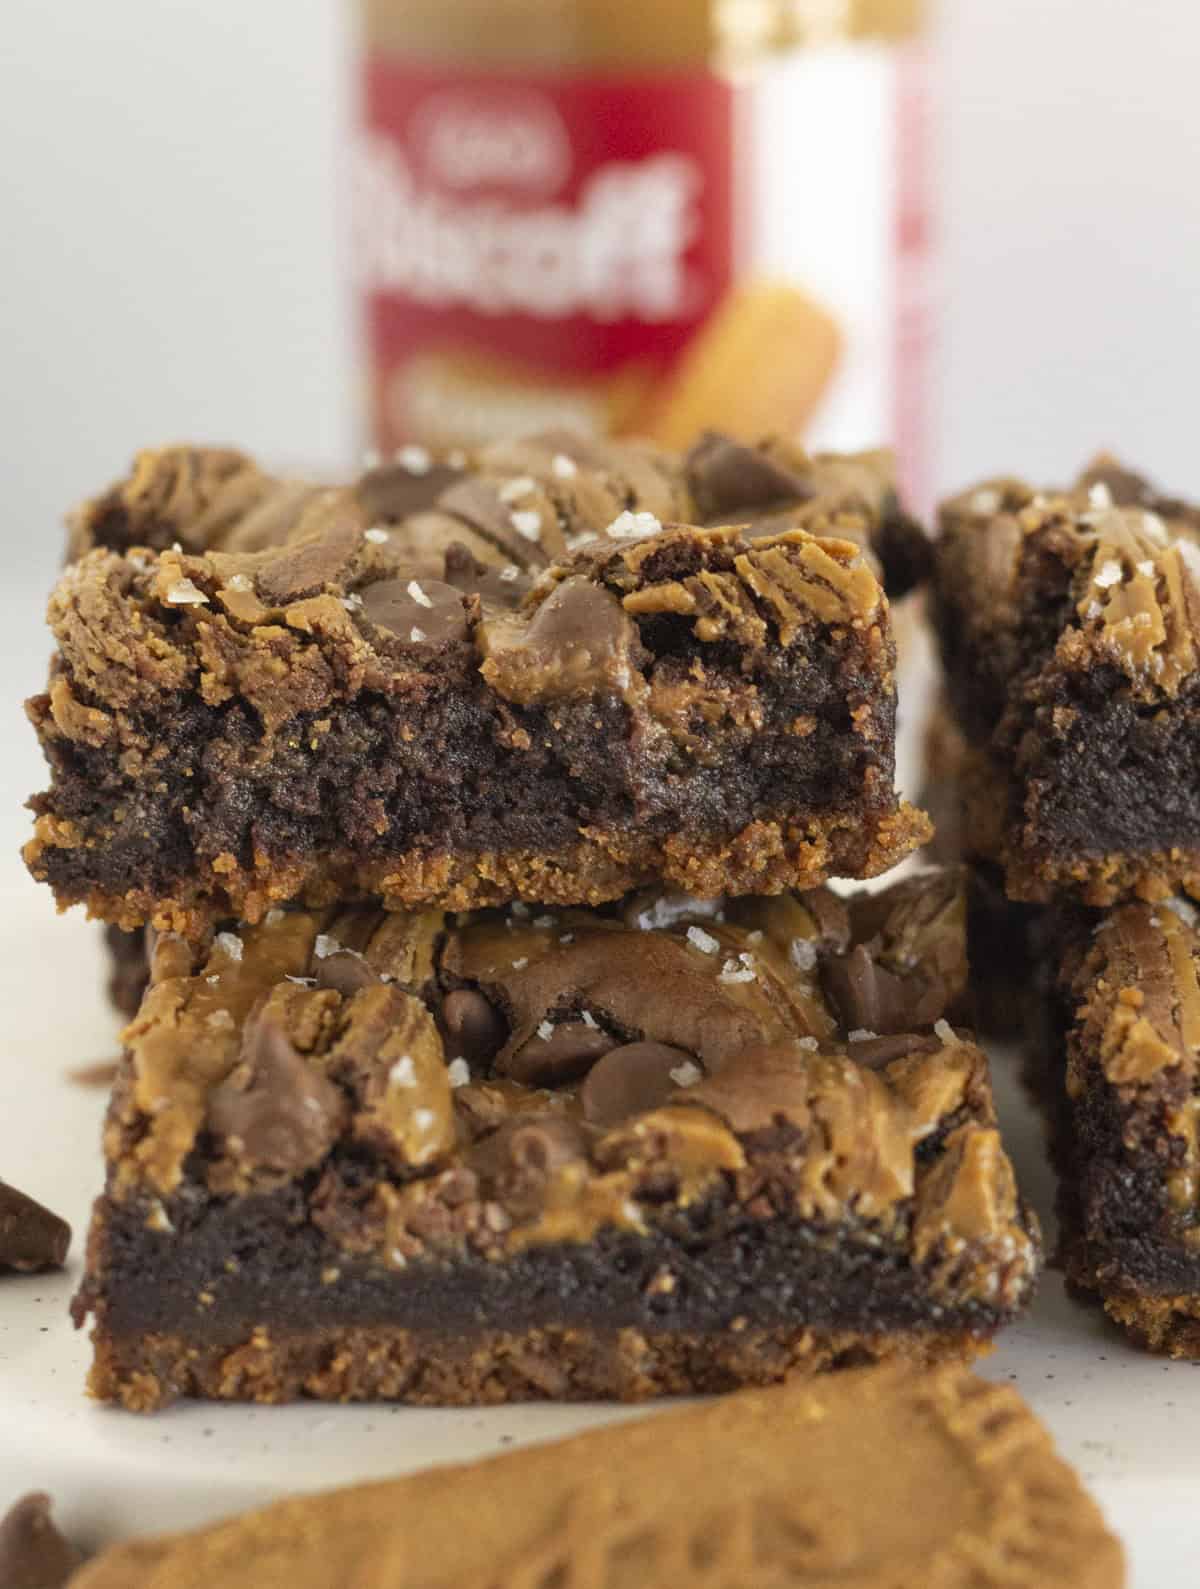
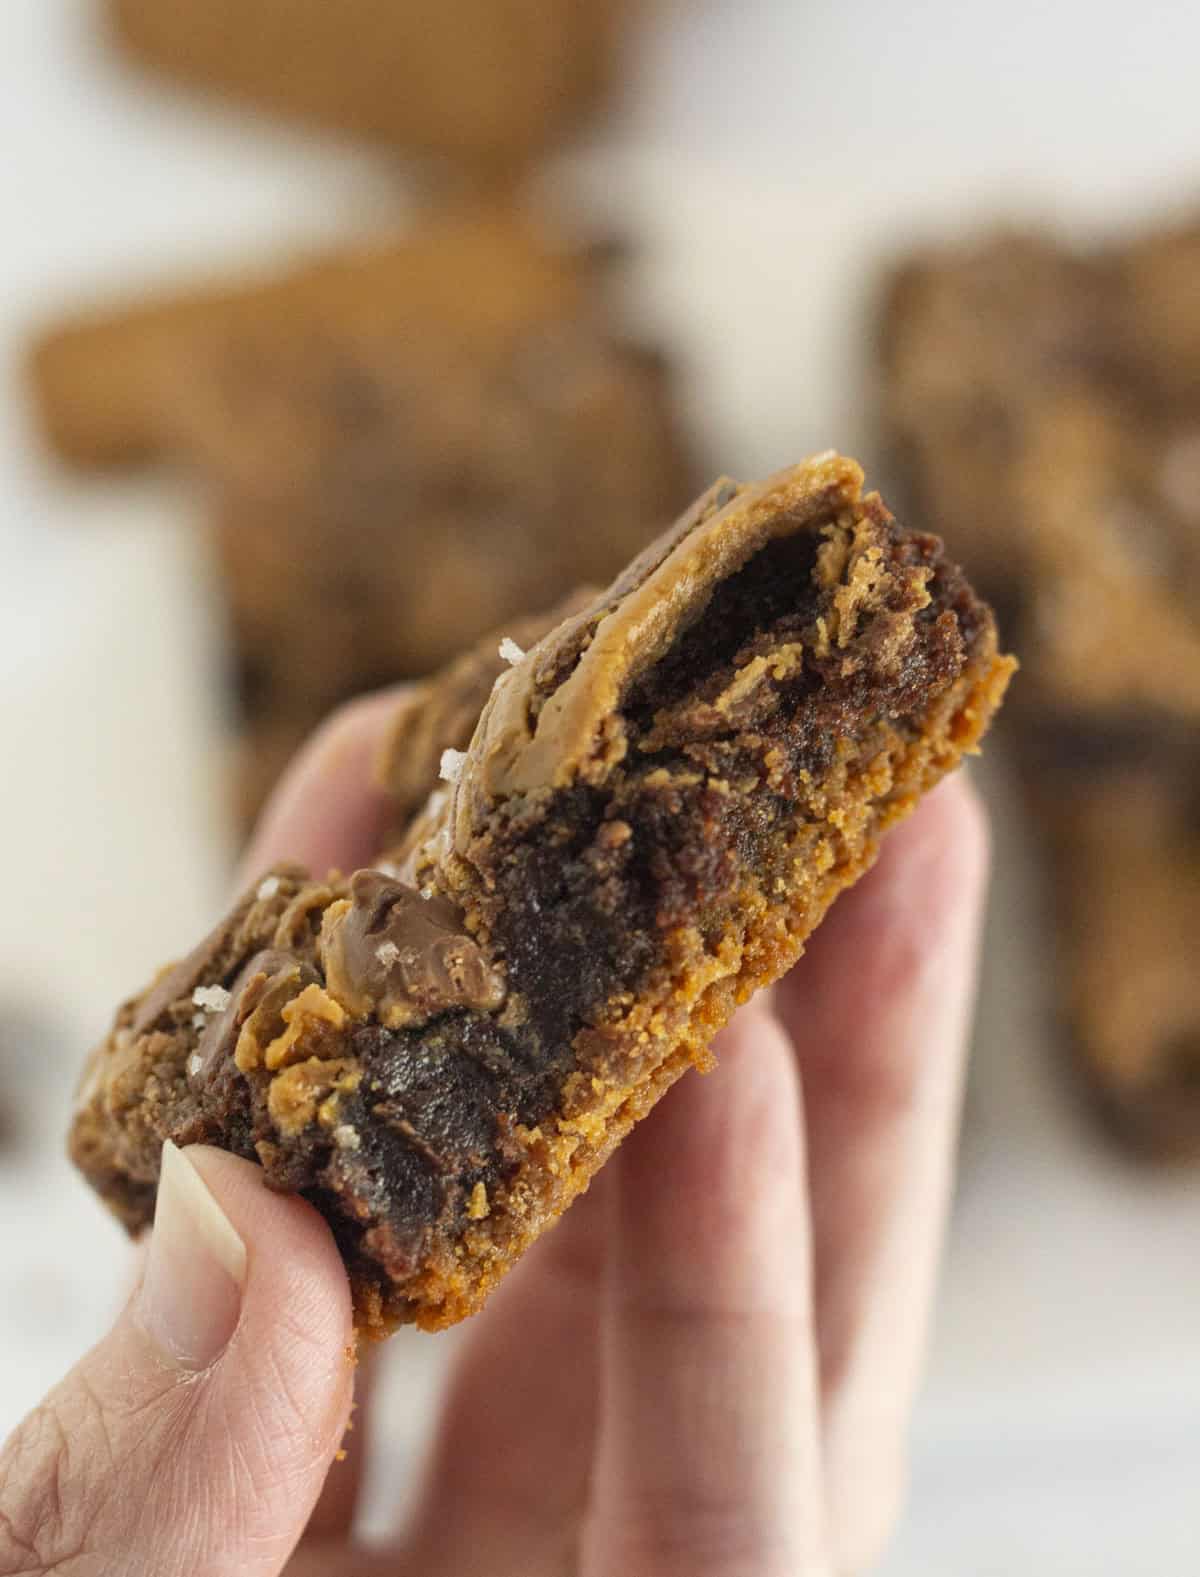
If you’re craving a rich brownie with a twist, these Biscoff Brownies are it. They start with a box of brownie mix (because you know we love a shortcut), but get a delicious upgrade with a buttery Biscoff cookie crust and a swirl of cookie butter baked right into the batter. Every bite is a delicious mash-up of warm spice and deep chocolate flavor.
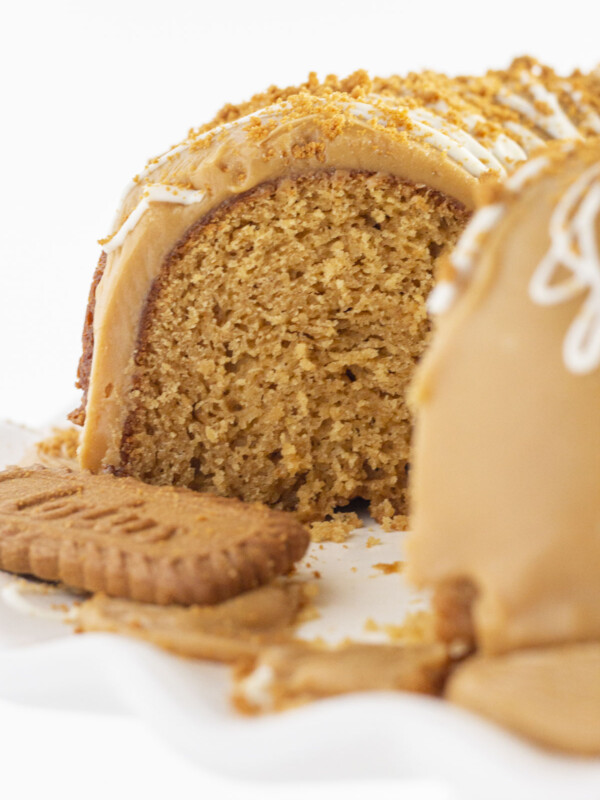
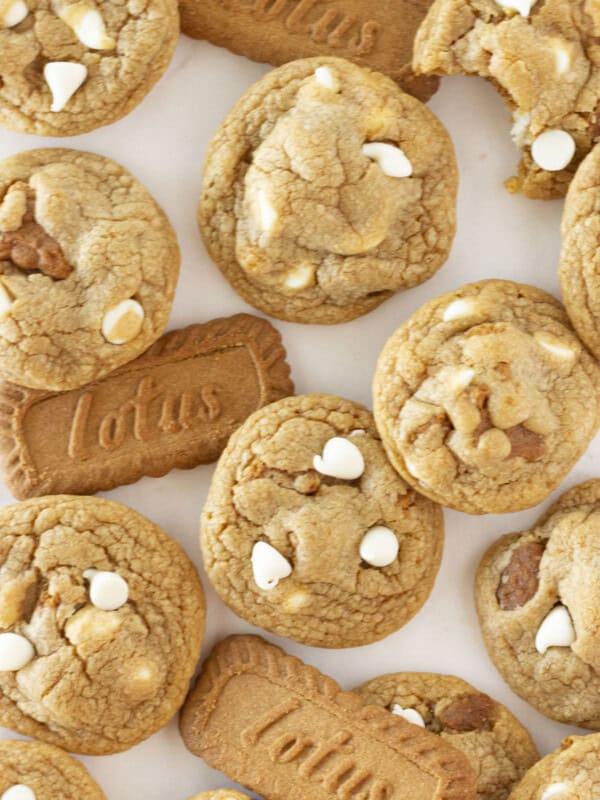
I created this recipe {along with my Cookie Butter Cake, Biscoff No Bake Cheesecake and No Bake Cookie Butter Cookies} a few years ago after trying cookie butter for the first time and becoming obsessed. I was adding it to everything and dreaming up new ways to bake with it. This brownie version became a quick favorite because the combo of that spiced cookie flavor with rich chocolate is pure magic.
I’ve made these cookie brownies for holidays and potlucks, but honestly? My favorite time to bake them is on a random Wednesday night. I’m a firm believer that every day deserves a fabulous dessert—and these brownies are the kind of treat that can turn an ordinary evening into something super special.
Ingredients Needed
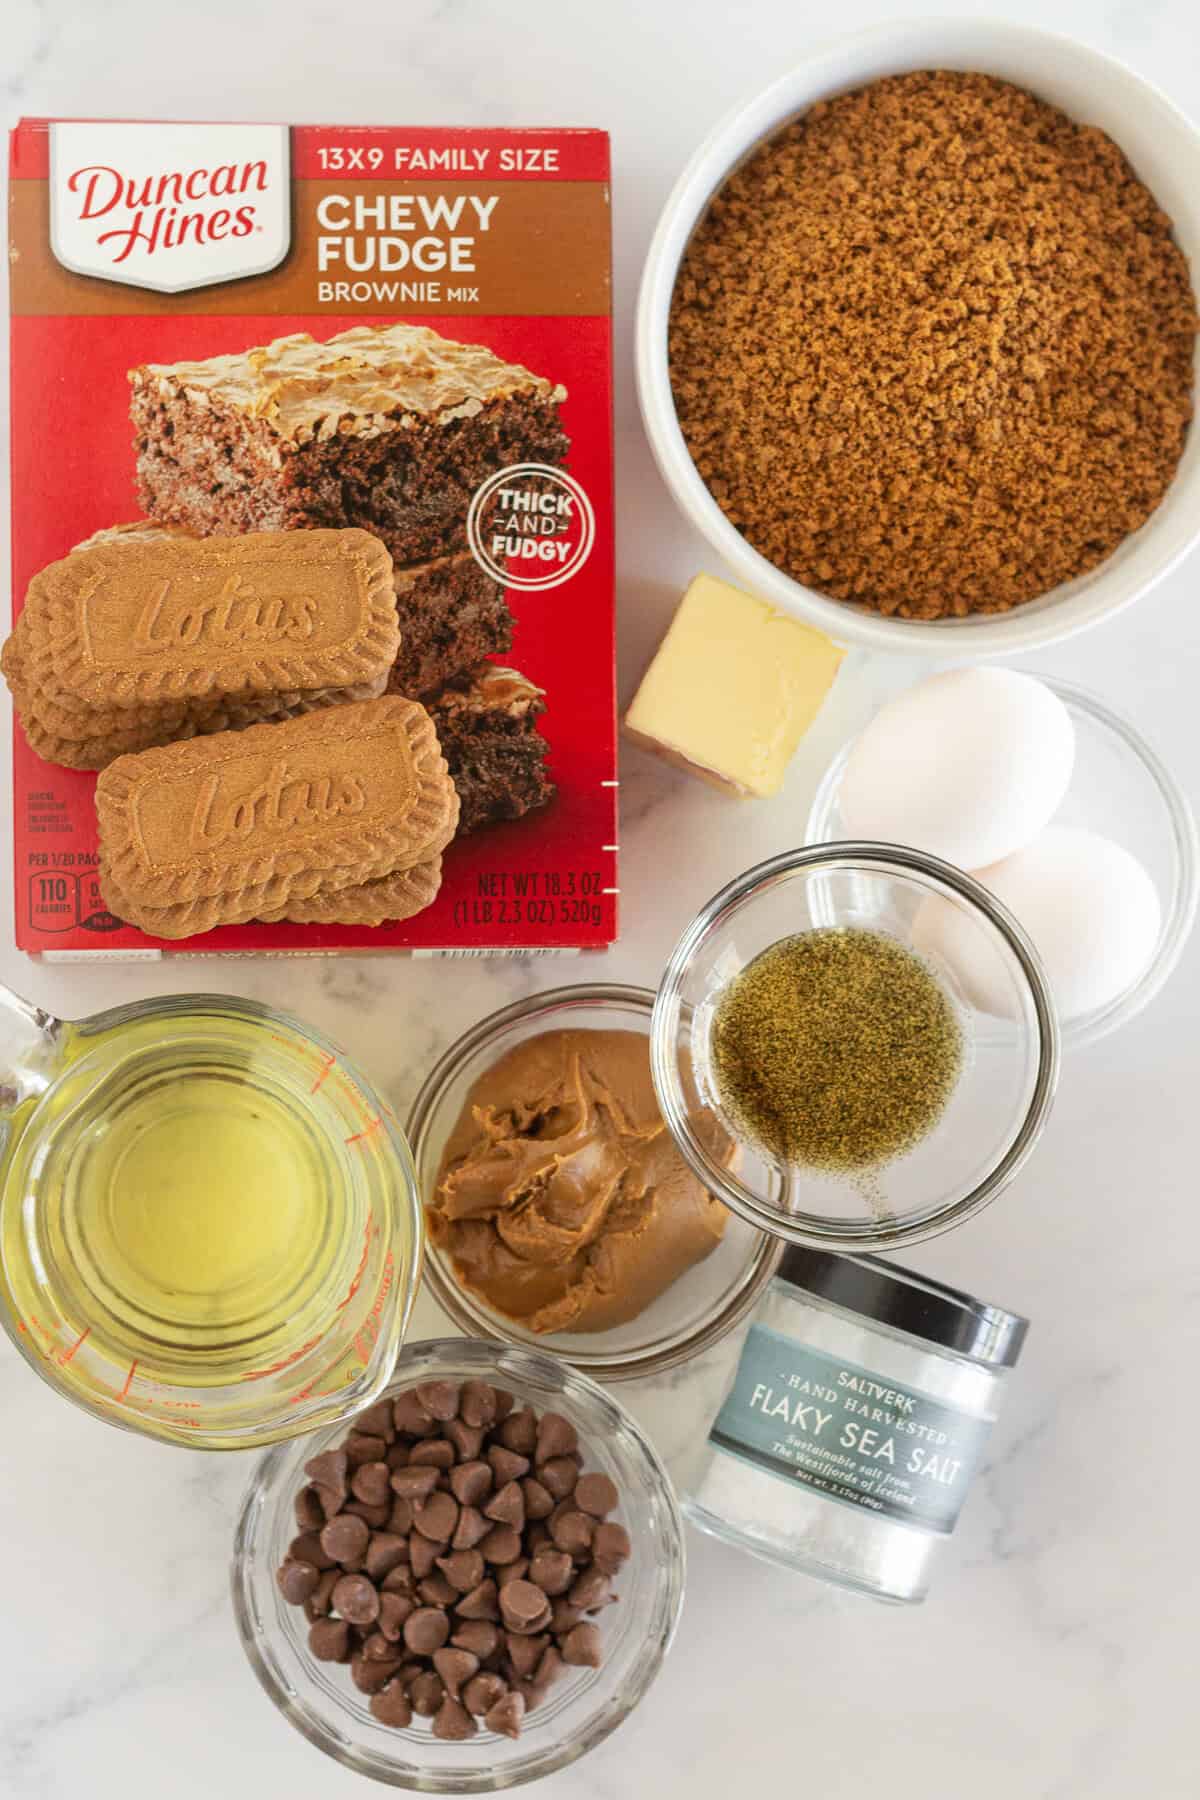
- Chocolate Brownie Mix: The fudge brownie mix from the grocery store is the perfect starting point for these brownies with a cookie crust.
- Biscoff Cookies: Using these spiced cookies to create a crust for the brownies adds a great texture and flavor.
- Cookie Butter: Swirling cookie butter into the chocolate brownie not only adds a rich taste but it also gives the top of the brownies a fun pattern.
- Flaky Sea Salt: While this ingredient is optional, I find that it does a great job of balancing the sweet and spice.
See recipe card for full information on ingredients and quantities.
Variations
Brownie Mix – Try using a salted caramel, milk chocolate or even dark chocolate brownie mix and make the brownie batter according to the instructions.
Cookie Crust – While the Biscoff crust is amazing, you could also use a chocolate chip cookie crust, vanilla wafer crust or a traditional graham cracker crust for the bottom of the brownies.
How to make Biscoff Brownies
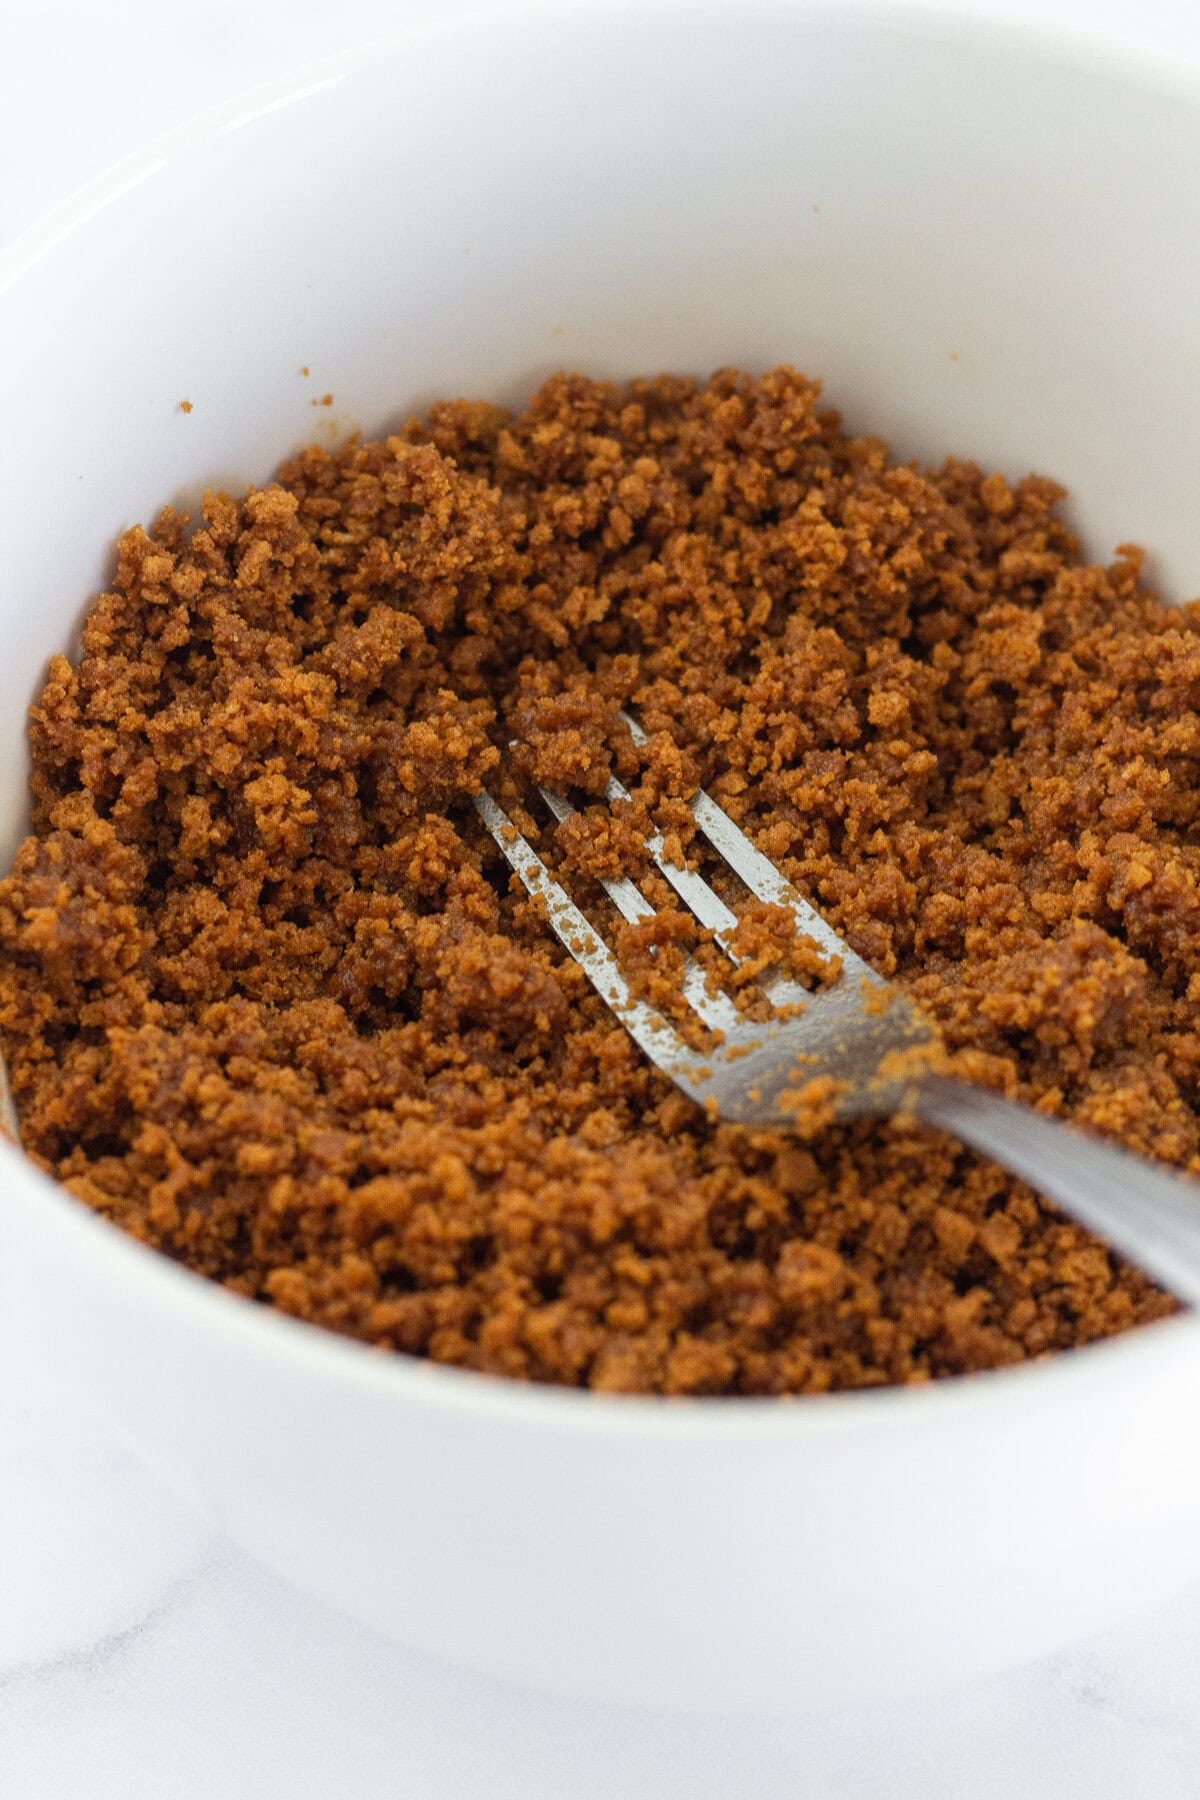
Combine the crushed biscoff cookies with the melted butter and stir until all of the crumbs are coated with butter.
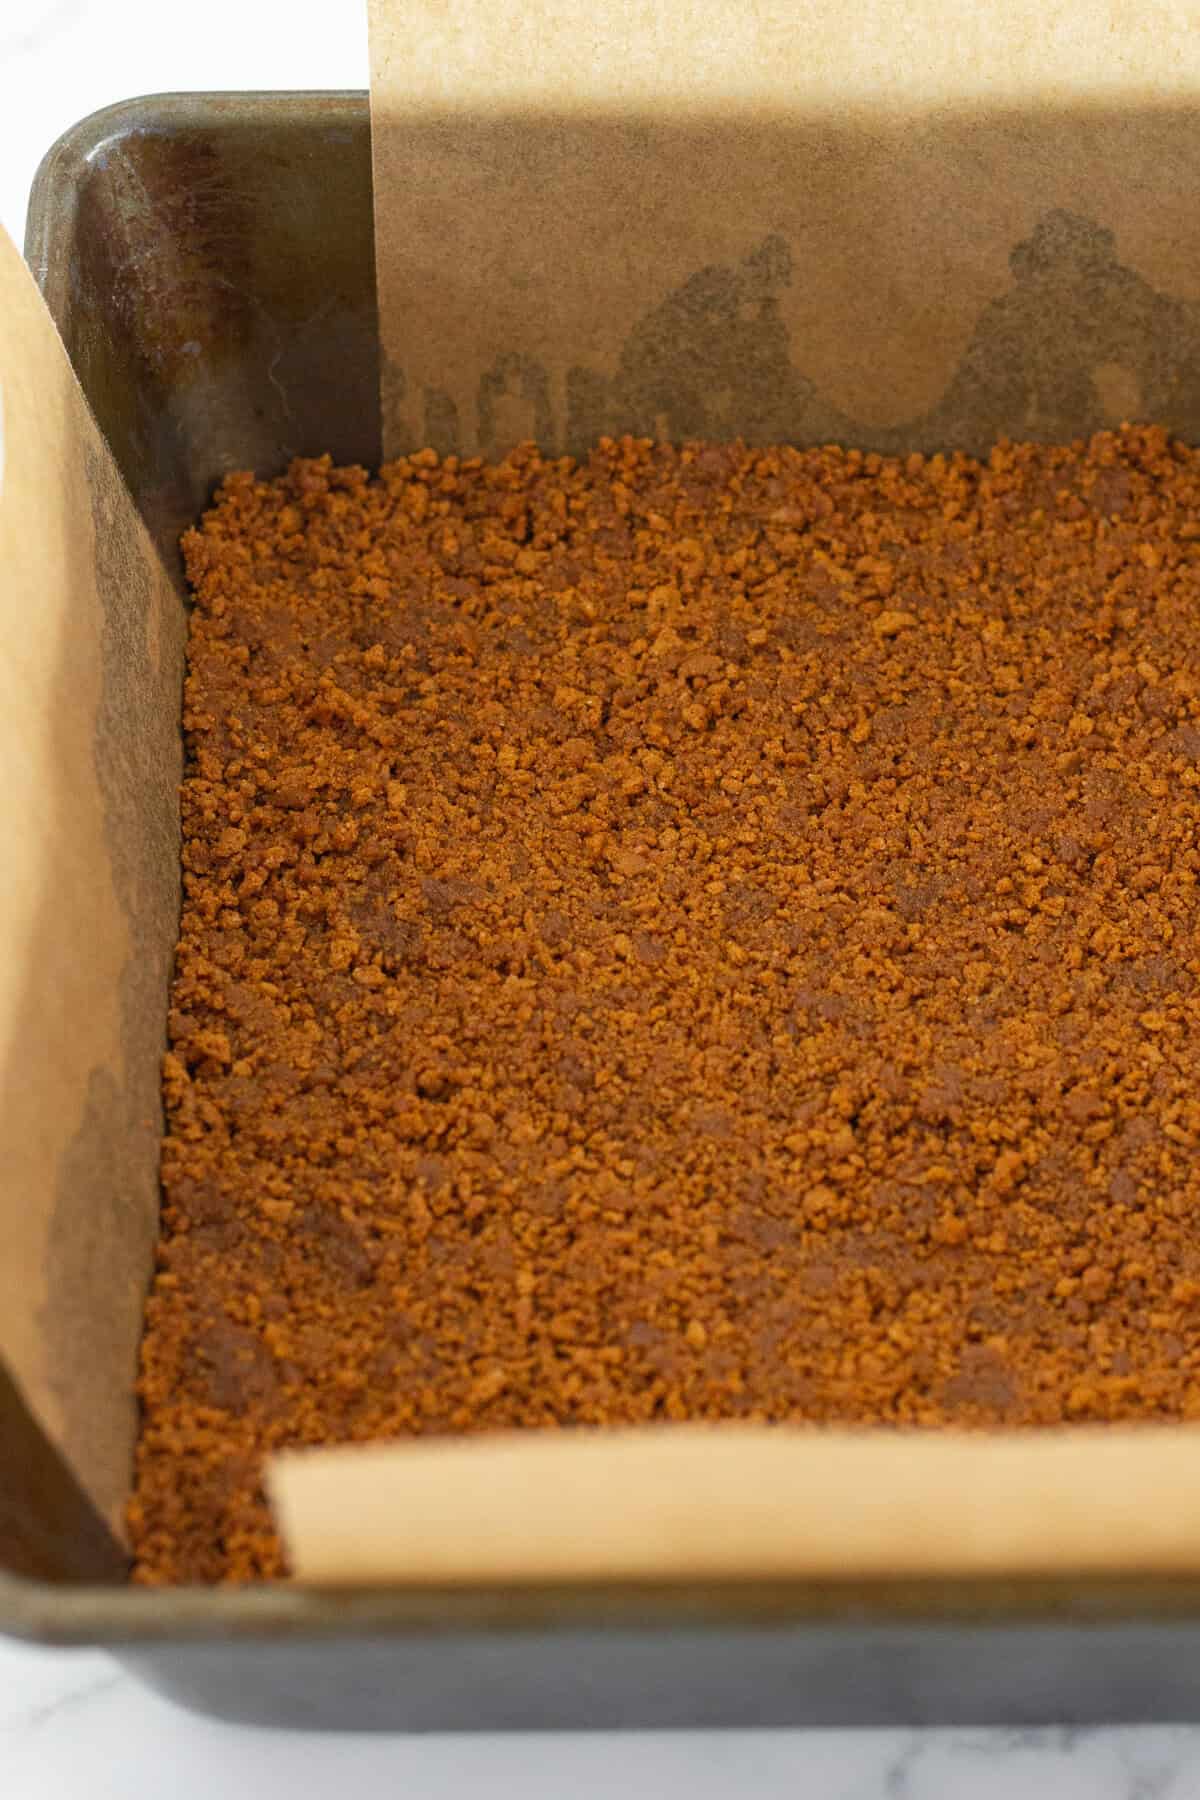
Pour the cookie mixture into the bottom of a prepared 8×8 baking pan and press them down into an even layer. Set aside.

Combine the brownie mix, eggs, water and oil in a large bowl and mix using a handheld mixer {or by hand} until everything is incorporated.
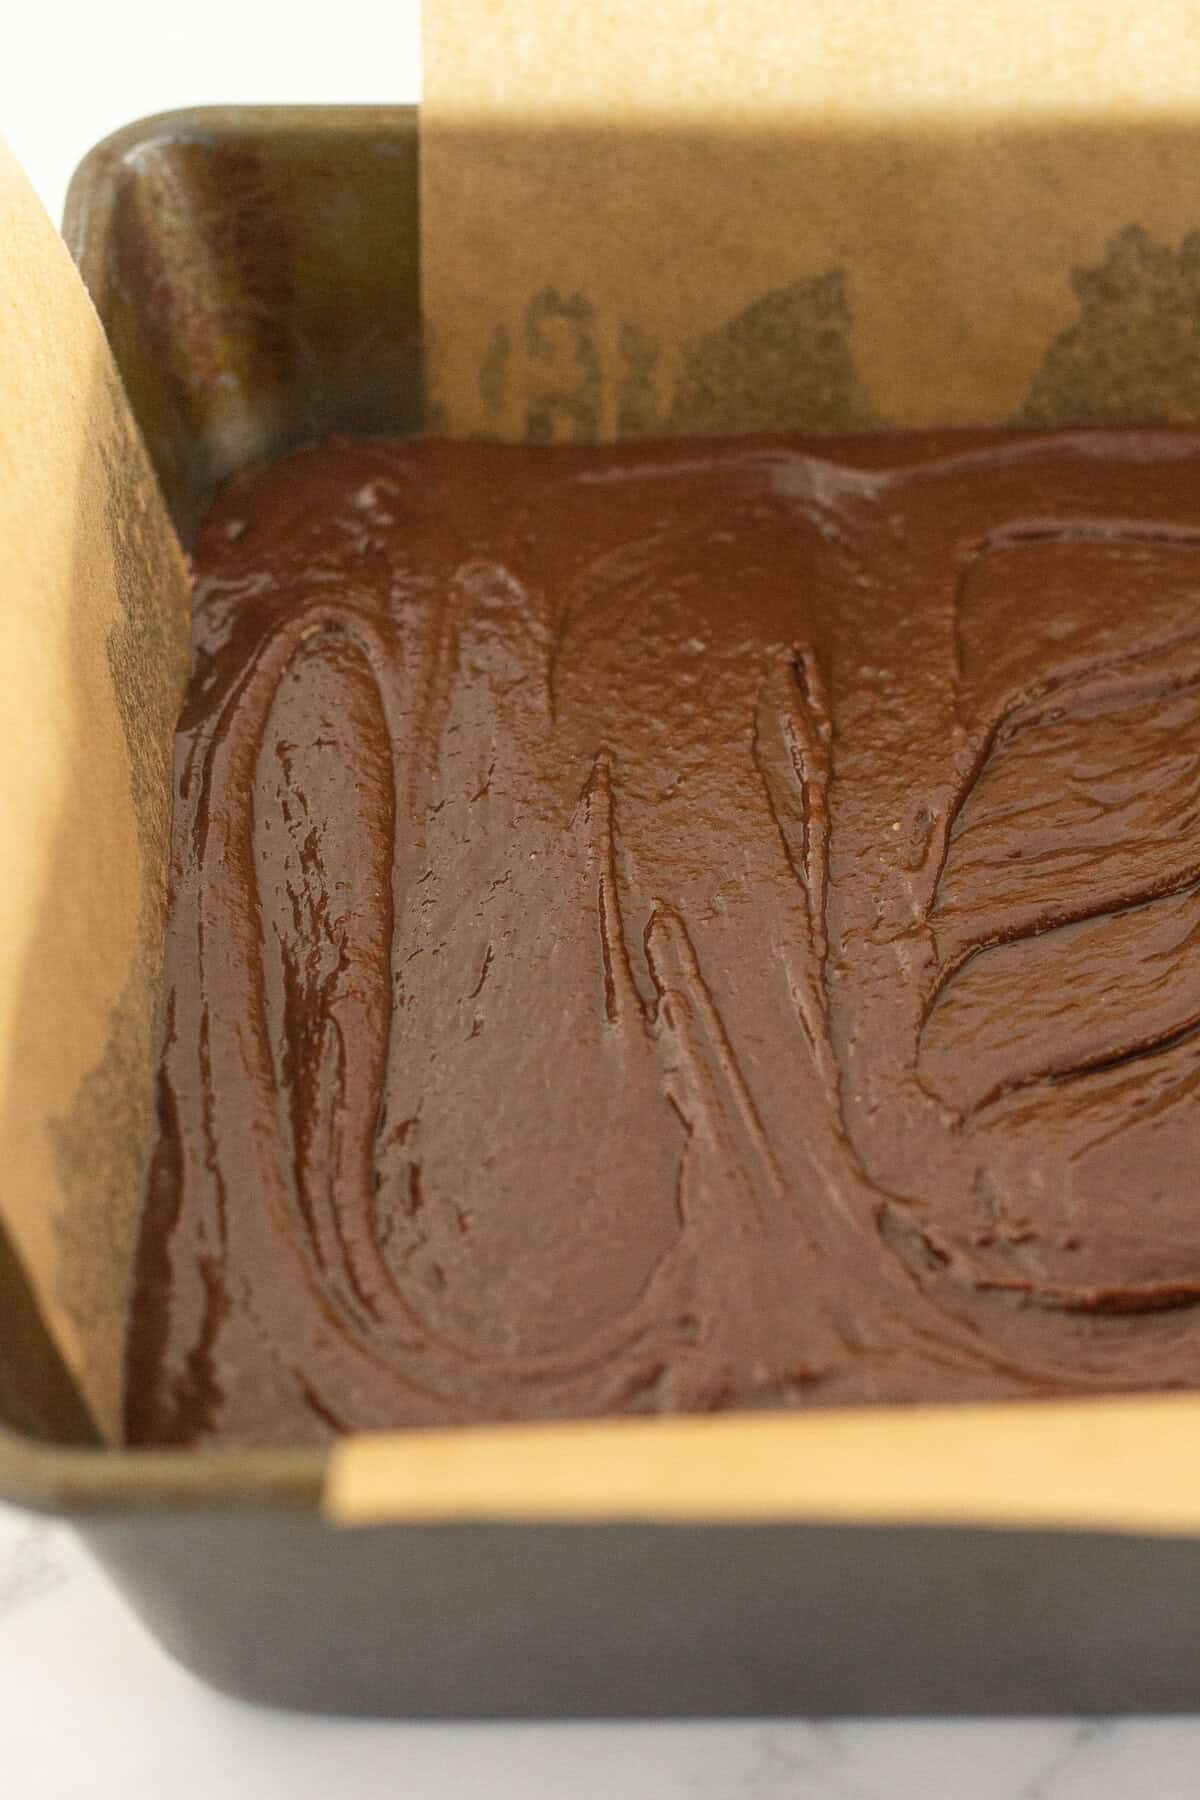
Spread the brownie batter into an even layer over the top of the Biscoff cookie crust.
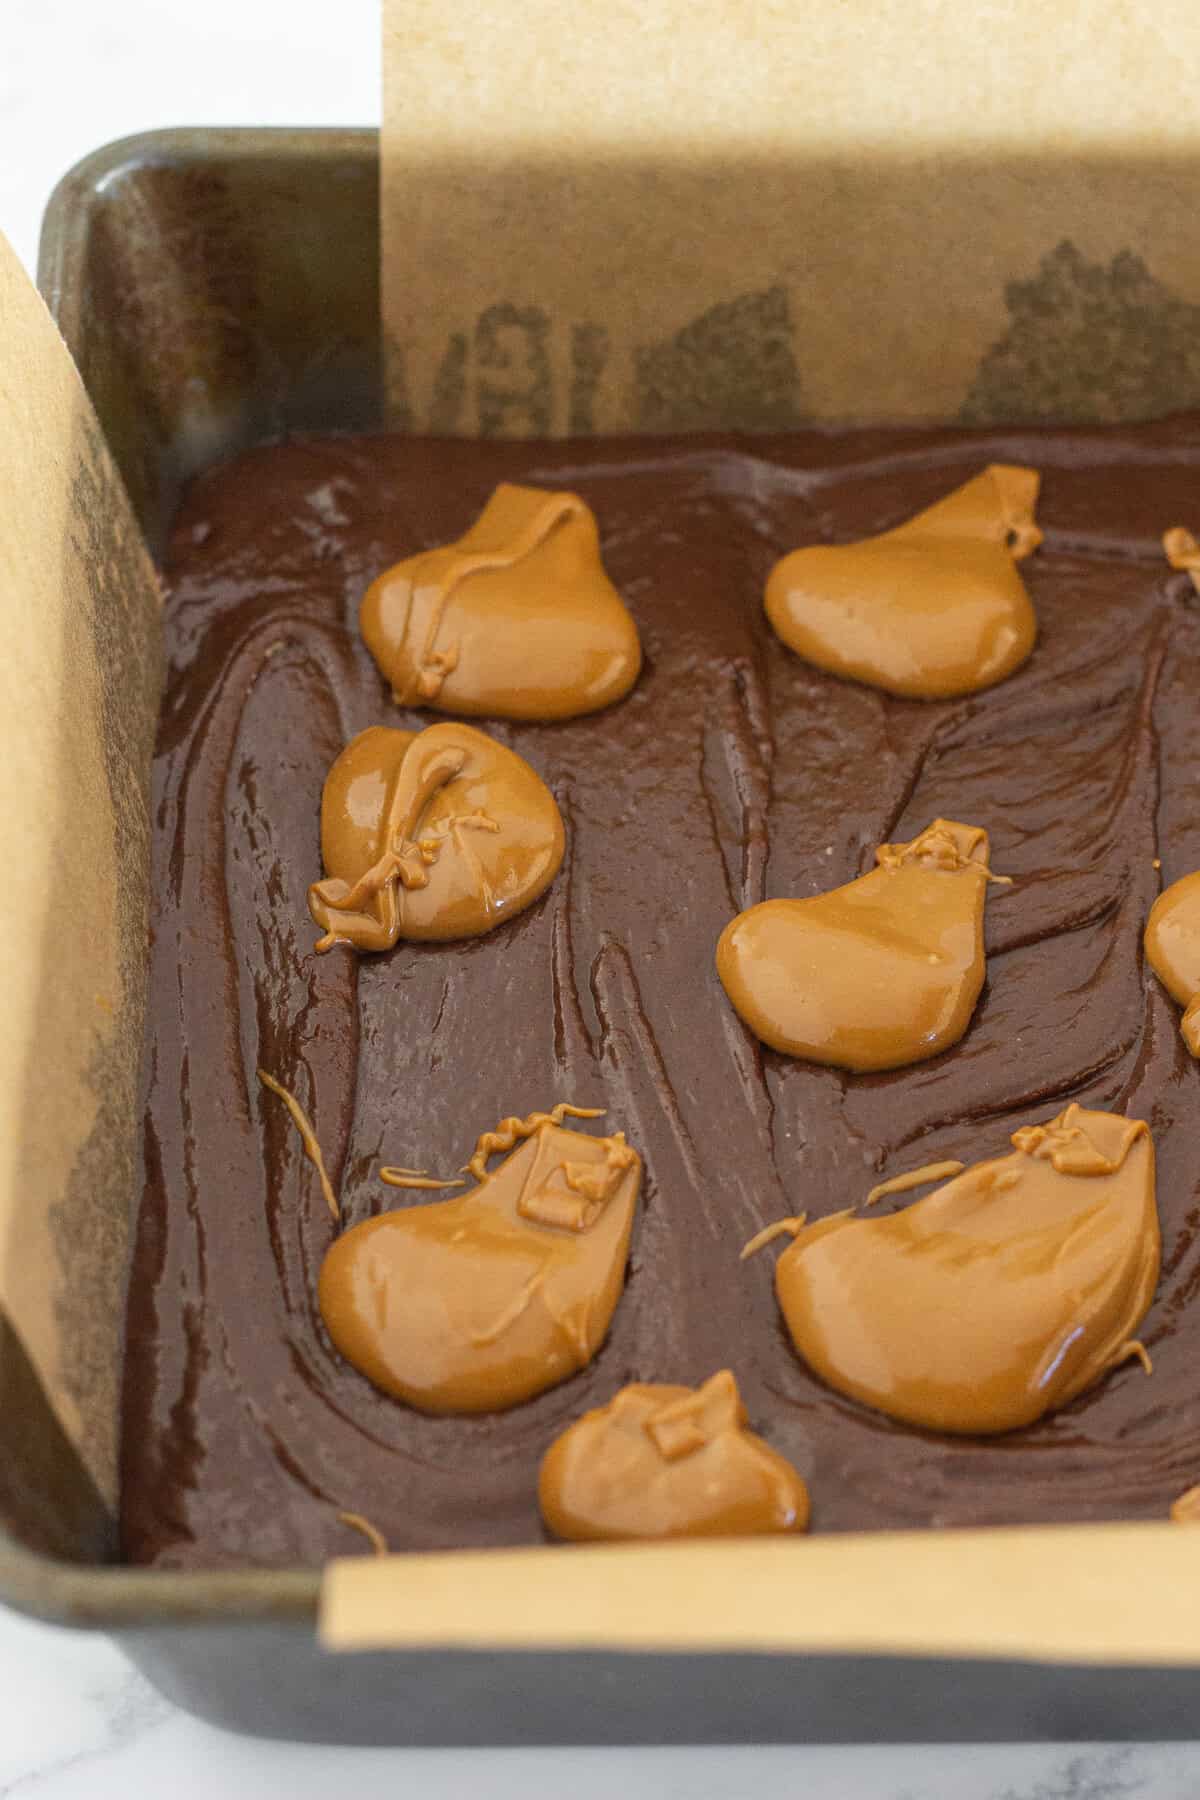
Drop spoonfuls of cookie butter over the top of the brownie layer. Note: You may need to microwave the cookie butter for 20 seconds to get the right consistency.
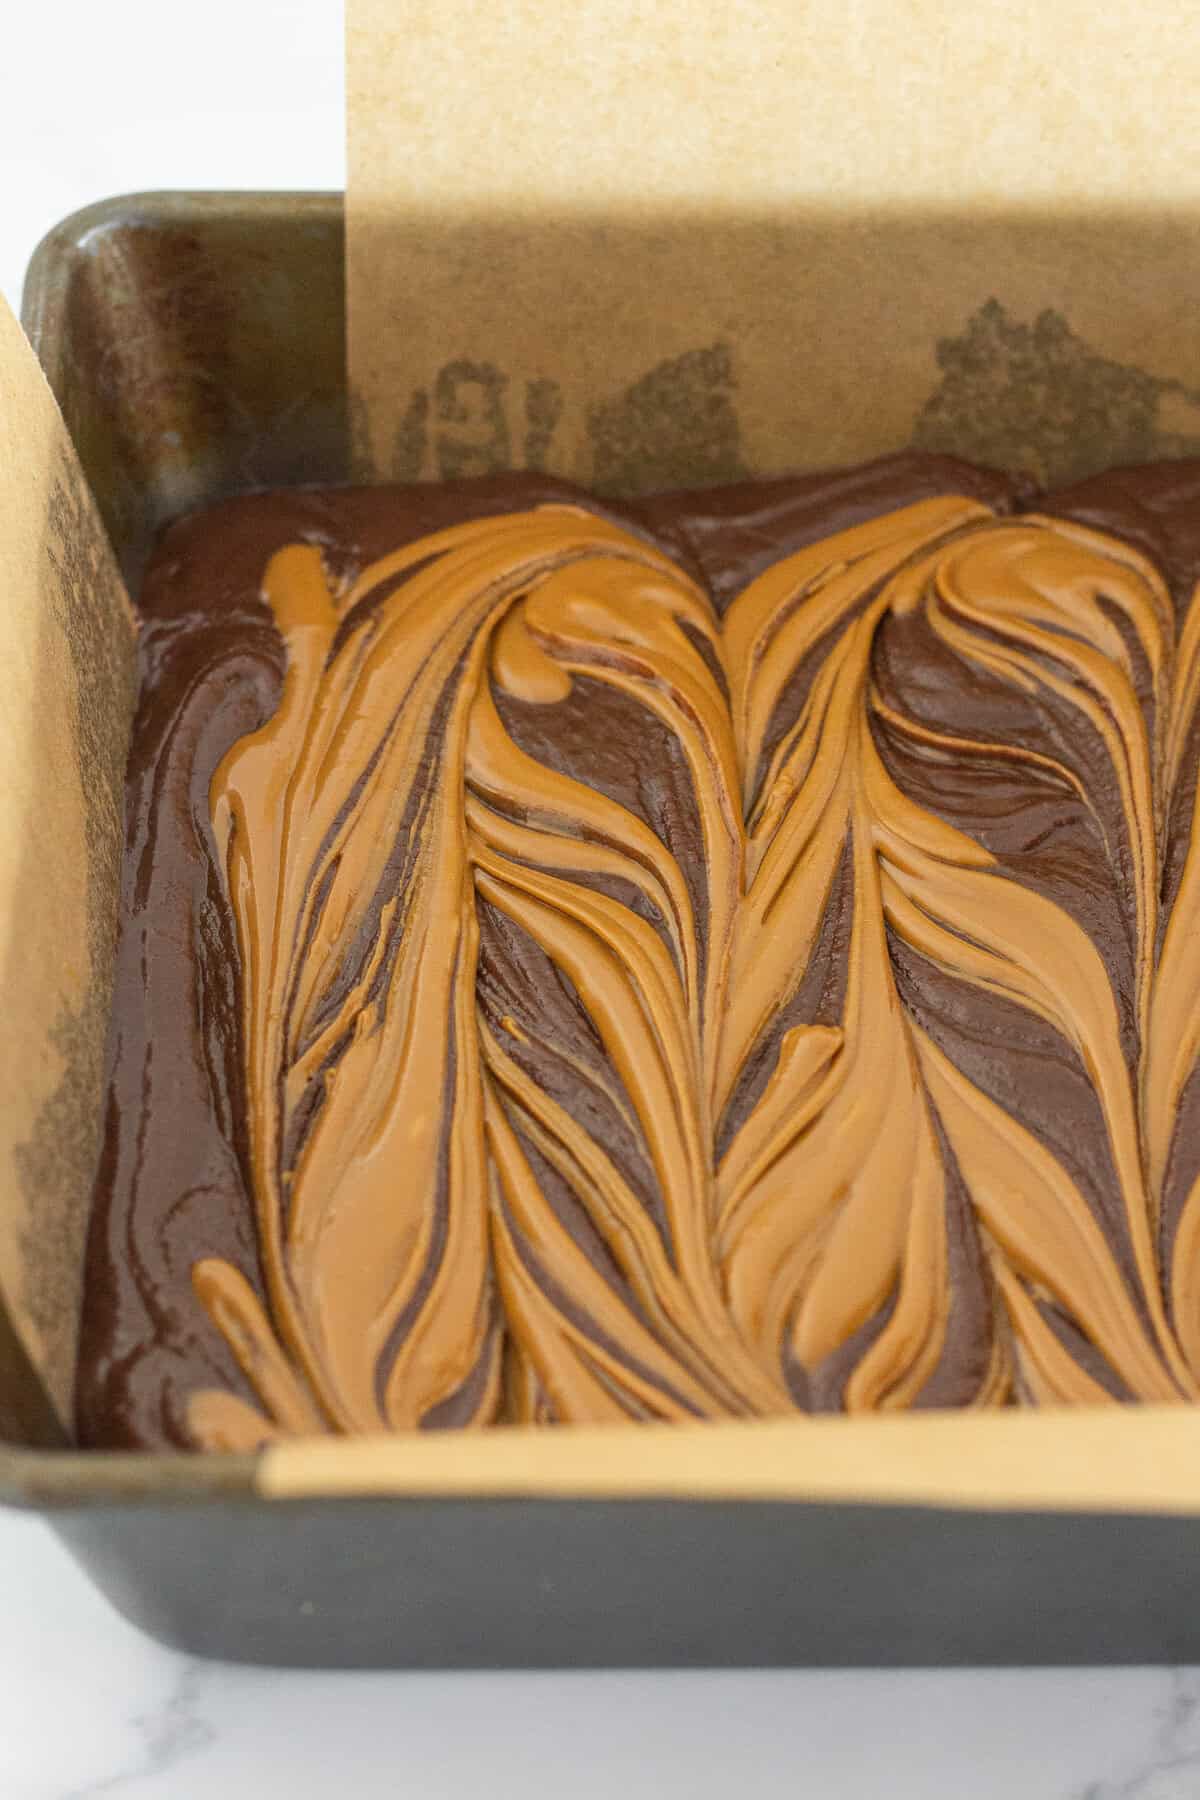
Using a butter knife, swirl the cookie butter into the brownie batter. Being sure to not disrupt the cookie crust.
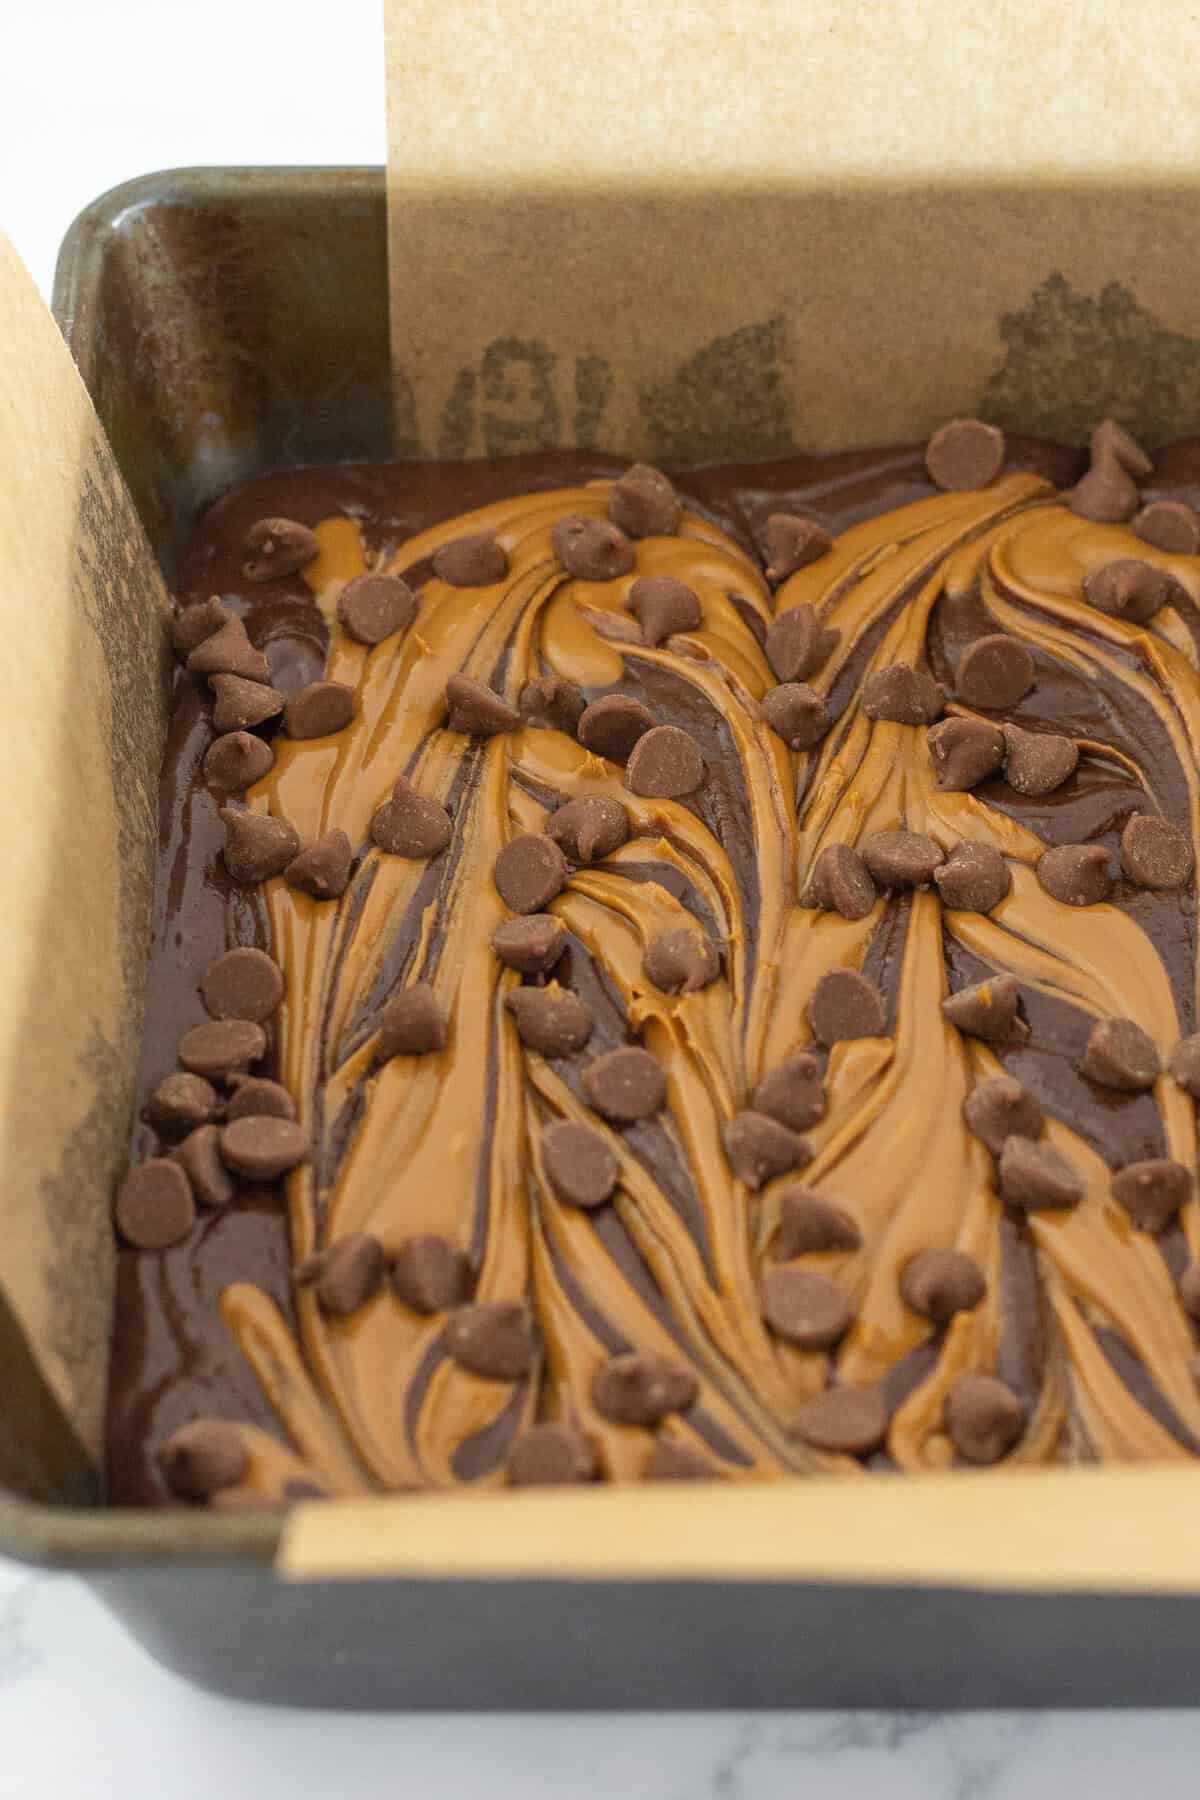
Sprinkle the top of the brownies with milk chocolate chips and bake in a preheated oven for 25-28 minutes.

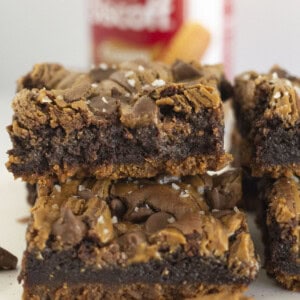
Finally pull the Biscoff brownies from the oven and sprinkle with flaky sea salt. Allow the brownies to cool completely before cutting into squares.
For Best Results
Bake the cookie butter brownies in a metal pan. A glass dish will be hotter in the oven and could easily burn the bottom of the brownies. If you only have a glass baking pan, reduce the baking temperature to 325 degrees.
For a fudgy and gooey brownie it is super important to not over bake them. Remember that they will set up as they cool.
To get nice and clean lines for serving the brownies, refrigerate the brownies for an hour before cutting into squares.
Storage
These Biscoff cookie brownies will keep well for up to 4 days when stored in a good airtight container {or wrapped in plastic wrap} either at room temperature or in the refrigerator.
They can also be frozen for up to 3 months. To do so, place the brownies in a freezer safe container and place parchment paper between layers.
How can I tell when the brownies are done?
When the brownies are finished baking I take a look at the edges and middle. The edges of the brownie should look set and be slightly pulled away from the sides of the pan and the middle of brownies should still have a slight giggle.
Can I double the recipe?
Yes, you can easily double the recipe and bake it in a 9×13 baking pan. Remember that the baking time will be slightly longer.
Do you like cookie butter? Try these recipes…


Did you try this recipe? Leave a ⭐️⭐️⭐️⭐️⭐️ review below and tag @practicallyhomemade on Pinterest!
Biscoff Cookie Butter Brownies
Ingredients
Biscoff Cookie Crust
- 1 ½ cups Biscoff Cookies, {crushed-about 20 cookies}
- ⅓ cup butter, {melted}
Brownies
- 1 box fudge brownie mix, {18.3 ounces}
- 2 large eggs
- 3 Tablespoons water
- ⅔ cup vegetable oil
- ½ cup Biscoff cookie butter
- ¼ cup milk chocolate chips, {optional}
- ½ Tablespoon flaky sea salt, {optional}
Instructions
- Preheat the oven to 350℉ and line a 8×8 inch baking pan with parchment paper {or spray liberally with nonstick cooking spray}. Set aside.
Biscoff Cookie Crust
- Mix together the crushed Biscoff cookie crumbs with the melted butter until all of the crumbs are coated. Press the mixture into an even layer in the bottom of the prepared pan.
Brownies
- Combine the brownie mix, eggs, water and oil in a large bowl. Mix with a handheld mixer {or by hand} until everything is combined. Pour the brownie batter over the Biscoff crust and spread out into an even layer.
- Add the cookie butter to a microwave safe bowl and microwave for 20 seconds, stir and add 5 second intervals until it is thin enough to swirl. Note: You want the cookie butter to be a thinner consistency but also not too thin. Use a spoon to spoon the cookie butter on top of the brownie batter. Using a butter knife, swirl the cookie butter into the brownie batter, making sure to not disrupt the cookie crust. Finally, sprinkle the milk chocolate chips over the top of the brownie {optional}.
- Bake for 25-28 minutes or until the brownie edges are set and pull away from the pan but the top still has a slight giggle. Remove from the oven, sprinkle with flaky sea salt {if desired} and cool completely before cutting into squares. Store leftovers in an airtight container for up to 4 days. They can also be frozen for up to 3 months.
Notes
- Bake in a metal pan for best results. A glass pan gets hotter in the oven and can easily burn the bottom of the brownies. If you only have a glass pan, reduce the baking temperature to 325 degrees.
- To get nice and clean cuts for serving, refrigerate the brownies for an hour.
Nutrition
Nutrition information is automatically calculated, so should only be used as an approximation.


These brownies are downright addictive!