Easy And Fudgy Red Velvet Brownies with a Cake Mix
Updated May 13, 2026, Published Feb 05, 2024
This post may contain affiliate sales links. Please see our full disclosure policy for details.
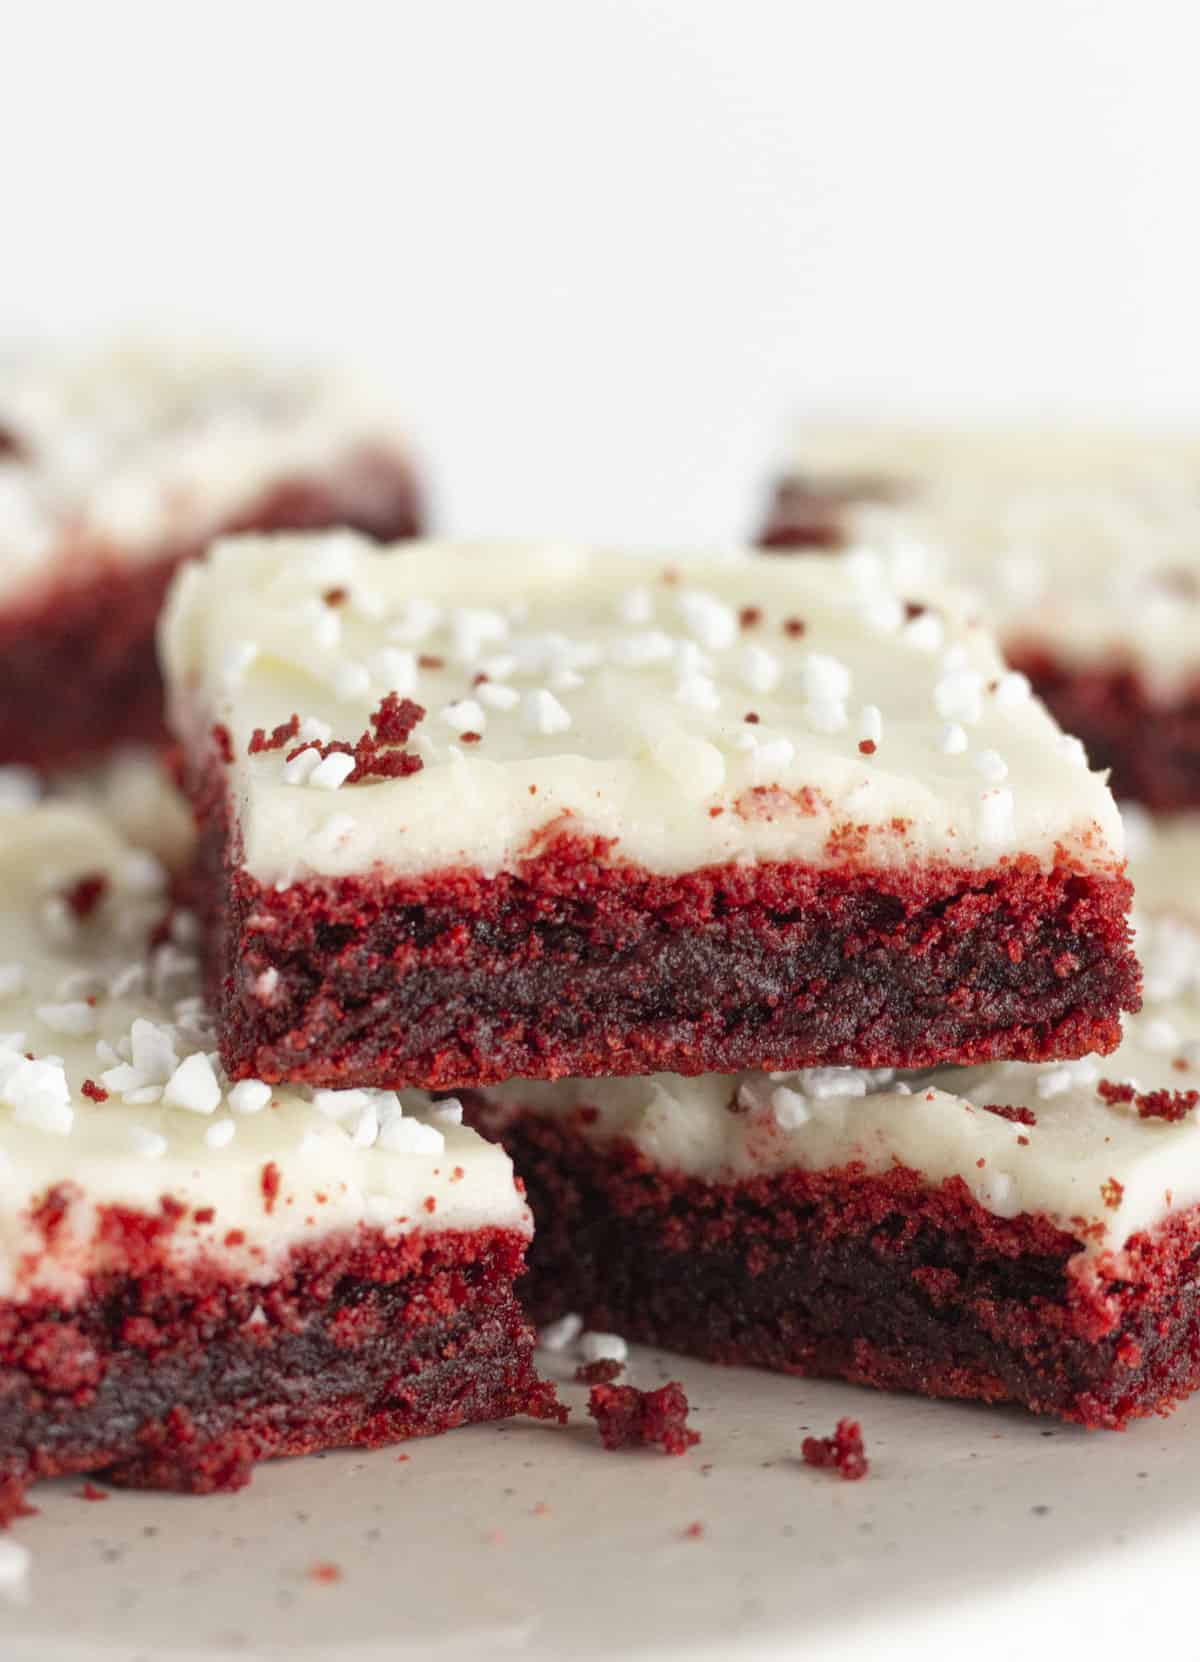
These Red Velvet Brownies with cake mix are perfect for Valentine’s Day or Christmas gatherings with their rich, fudgy texture and vibrant red color. Topped with a creamy cream cheese frosting, they make a charming addition to any dessert table.

Table of Contents
Get ready to fall in love with this red velvet brownie recipe! Picture this – a heavenly blend of rich, fudgy goodness with a vibrant red velvet color, making them an absolute showstopper, especially for occasions like Valentines Day or Christmas.
What makes this red velvet brownies recipe a winner? Well, first off, they’re a breeze to whip up – just toss together a red velvet cake mix, some oil, eggs, and a dash of vanilla, then pop it in the oven. I love an easy recipe! These Red Velvet Oreo Cookies and my Red Velvet Whoopie Pies are also awesome.
The result is a decadent, moist brownie with chewy edges and a gooey center. And let’s not forget the best thing about these brownies – a luscious cream cheese frosting that takes them to a whole new level of deliciousness.
Whether you’re treating yourself or sharing the love at a special gathering, these red velvet brownies are a surefire way to satisfy your sweet tooth and leave everyone asking for more.
What goes into this Recipe
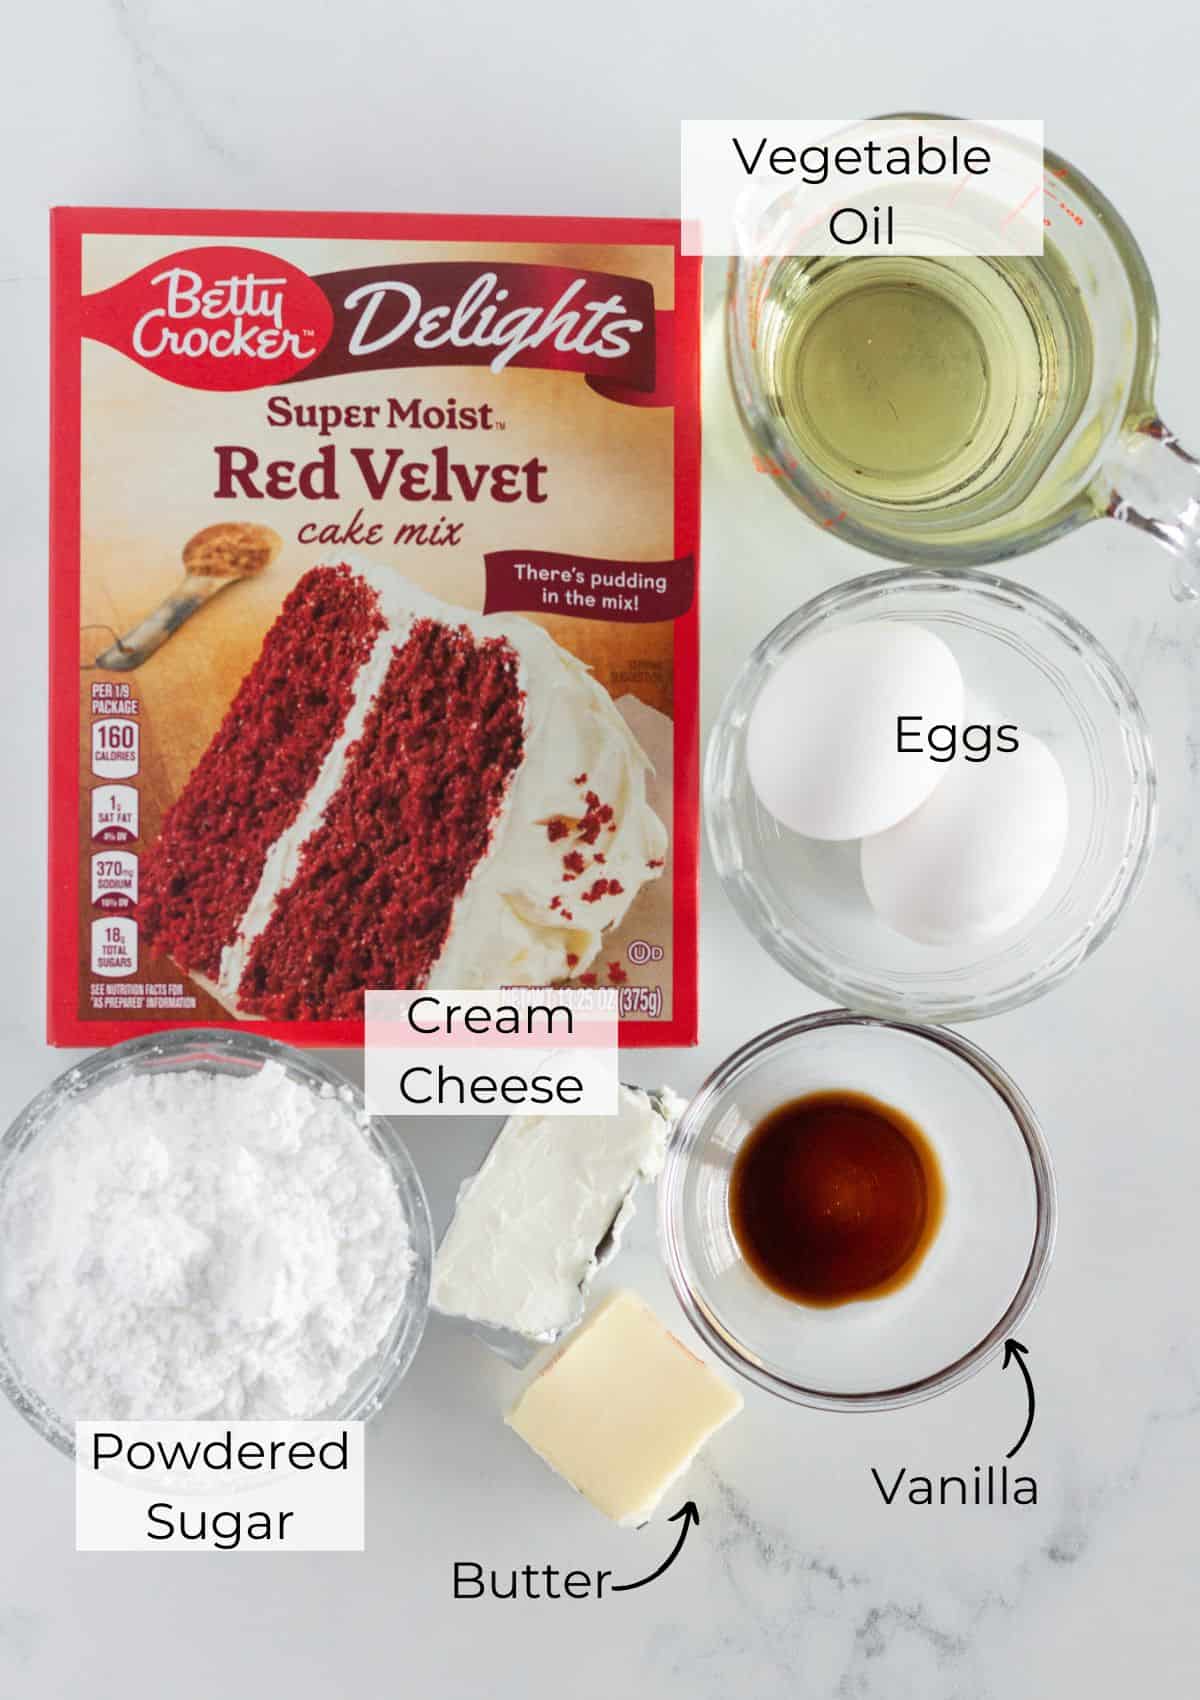
- Red Velvet Cake Mix: Makes this an easy dessert with simple ingredients, adding beautiful red color and classic flavor effortlessly without worrying about red food coloring. It is the main ingredient in this classic red velvet bundt cake too.
- Vegetable Oil: Keeps the brownies moist and adds a rich texture.
- Eggs: Provide structure and contribute to the chewy texture.
- Cream Cheese: Takes the lead in the cream cheese icing, giving it a creamy texture and tangy flavor that gives the perfect balance to the sweetness of the brownies.
See recipe card for full information on ingredients and quantities.
Additions and Variations
To make these delicious brownies even more tasty and festive, try these simple twists:
- Add chocolate chips: Red velvet brownies already have a chocolate flavor, but add even more chocolatey goodness by folding mini chocolate chips {like these Red Velvet Muffins} into the brownie batter. White chocolate chips would also be delicious {like these Red Velvet White Chocolate Chip Cookies}!
- Add nuts: Chopped pecans or walnuts are a perfect way to add crunch. Stir them into the batter or the creamy cream cheese frosting.
- Add peppermint: If you’re making these for Christmas, add a drop of peppermint extract to the batter and crush up some candy cane or peppermints to sprinkle on the frosting. You can also try these Peppermint Brownies.
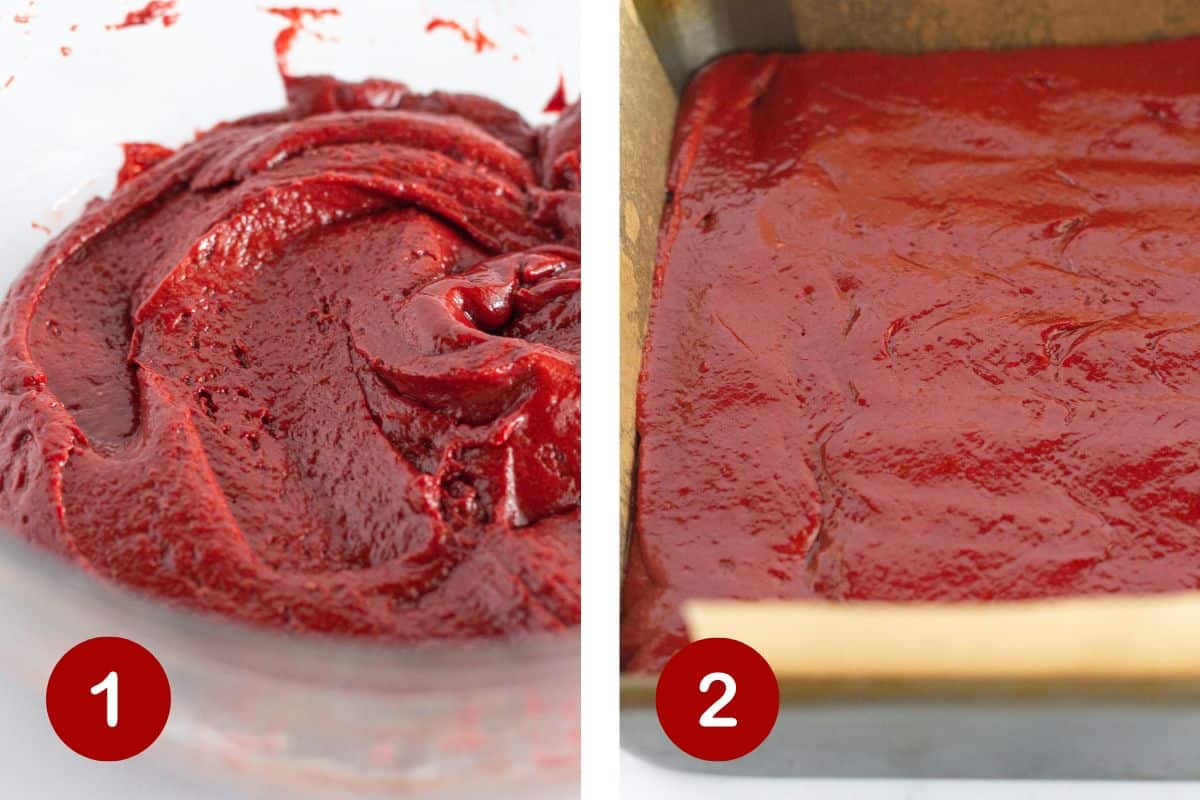
How to make Red Velvet Brownies with a Cake Mix
- In a large mixing bowl combine red velvet cake mix, oil, eggs and vanilla extract. This can be done either by hand or with an electric mixer.
- Pour the batter into a prepared 9×9 square pan and spread out into an even layer.
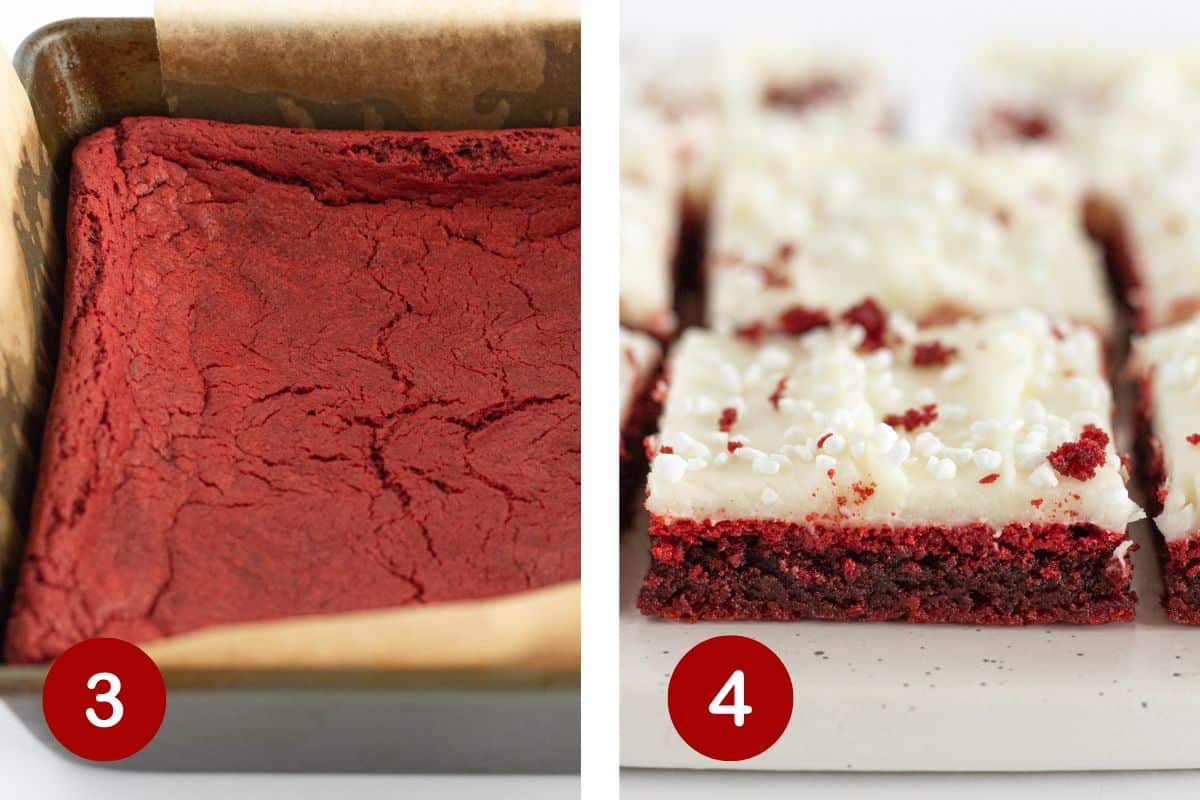
- Bake for 20-25 minutes {or until the sides are set and the middle still has a little jiggle}. To get the fudgy texture you know and love, be sure to not over bake. You can tell they are done baking when the sides are set and the center of the brownies still has a slight jiggle. There will also be moist crumbs on a toothpick. Remove from the oven, place on a cooling rack and let cool completely.
- Once your bars are completely cooled, combine your package of cream cheese and butter in a large bowl and mix using a hand held mixer {or by hand} until smooth. Add the powdered sugar and continue to mix until you have a creamy frosting. NOTE: This might take a minute or two. The frosting will look dry but keep mixing and it will come together. Finally, add the vanilla. Mix one more time until completely mixed in. Spread the cream cheese mixture onto the cooled brownies in an even layer. Refrigerate for an hour or two and cut into 12 squares.
Expert Tips
- Line the pan with parchment paper and spray lightly with nonstick cooking spray. This combination makes removing the brownies from the pan super simple.
- Do not over bake the brownies. In order to get the amazing fudgy middle pull the brownies from the oven once the edges are set and the middle is still a bit jiggly. They will set up as it cools which results in the perfect texture of the brownies.
- Ensure that the cream cheese is room temperature before you begin making the frosting. Doing so will give you a fluffy cream cheese frosting that is free of lumps.
- Use a store bought cream cheese frosting if you’d like. This will save time and make them easy to pull together.
- Allow the brownies to cool completely before cutting into squares. If you try to cut them when they are warm you will not get a clean cut.
Storage and Freezing
Store- Store the fudgy red velvet brownies in the refrigerator in an airtight container or wrapped tightly in plastic wrap. They will last about 4 days.
Freeze- These red velvet cake mix brownies easily freeze for up to 3 months, with or without the cream cheese frosting. For best results, add the easy red velvet brownies to a freezer bag.
Recipe FAQs
Absolutely, the brownies are delicious on their own. The cream cheese frosting adds extra sweetness and creaminess, but it’s optional {although my husband thinks it is the best part}.
You can use a similar-sized baking dish, but keep an eye on the baking time as it might vary slightly.
Absolutely! You can mix the red velvet brownie batter by hand; it just might require a bit more elbow grease.
Yes, this is a great time-saving option. Just ensure it’s soft enough for easy spreading. I use it on this Gingerbread Cake and it is super tasty.
Do you love Brownie Recipes? Try these Amazing recipe…

Did you try this recipe?
Leave a ⭐️ review below and tag @practicallyhomemade on Pinterest!

Super Easy Red Velvet Brownies with a Cake Mix
Ingredients
Brownie
- 1 box red velvet cake mix, {13.25 ounces}
- ¾ cup vegetable oil
- 2 large eggs
- 1 Tablespoon vanilla extract
Cream Cheese Frosting
- 2 ounces cream cheese, {softened}
- 2 Tablespoons butter, {softened}
- ¾ cup powdered sugar
- ½ teaspoon vanilla extract
Instructions
Brownie
- Preheat the oven to 350°. Line a 9×9 baking pan with parchment paper and spray with nonstick spray.
- In a large bowl combine red velvet cake mix, oil, eggs and vanilla extract. This can be done either by hand or with a hand held mixer.
- Pour the batter into the prepared 9×9 pan and spread out into an even layer. Bake for 20-25 minutes {or until the sides are set and the middle still has a little jiggle}. To get the fudgy texture you know and love, be sure to not over bake. Remove from the oven and let them cool completely {about an hour}.
Cream Cheese Frosting
- Once your bars are completely cooled, combine your cream cheese and butter in a medium bowl and mix using an electric until smooth. Add the powdered sugar and continue to mix until you have a creamy frosting. NOTE: This might take a minute or two. The frosting will look dry but keep mixing and it will come together. Finally, add the vanilla. Mix one more time until completely mixed in.
- Spread the frosting onto the cooled bars in an even layer. Refrigerate for an hour or two and cut into 12 squares. Serve and enjoy. Store in the refrigerator for up to 4 days.
Notes
- Line the pan with parchment paper and spray lightly with nonstick cooking spray. This combination makes removing the brownies from the pan super simple.
- Use a store bought cream cheese frosting. This will save time and make it easy to pull together.
- Allow the brownies to cool completely before cutting into squares.
- Store the red velvet brownies in the refrigerator. They will last about 4 days.
Nutrition
Nutrition information is automatically calculated, so should only be used as an approximation.


How much milk?
I just fixed the post because there is not any milk in this recipe. Thank you so much for pointing that out.