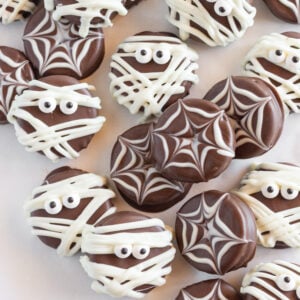
Easy and Spooky Halloween Chocolate Covered Oreos
Updated Mar 06, 2026, Published Oct 18, 2022
This post may contain affiliate sales links. Please see our full disclosure policy for details.
Sometimes it is fun to have a festive Halloween dessert. It is even better when that dessert is super easy and requires absolutely no baking. Dipping Oreo cookies in chocolate isn’t a new concept but making them a bit spooky is a little different. These Easy and Spooky Halloween Chocolate Covered Oreos are perfect for your next gathering but they are also a fun and creative edible project.
Do you love Oreo Cookies? Try this Easy Oreo No Bake Cheesecake Recipe!
Why this Chocolate Covered Oreo recipe is so AWESOME!
There are so many reasons why these Halloween Chocolate Covered Oreos are awesome. First of all, this spooky Halloween dessert is super fun! They look like Halloween and can be served for any occasion.
Secondly, this Oreo dessert doesn’t require any baking or the stove at all. A few minutes of melting chocolate wafers in the microwave is all you do and the rest is just dipping and creating.
And last but certainly not least, these chocolate coated Oreos don’t require any special decorating skills. Anyone can make them! All you need is a zipper bag and a toothpick.
What are Candy Melts?
Candy melts are different from chocolate chips or chocolate bars. They are a chocolate flavored ingredient that melts beautifully and comes in a variety of colors.
They are made for baking and are not temperamental, plus it sets up quickly. You can use chocolate chips for this recipe but they will not work quite as well and they take FOREVER to harden up on the Oreo cookie.
Ingredients Needed
- Oreo Cookies- I like using the seasonal Oreo cookies with the orange filling but you can use any kind of Oreo cookie that you like.
- Candy Melts- This recipe only calls for chocolate and white but there are so many other colors you can purchase.
- Edible EyeBalls- These cute little guys can be found in the baking section of your local grocery store or here. With the leftovers, you can make these Creepy Halloween Chocolate Chip Cookies!
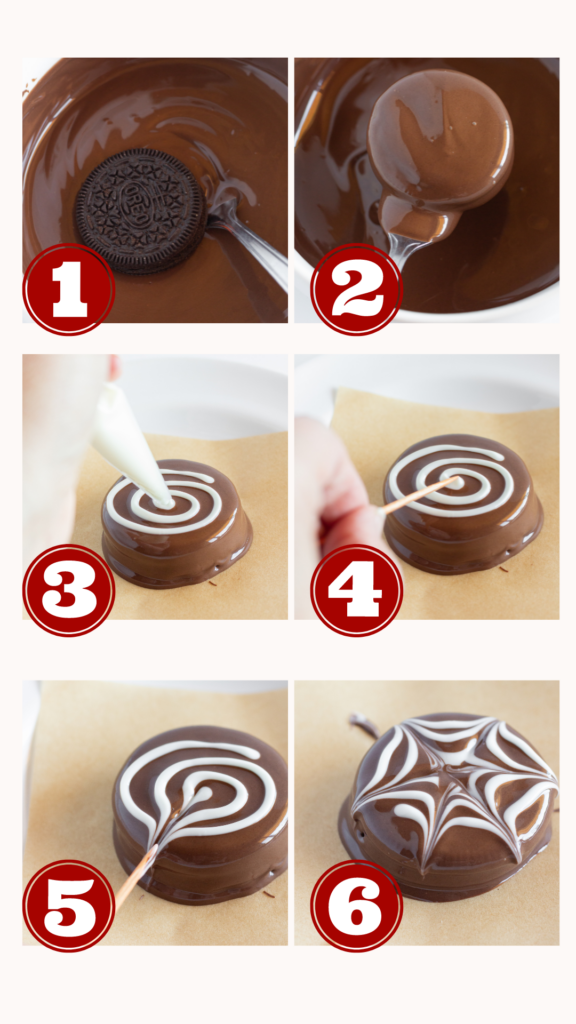
How to make Halloween Chocolate Covered Oreos
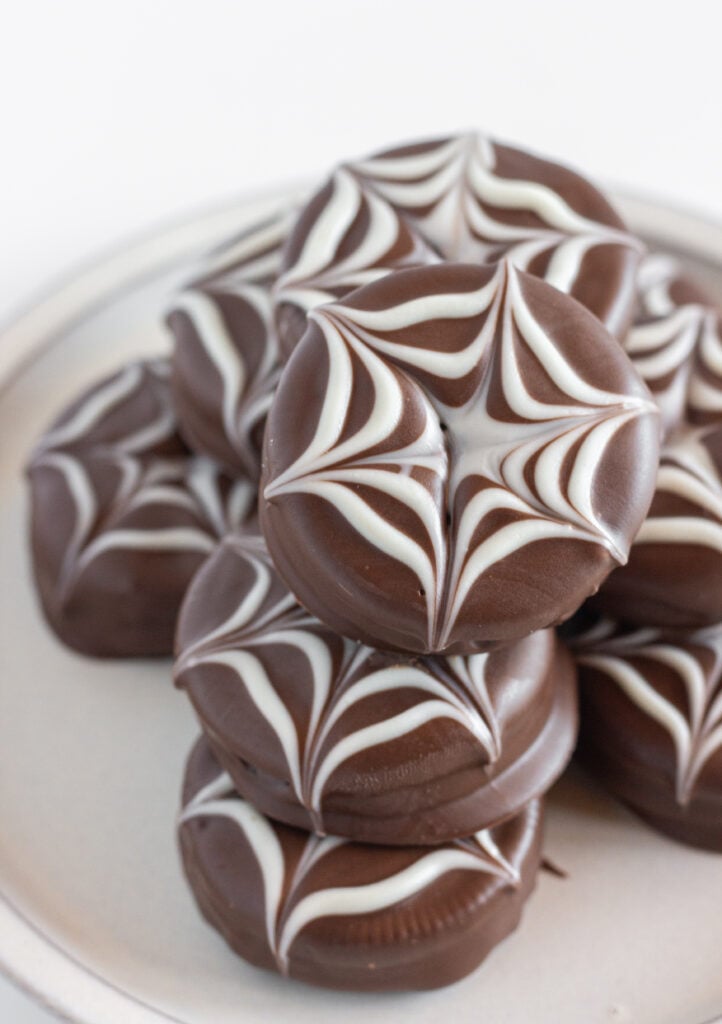
Spider Web Cookies
- Melt chocolate in microwave safe bowl in the microwave and drop an Oreo in the chocolate.
- Flip the cookie over and make sure it is completely coated. Use a fork to pick up the Oreo and tap against the edge of the bowl to remove any excess chocolate.
- Working while the chocolate is still wet, add the melted white chocolate to a piping {or zipper bag} and make a swirl {with 3 rings} starting on the outside and ending in the middle.
- Take a toothpick and poke the end into the middle of the swirl
- Pull the toothpick out and through the chocolate to the edge of the cookie.
- Clean off the toothpick and repeat 5 more times.
- Allow the cookies to set up before serving.
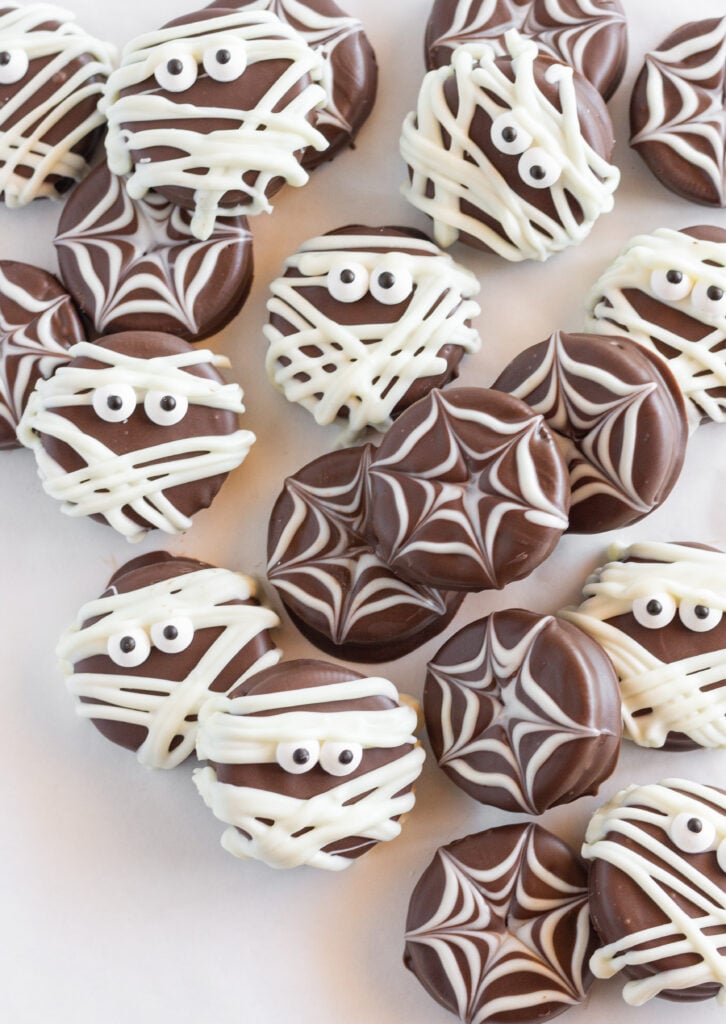
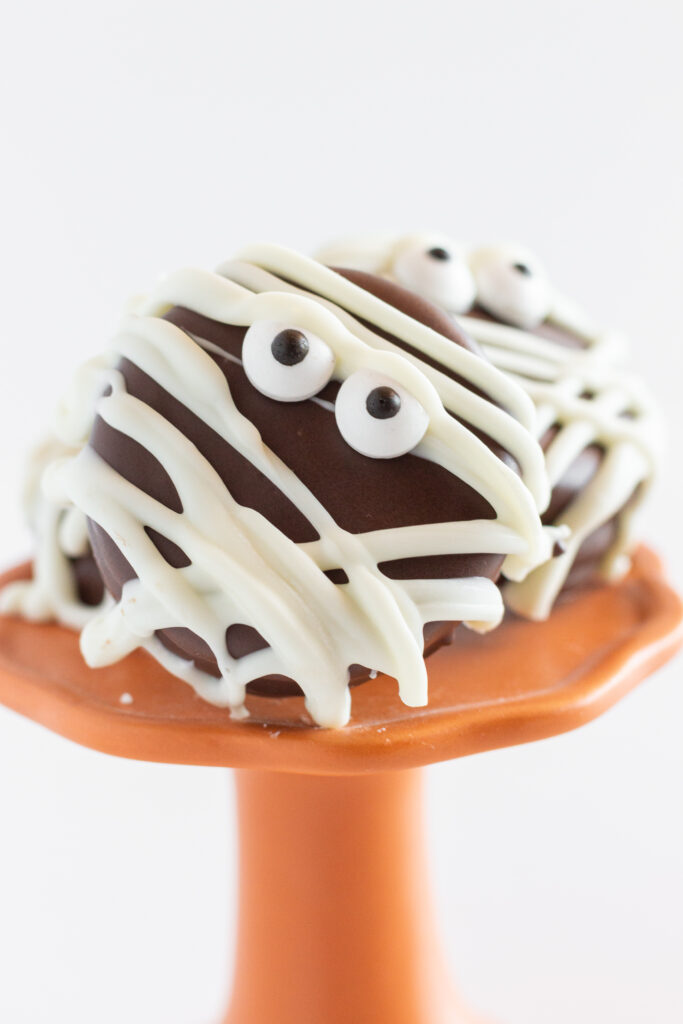
Mummy Cookies
- Melt chocolate in a microwave safe bowl in the microwave. Add your Oreo Cookie into the melted chocolate.
- Dip the cookie in the chocolate completely, making sure the cookie is completely coated. Use a fork to tap the side of the bowl and remove any excess chocolate.
- Allow the chocolate layer to dry completely. Add your melted white chocolate to a piping {or zipper bag} and gather your edible eyeballs.
- Drizzle the white chocolate back and forth over the cookie. Add the edible eyes and allow the cookie to set up before serving.

Tips
- Get all of your ingredients together before you start. This recipe {if you can call it that} goes fairly quickly and so having everything you need at your fingertips will help.
- Microwave for 1 minute, stir the chocolate wafers and then add 20 second intervals. Once the candy melts start to melt it goes really quickly and so adding 20 seconds and stirring will be your best bet. If it isn’t melted, repeat the process.
- Once you dip the cookie, try to remove as much excess chocolate from the cookie as possible before adding the finishing touches. If you don’t, the excess chocolate will pool around the cookie.
- Work quickly. Especially when you are making spider webs. In order to get the effect, you need to work on wet chocolate. I recommend only working on one or two cookies at one time.
- Put the finished Oreos on wax or parchment paper to dry. Doing so will allow you to remove them easily.
- If the white chocolate in the piping bag starts to harden up, put it onto a paper plate and microwave for 15-20 seconds or until the chocolate is melted.
Halloween Oreo Variations/Substitutions
- Oreos: Any kind of Oreo cookie will work for this recipe. Try one of their fun flavors like espresso, dark chocolate or even golden.
- Candy Melts: If you want to add more color, you can purchase any color of the rainbow here.
- Toppings: Use festive sprinkles, nuts, mini chocolate chips or anything else you have on hand or would look nice.
Frequently Asked Questions:
The best way to store chocolate dipped Oreos is in an airtight container. Make sure to add a piece of wax or parchment paper between the layers of cookies so that they don’t stick to one another.
If you use different flavored Oreo cookies, store the cookies separately from one another. Otherwise they may take on the flavor of the other cookies.
Chocolate Covered Oreos will last for a long time. They should be good for at least a week. They can be refrigerated or frozen but just beware that sometimes when the cookies defrost the appearance of the chocolate will change a bit.
White chocolate is actually chocolate and candy melts are a chocolate flavored ingredient. For this recipe I would suggest the candy melts because they are meant for melting and do so wonderfully.
White chocolate can be a bit temperamental when it comes to melting it.
Halloween Chocolate Covered Oreos do not need to be refrigerated. They will keep fine at room temperature but you can refrigerate them if you prefer to do so.

Do you love Oreo cookies? Try these amazing recipes…
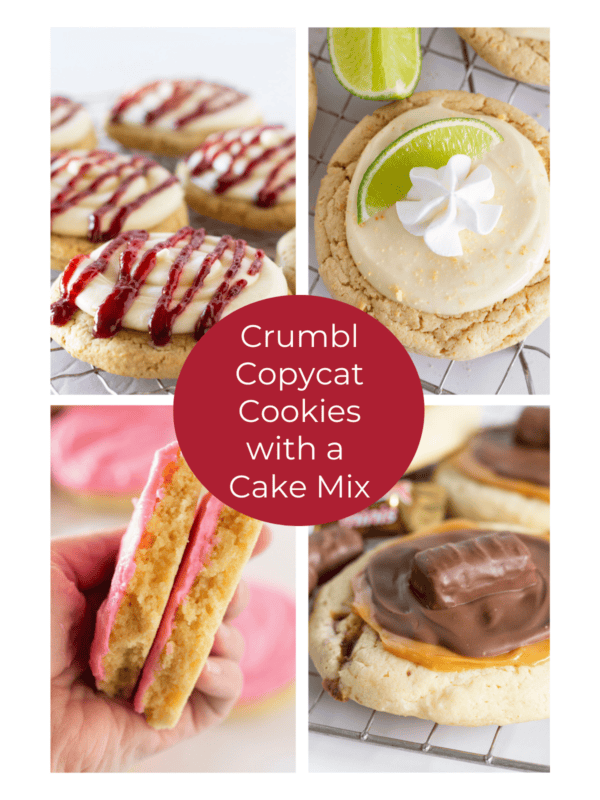
- Easy Crumbl Copycat Oreo Raspberry Cheesecake Cookies
- Golden Oreo No Bake Cheesecake Recipe
- Oreo Sheet Cake Cookies Recipe
- Golden Oreo Lasagna Recipe
- No Churn Oreo Ice Cream Recipe
Easy and Spooky Halloween Chocolate Covered Oreos
Ingredients
- 24 Oreo cookies
- candy melts
- edible eye balls
Instructions
- Line a couple of baking sheets with wax or parchment paper.
Spider Webs
- Melt at least 1 cup of chocolate melting wafers in the microwave. Start with 1 minute, stir and then add 20 second increments until your chocolate is melted. Set aside. Melt ¼ cup of white chocolate melting wafers in the microwave. Start with 45 seconds, stir and then add 20 second increments until your white chocolate is melted. Add your white chocolate to a piping bag {or zipper bag} and cut a small triangle from the bottom of the bag.
- Dip an Oreo cookie in the chocolate. Turn it over to be sure that the entire cookie is coated in chocolate and then use a fork to tap the side of the bowl and remove any excess chocolate. Place the chocolate covered Oreo onto the baking sheet. Working quickly, take the bag of melted white chocolate and make a swirl on the top of the cookie. Start on the outside of the cookie and end in the middle of the cookie, making three rings. Then take a toothpick and starting at the middle of the rings pull outward to the edge of the cookie. Clean off the toothpick and continue 5 more times on the top of the cookie. Repeat on 12 more Oreo cookies.
Mummies
- Melt at least 1 cup of chocolate melting wafers in the microwave. Start with 1 minute, stir and then add 20 second increments until your chocolate is melted. Dip an Oreo cookie in the chocolate. Turn it over to be sure that the entire cookie is coated in chocolate and then use a fork to tap the side of the bowl and remove any excess chocolate. Place the chocolate covered Oreo onto the baking sheet. Allow the chocolate covered Oreos to dry.
- Once the cookies are dry, melt ½ cup of white chocolate melting wafers in the microwave. Start with 45 seconds, stir and then add 20 second increments until your white chocolate is melted. Add your white chocolate to a piping bag {or zipper bag} and cut a small triangle from the bottom of the bag. Drizzle the white chocolate back and forth over the top of the cookie. Place the eye balls and allow the cookies to dry.
- The chocolate covered Oreos will dry quickly at room temperature but you can speed up the process in the refrigerator.
Nutrition
Nutrition information is automatically calculated, so should only be used as an approximation.


My husband’s favorite chocolate covered oreos