This post may contain affiliate sales links. Please see our full disclosure policy for details.
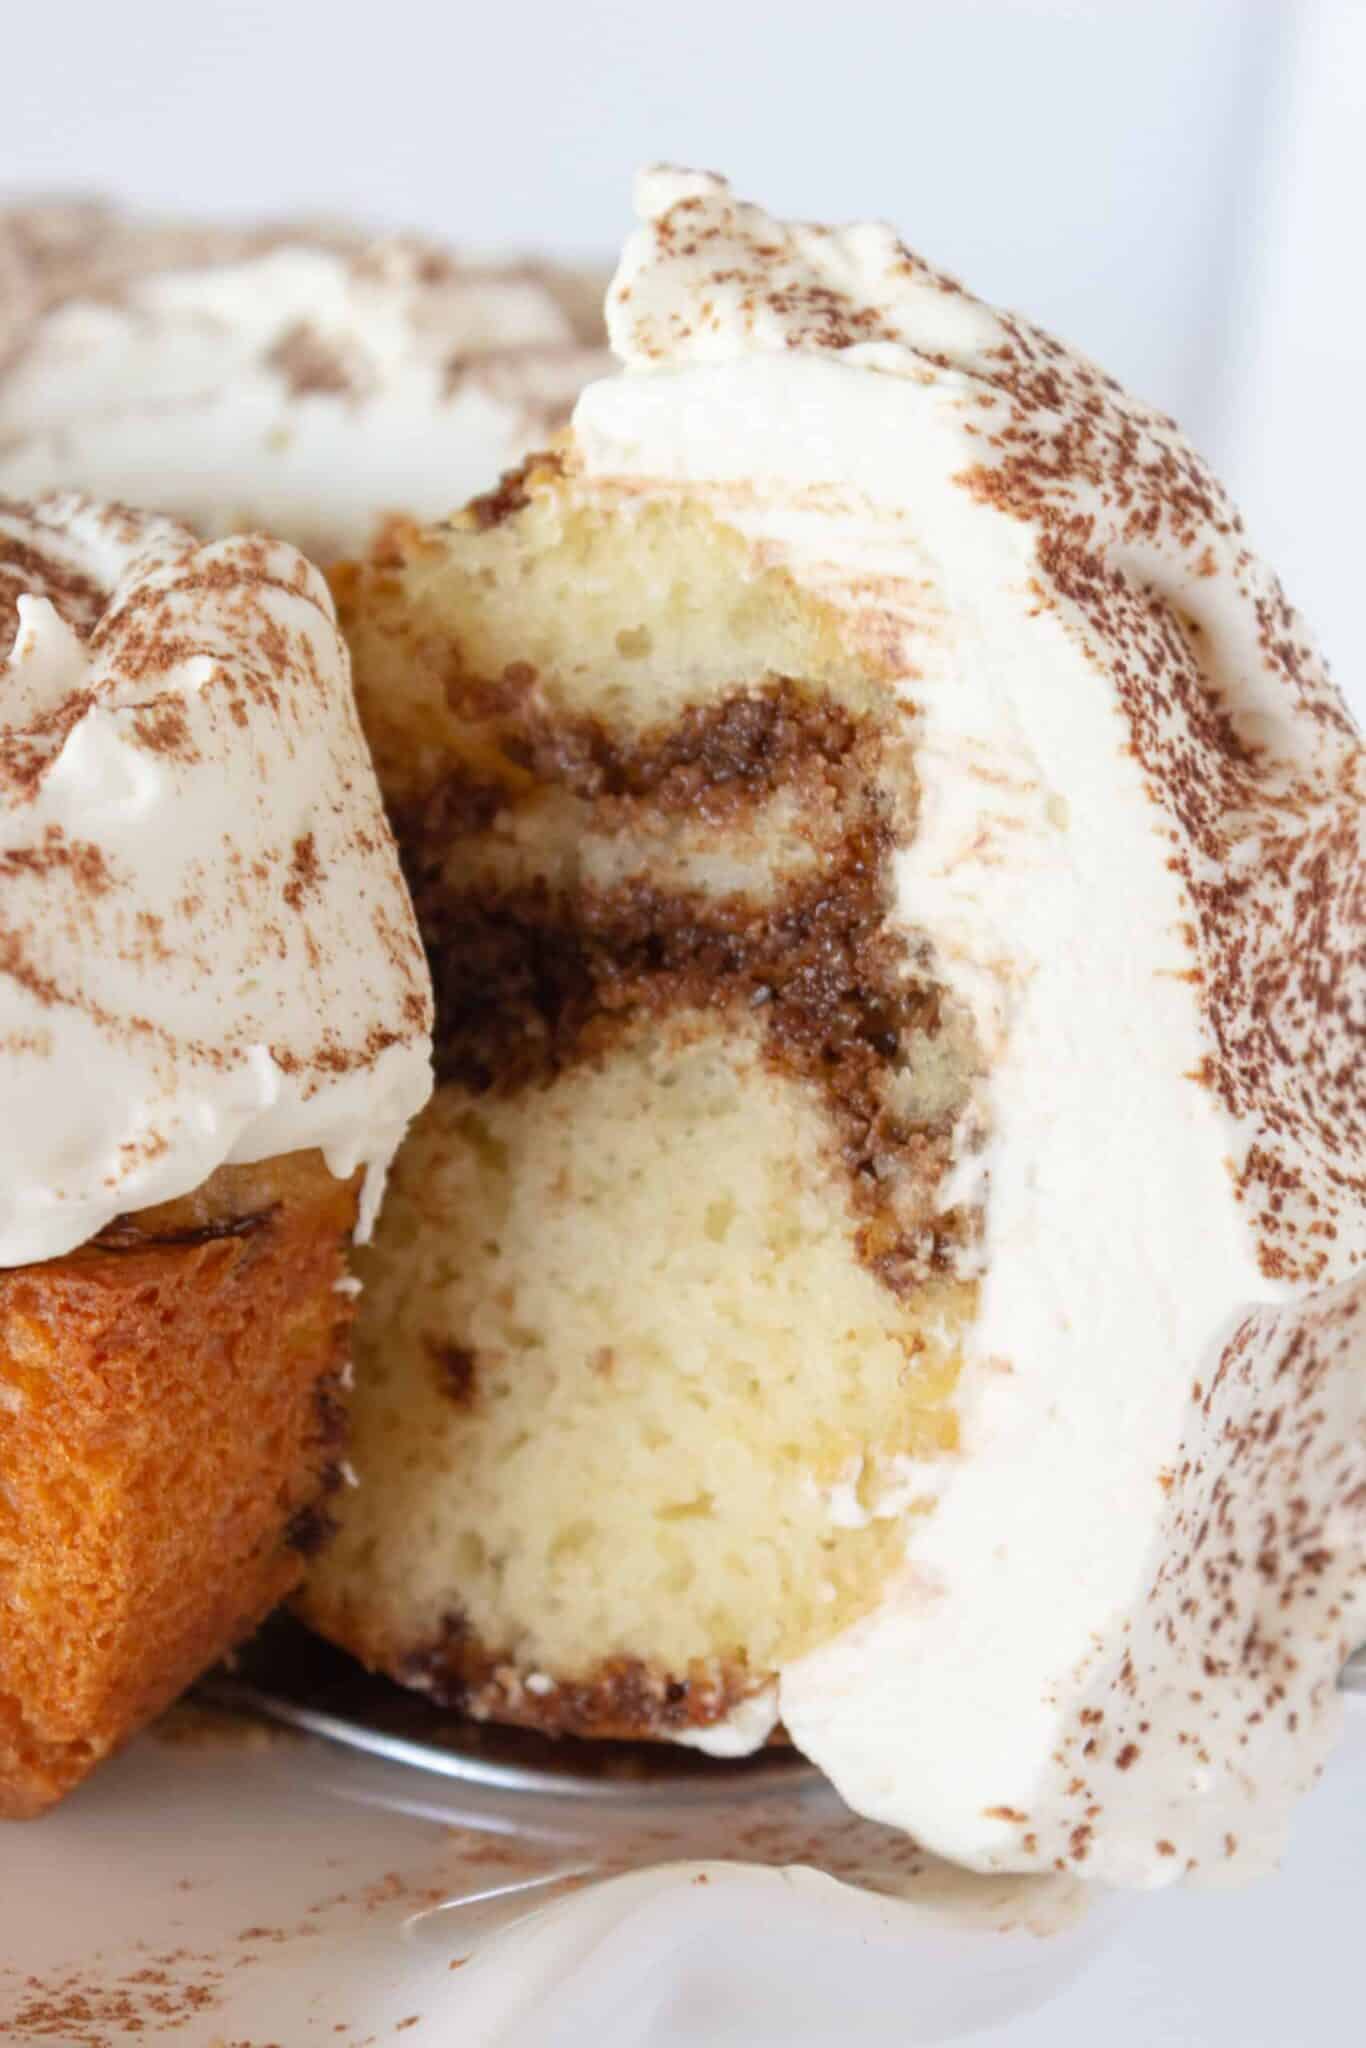
This Tiramisu Bundt Cake Recipe is moist, super delicious, and so easy to make! It has all the flavors of a classic tiramisu without any of the hassle.

I am not a coffee drinker BUT give me a dessert with the flavor of coffee and I am all about it! Tiramisu is especially wonderful because there is chocolate, sponge cake and mascarpone whipped cream. After making these Tiramisu Cookies, I wanted to turn it into a Bundt cake and that is exactly what I did.
Bundt cakes are so much fun because they always look really awesome but they don’t take a lot of extra time or work. I think a Bundt cake can take an ordinary cake to extraordinary!
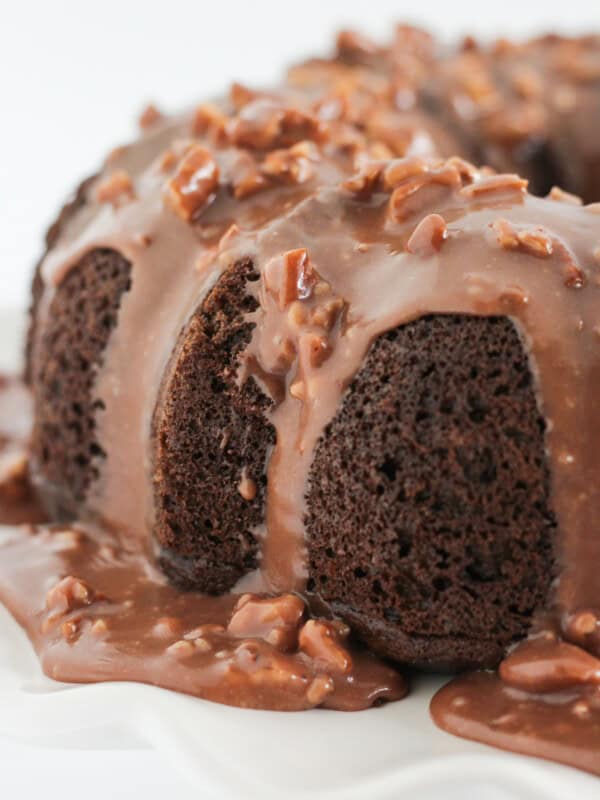
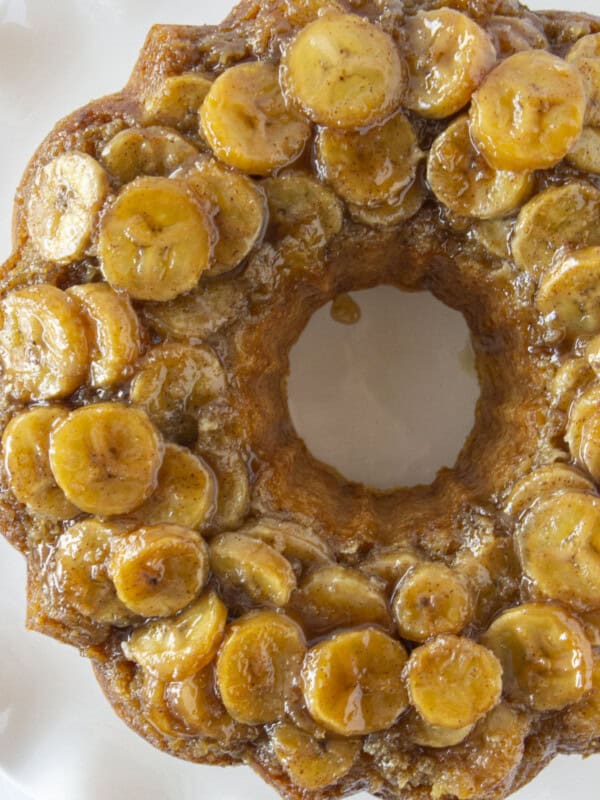
Whether I am making a Pecan Upside Down Bundt Cake or a Black Bottom Bundt Cake, I know they will be a crowd favorite.
This Tiramisu version is no exception. I can’t wait for you to make one of your own.
How to make a Tiramisu Bundt Cake with a Cake Mix
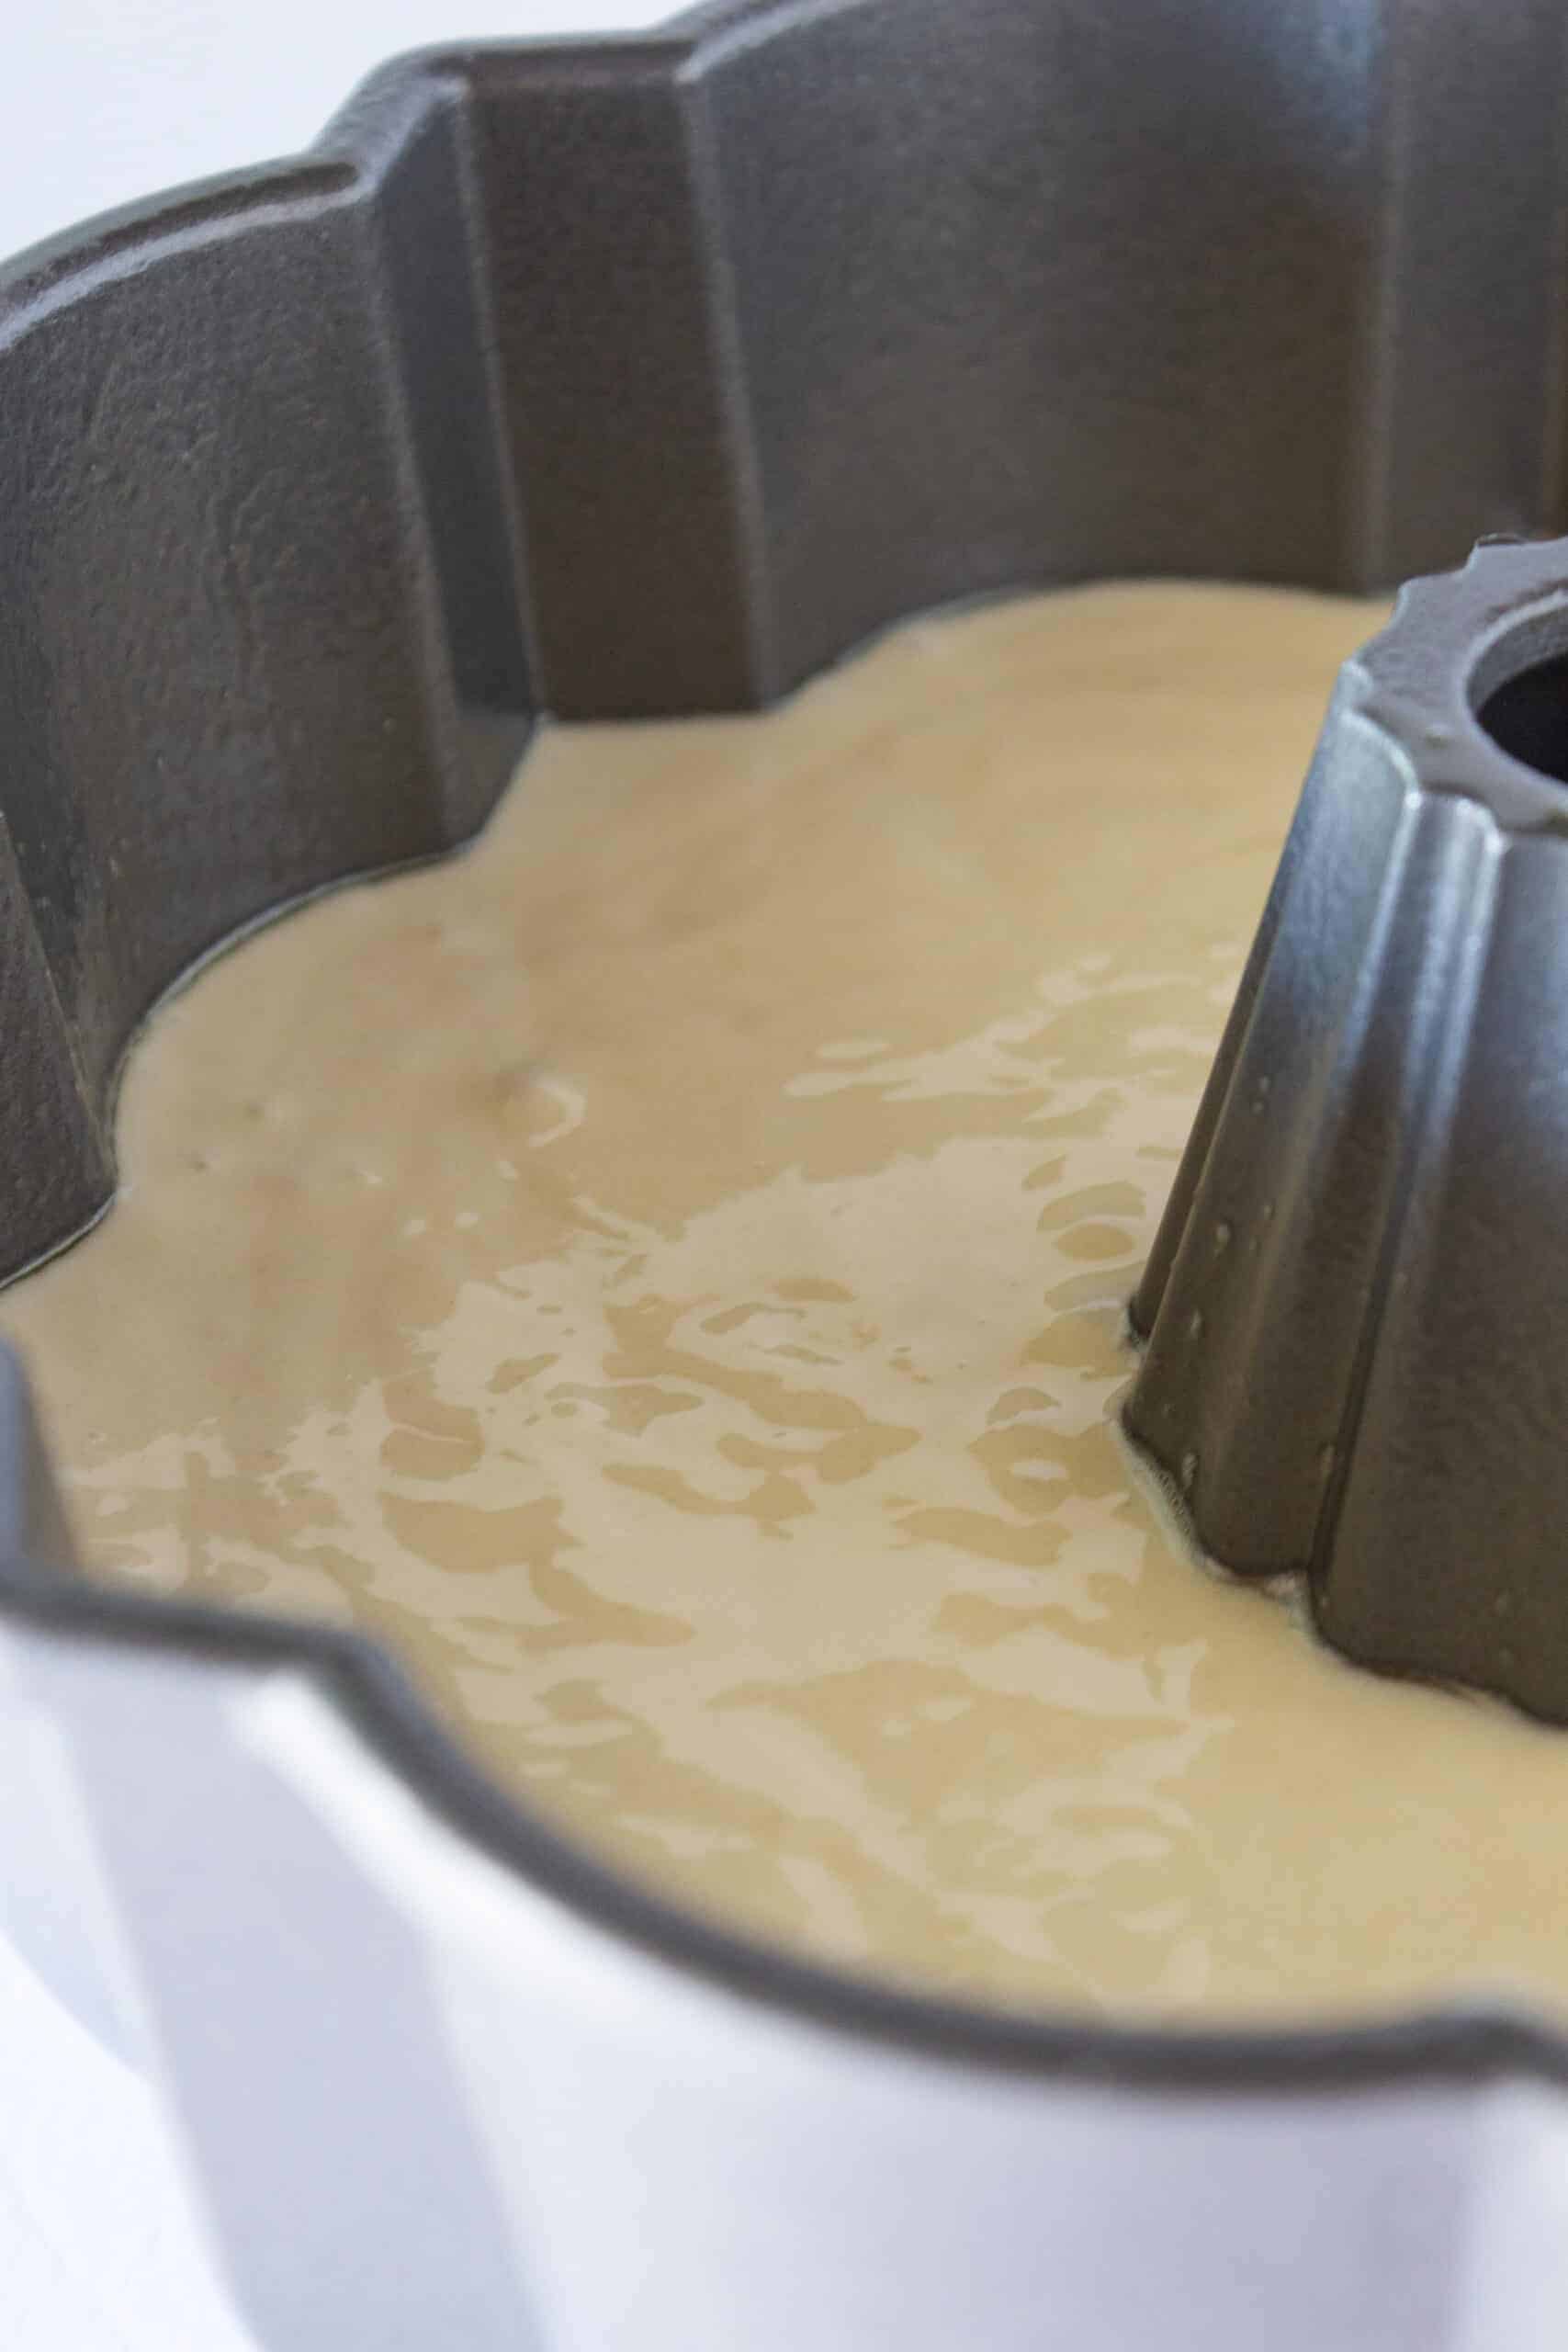
- Perhaps the very best part of this simple cake is that it starts with a cake mix. Combine your vanilla cake mix {or white cake mix} with 3 eggs, 1/3 cup oil and 1 1/4 cup water in a large bowl. Mix for about two minutes {I like to use a hand held mixer} and then pour the batter into your prepared Bundt pan.
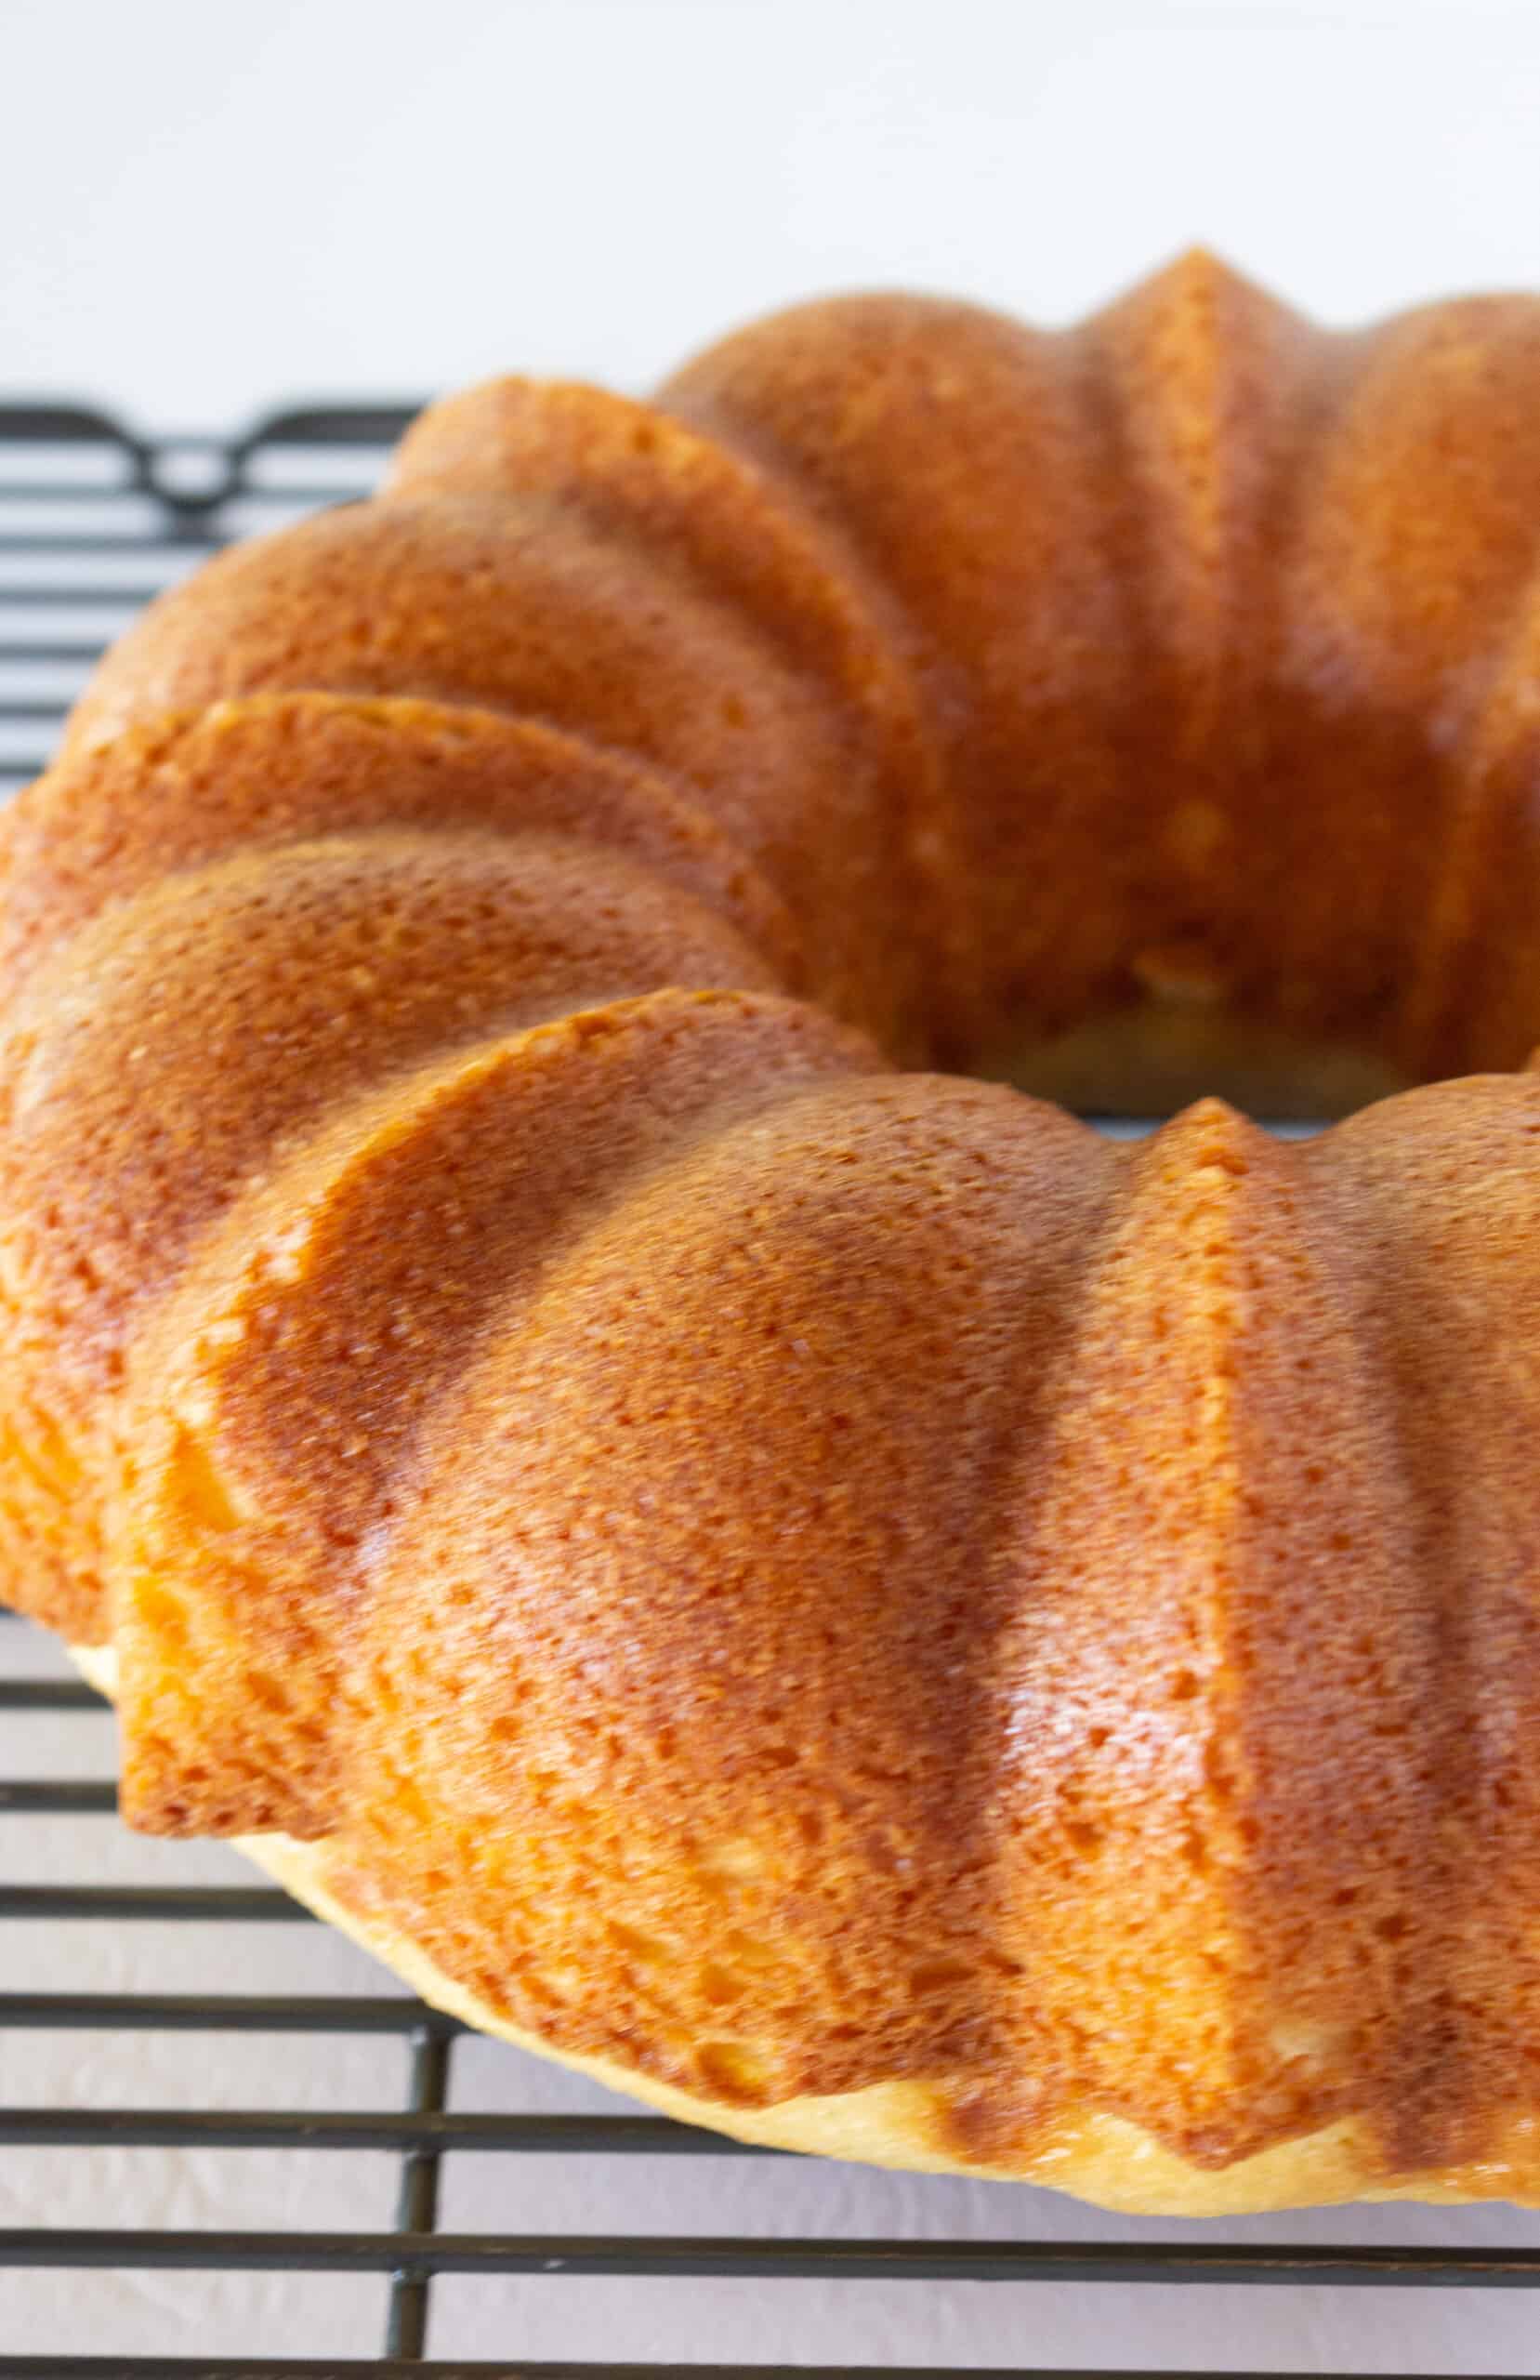
- Bake in a 350-degree oven for 35-40 minutes or until a toothpick inserted near the center comes out clean. Remove from the oven and allow it to cool in the pan for 10 minutes.

- Once it has cooled for 10 minutes in the pan, invert it onto a cooling rack to continue cooling.
- Once the cake is cooled and you are ready to finish it, invert the cake onto your serving dish. The flat bottom will actually become the top of the cake. Then, using a toothpick or skewer, poke holes all over the cake.

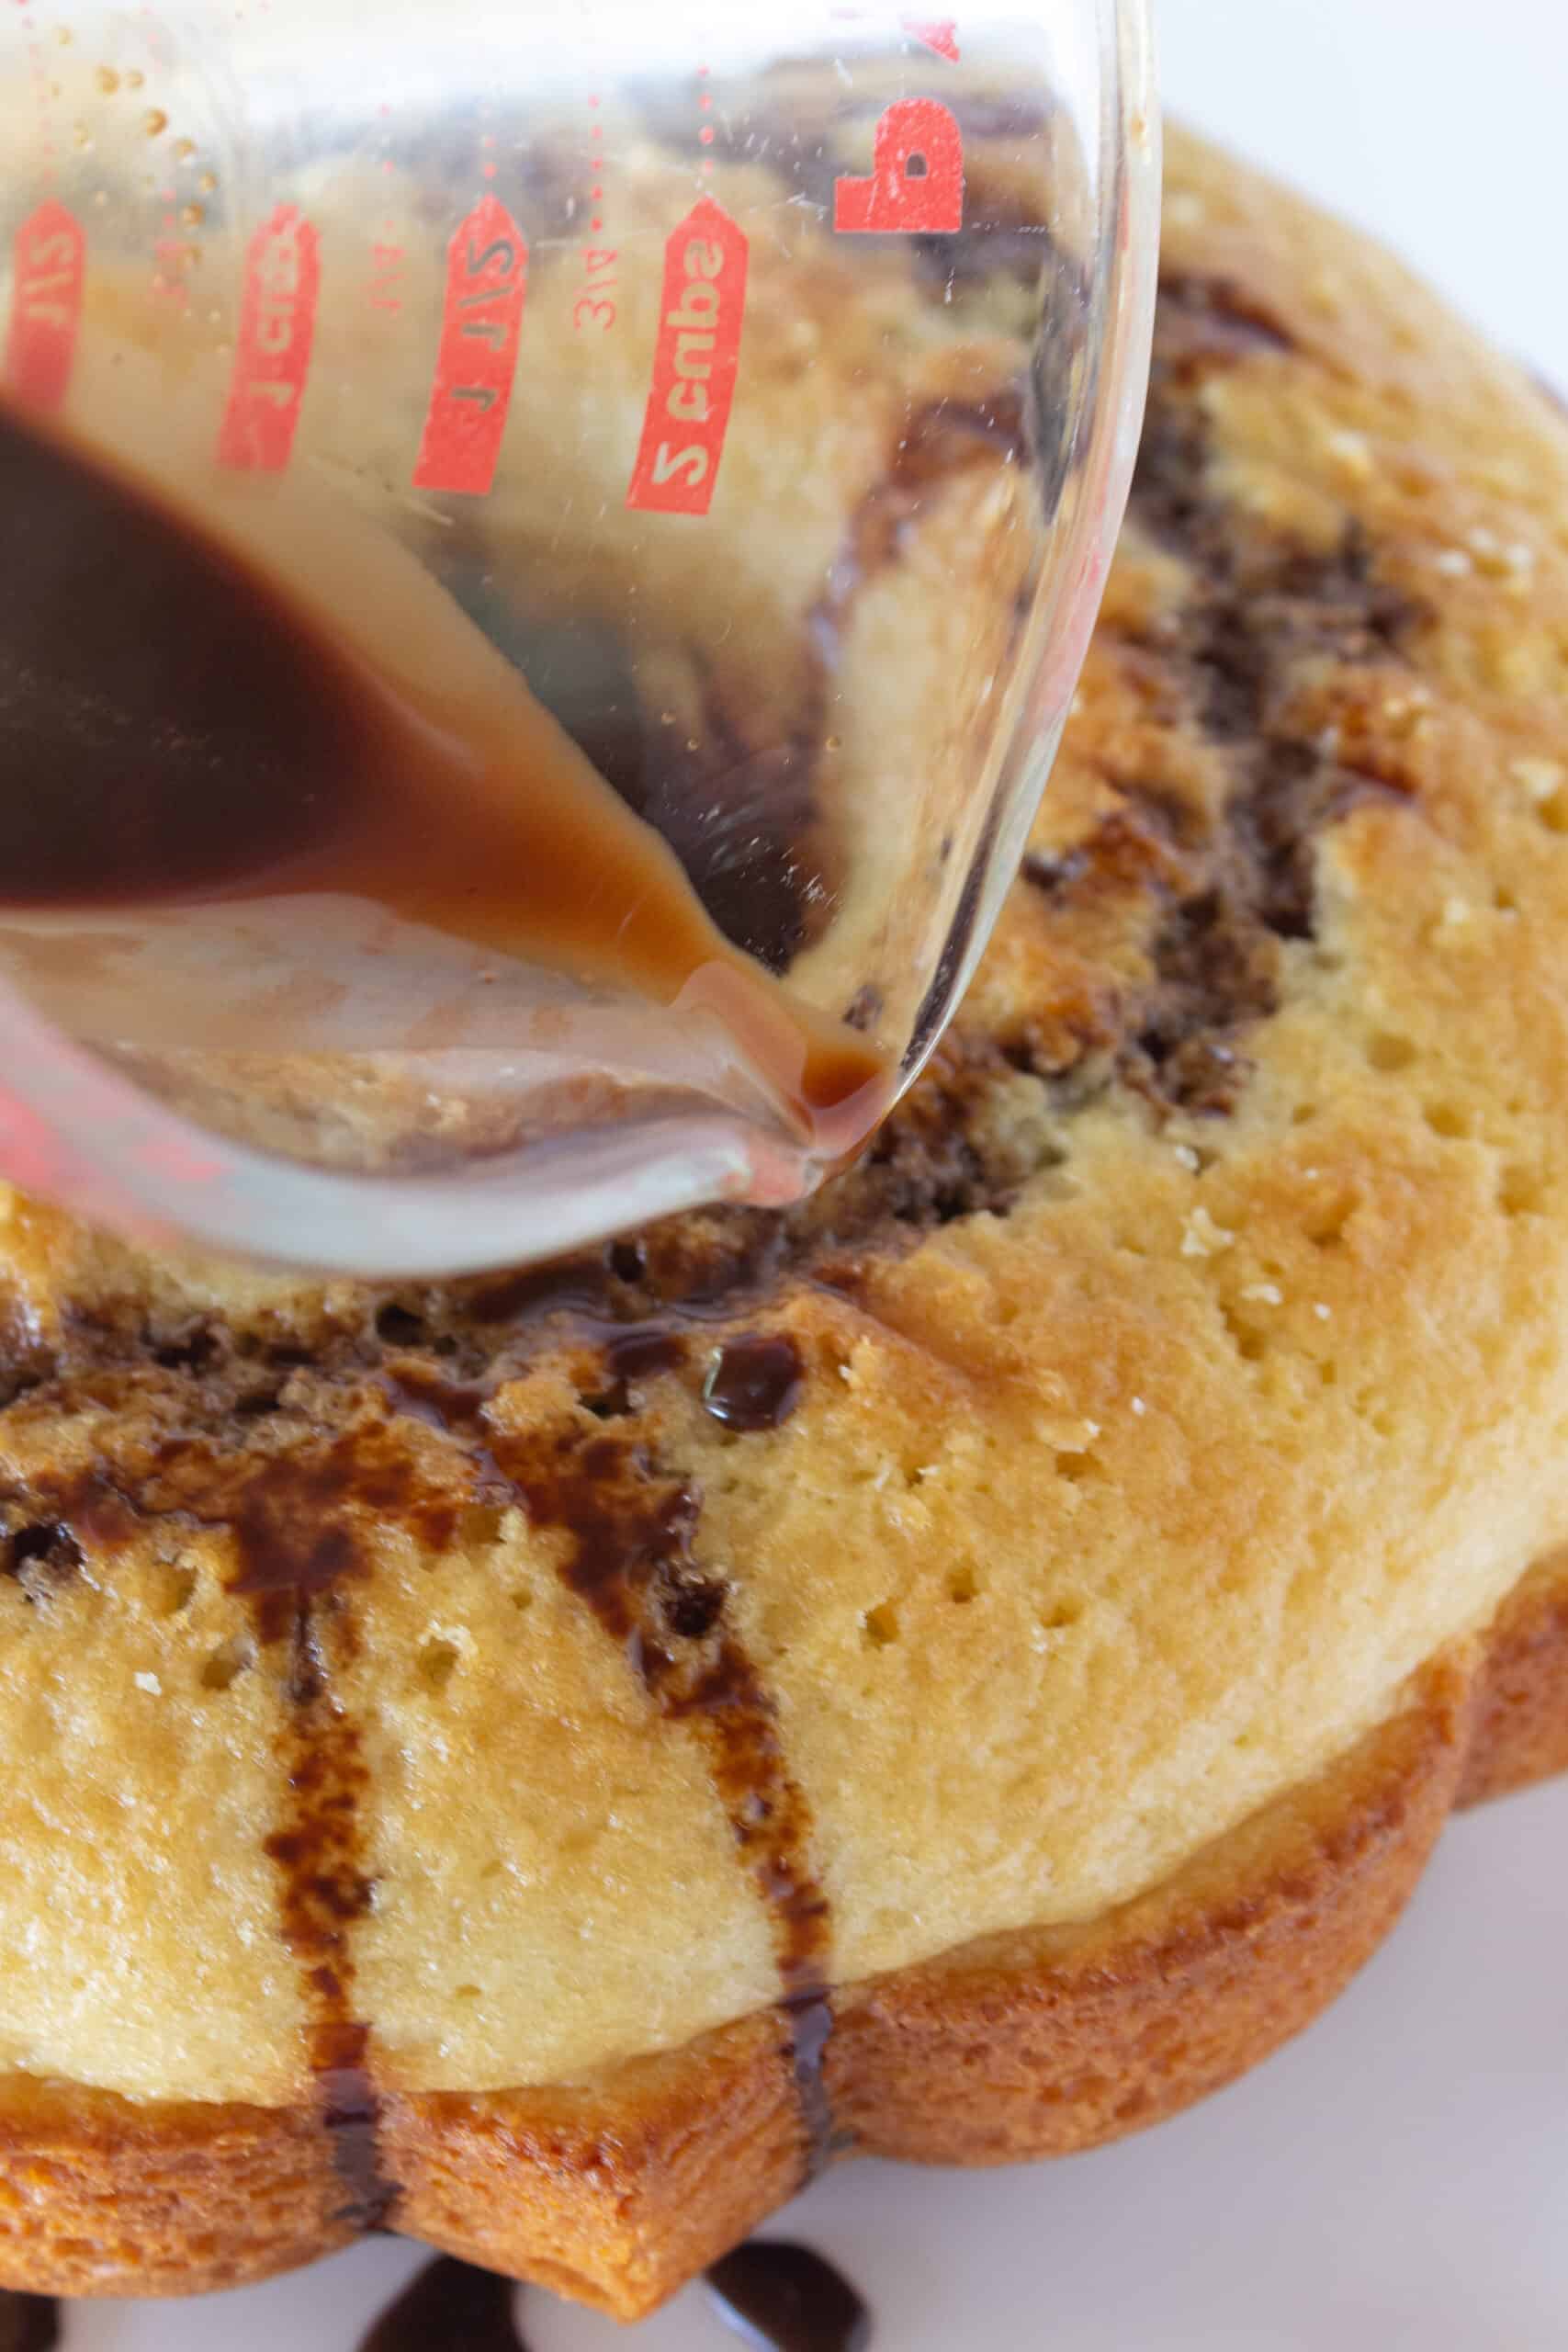
- In a liquid measuring cup {this will make pouring the mixture super simple} combine the chocolate syrup, espresso powder and water. Whisk until the coffee is fully dissolved and pour slowly over the top of the cake, being sure to allow the mixture to soak into the holes of the cake.
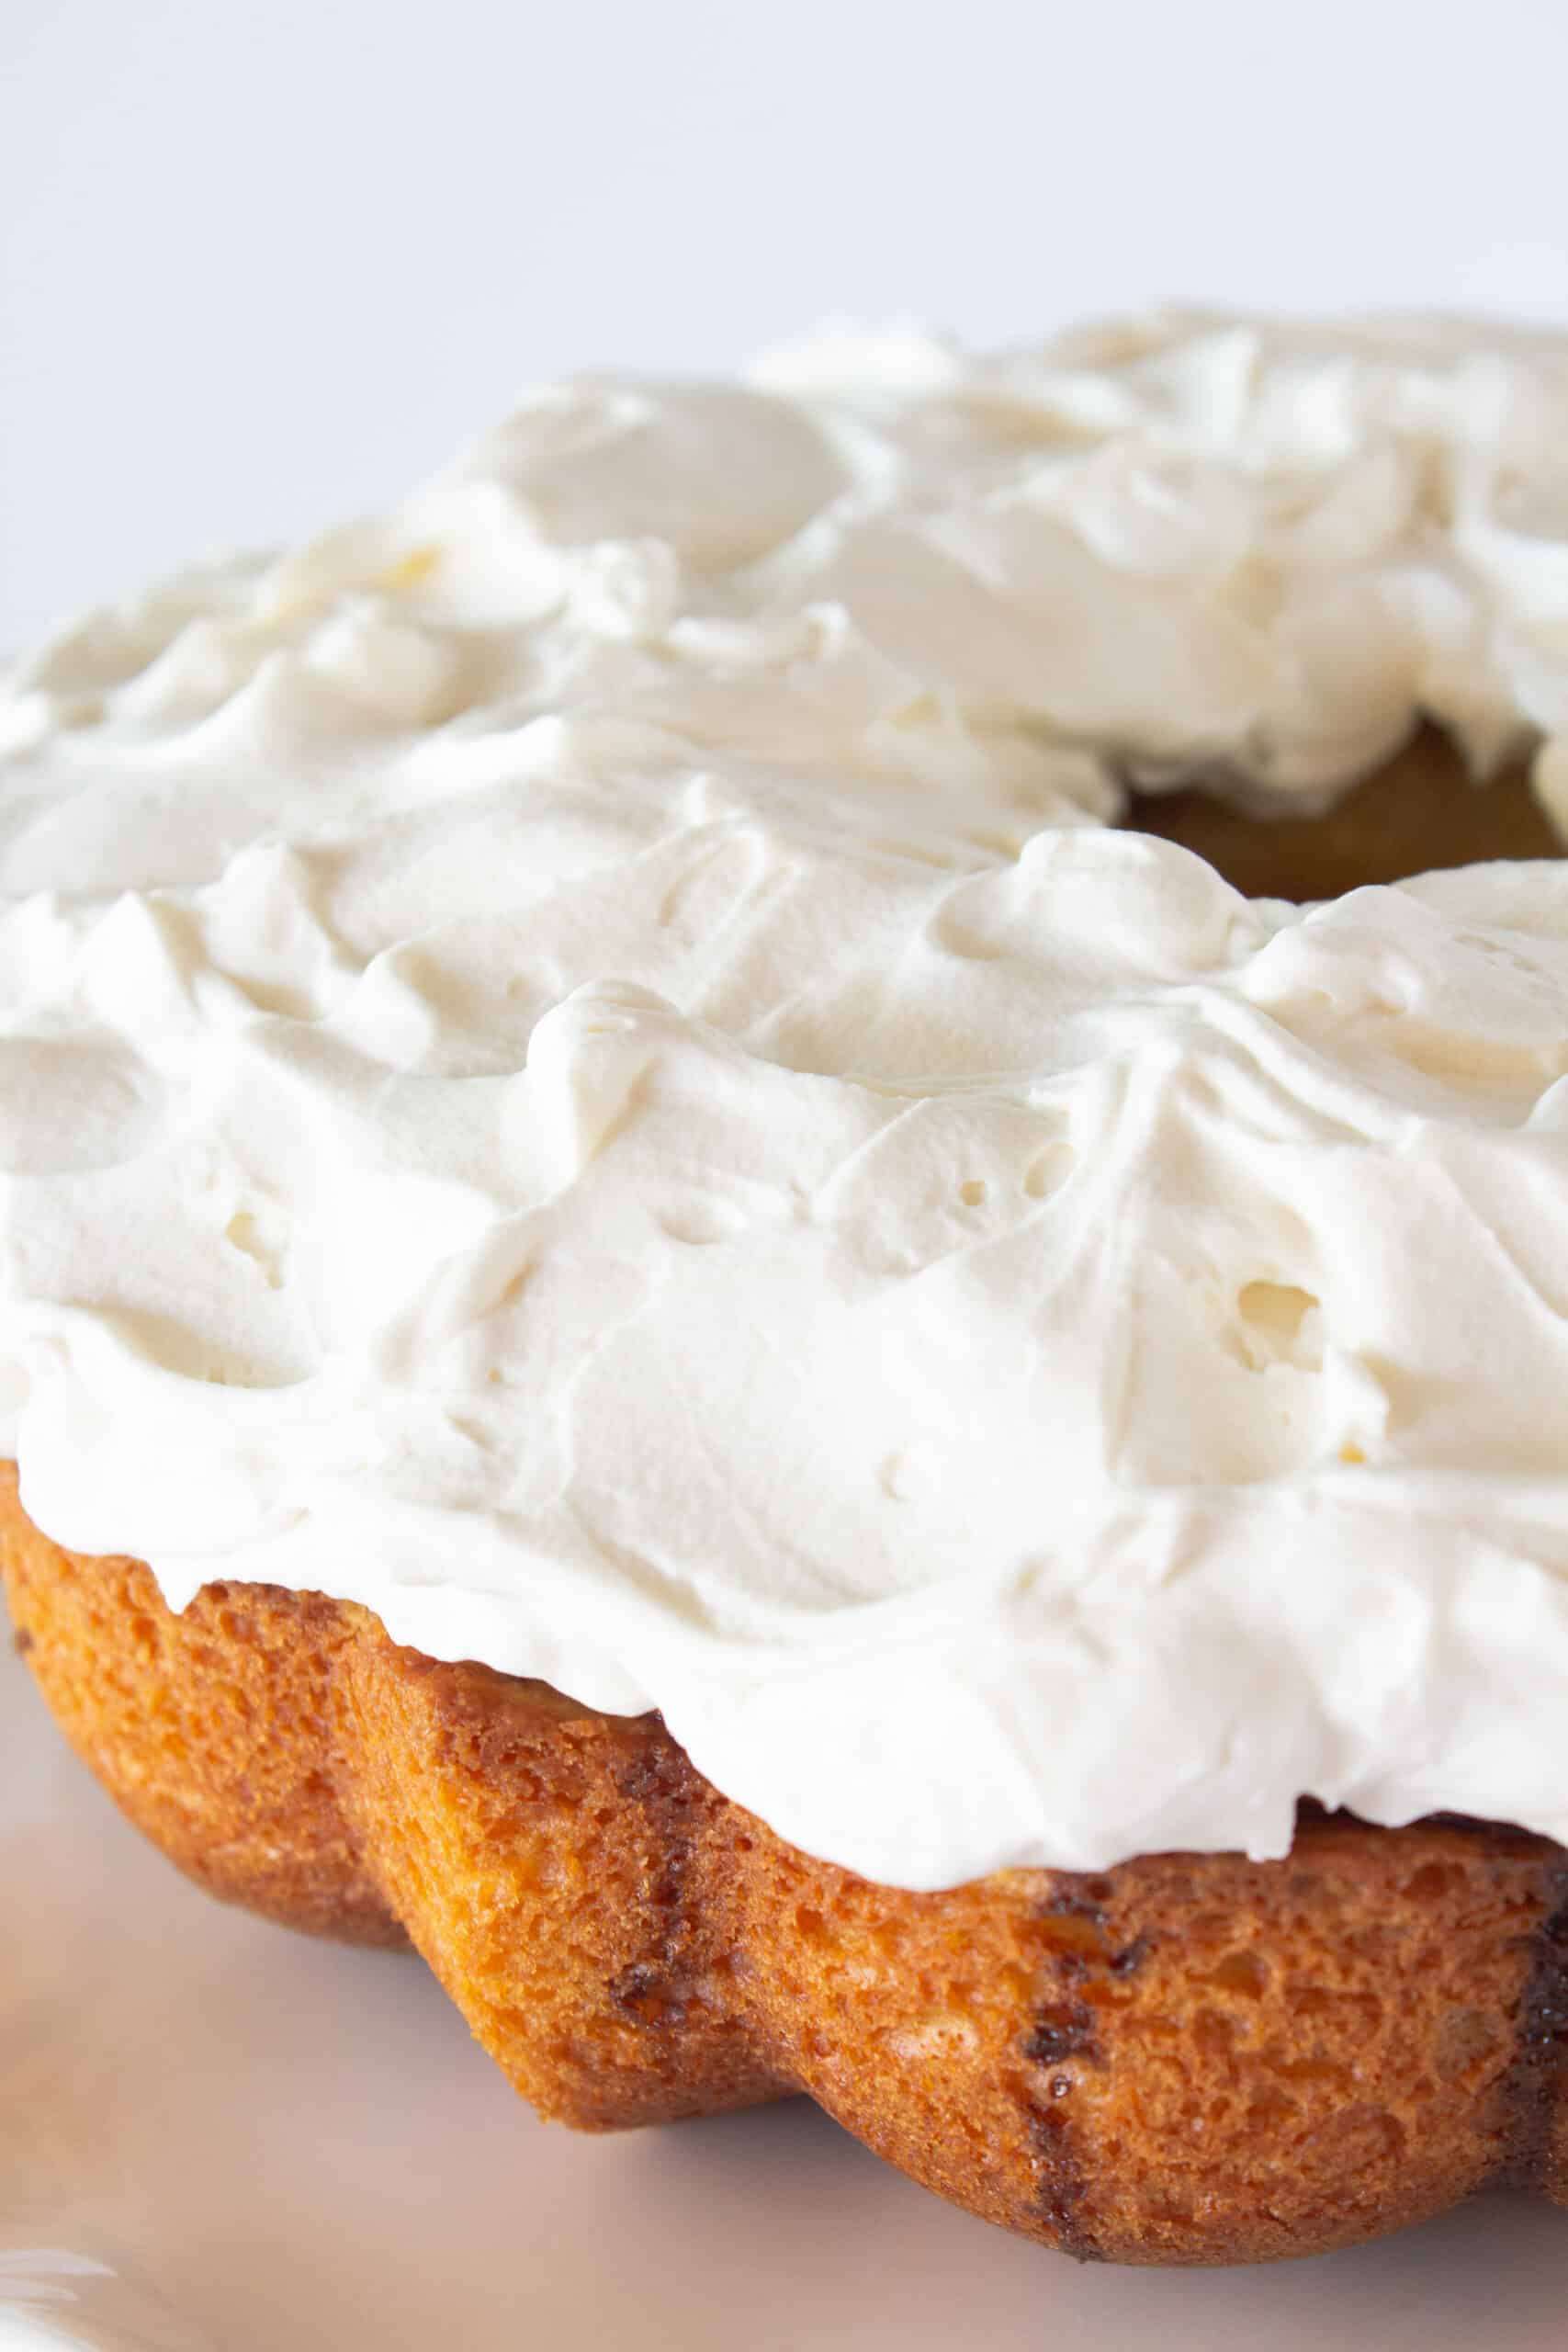
- The final step is to make the mascarpone whipped cream. Add all of the ingredients to a bowl and combine using a hand held mixer. Continue mixing until you have a thick and beautiful cream.

- Take the cream and spread it onto the top of the cake.
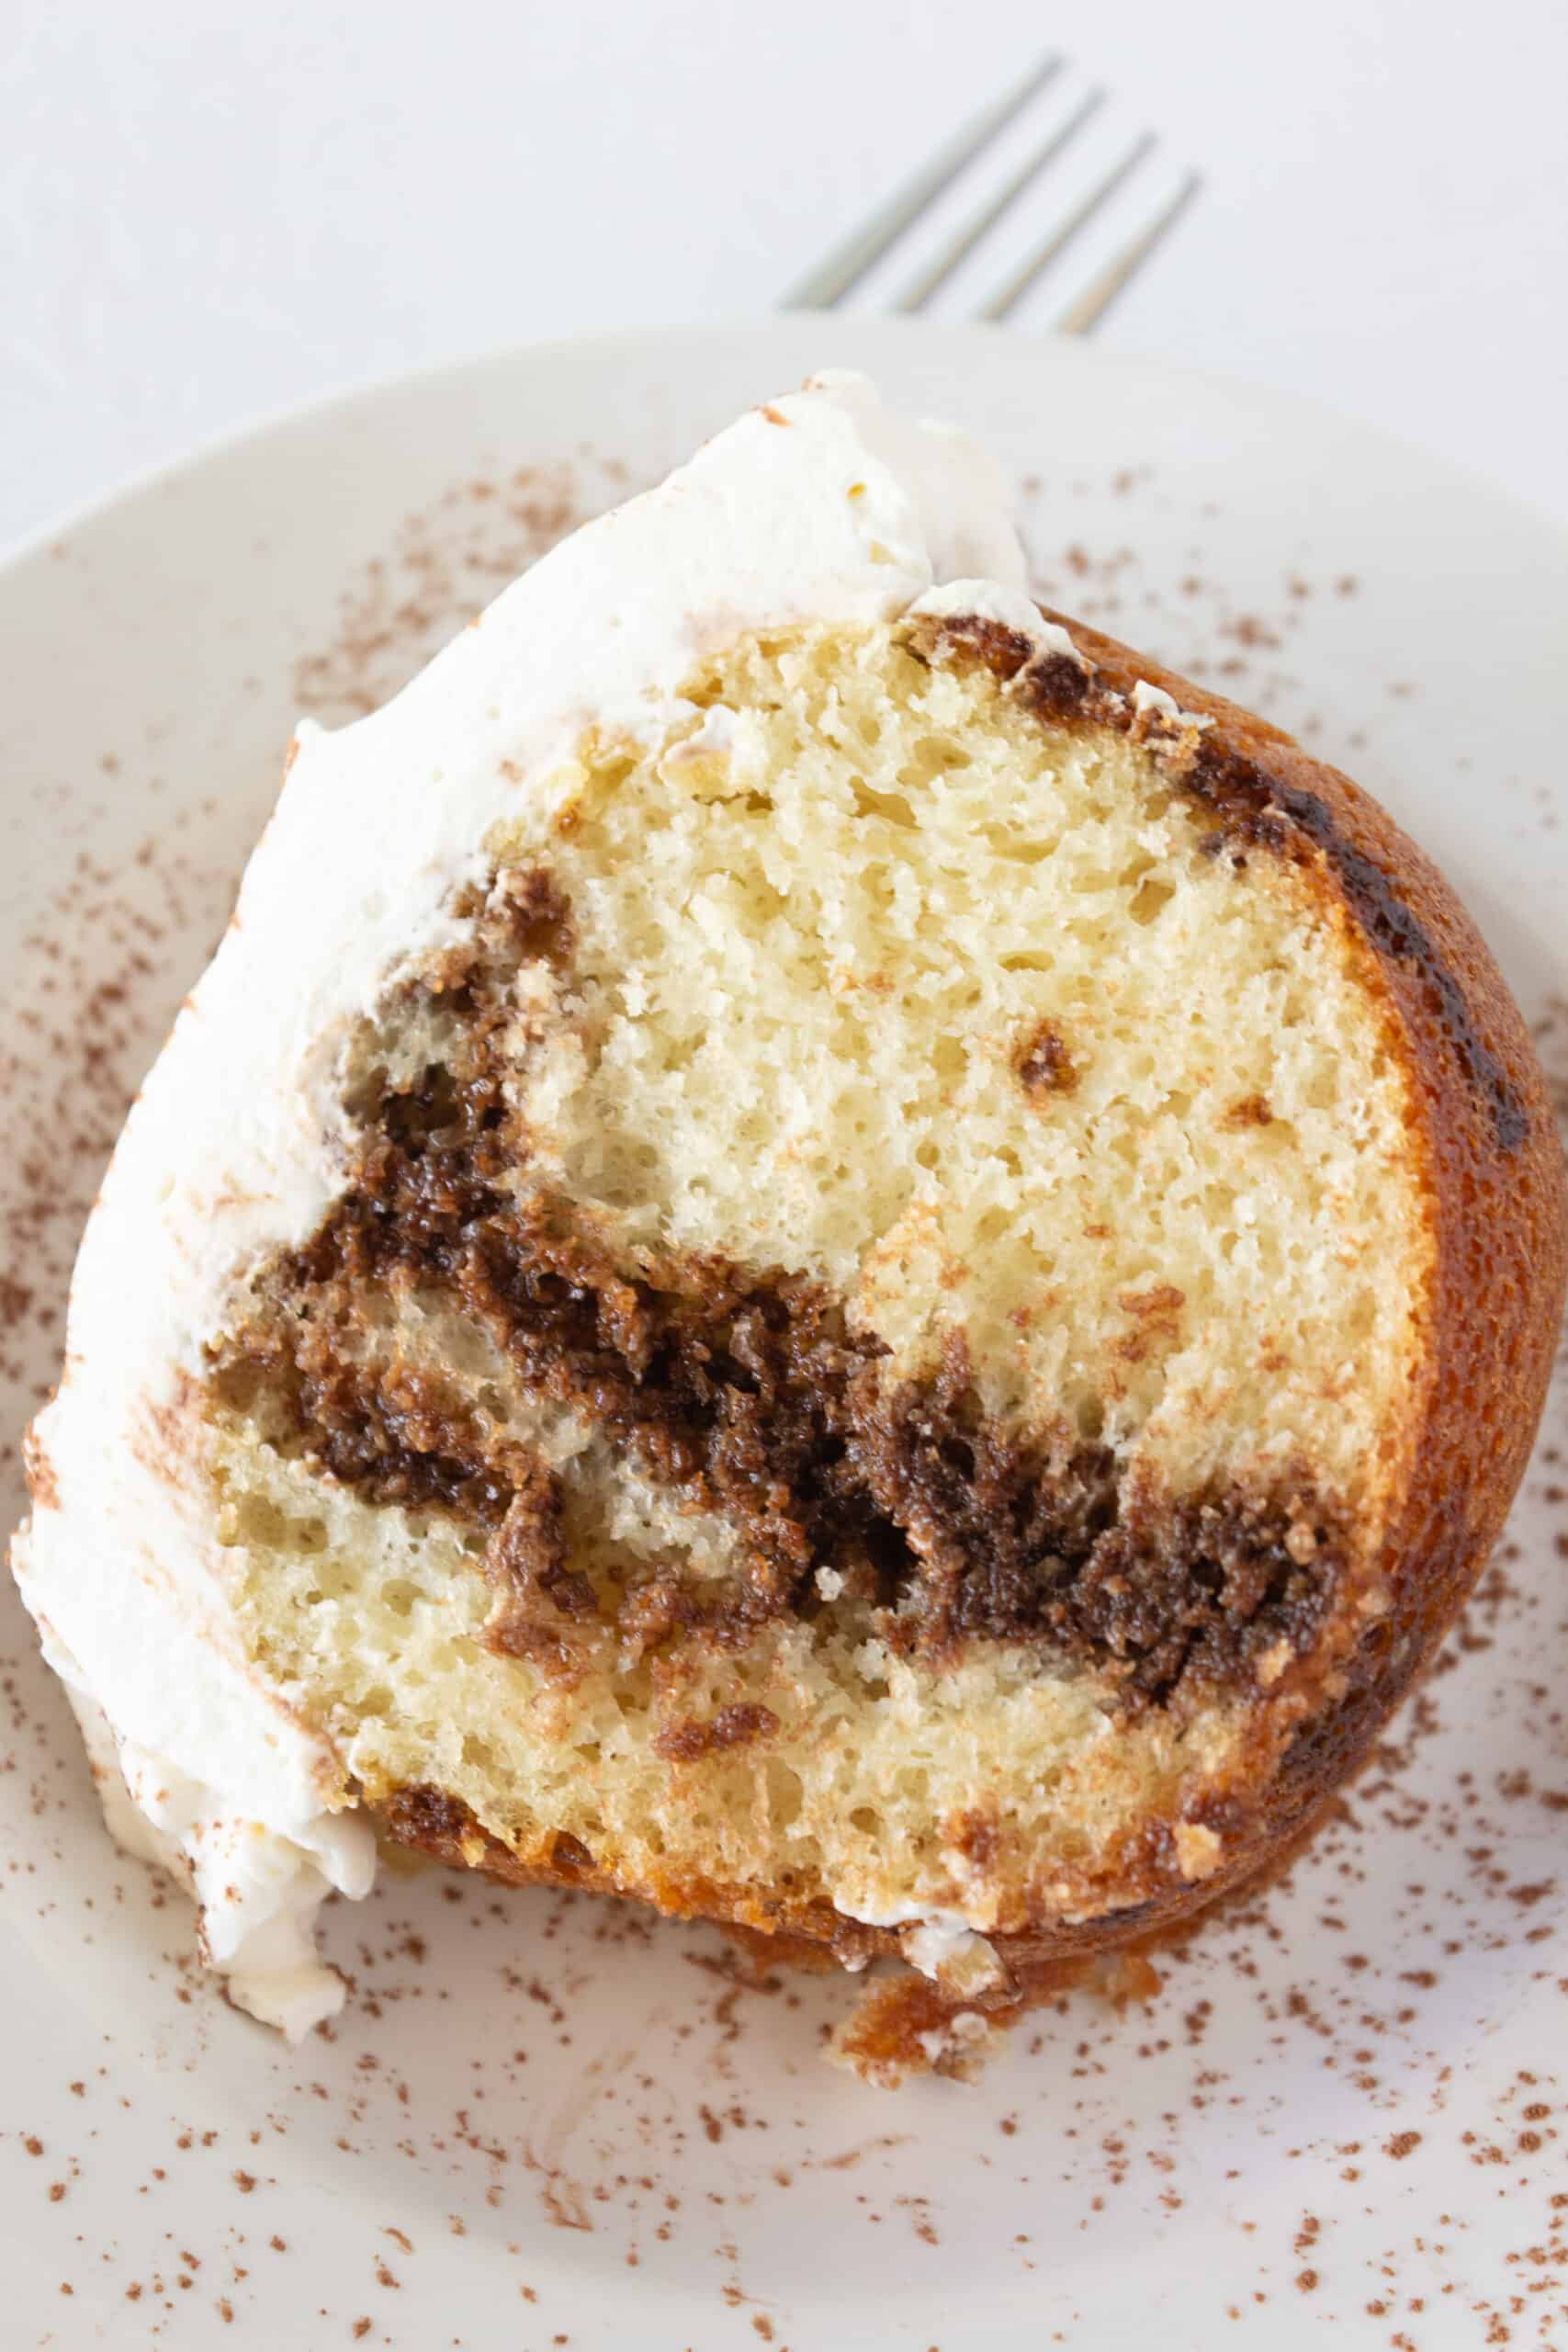
- A sprinkling of cocoa powder makes the Tiramisu Bundt Cake complete and beautiful.

I prefer to refrigerate it for about 2 hours before serving. This allows all of the flavors to merry together wonderfully.
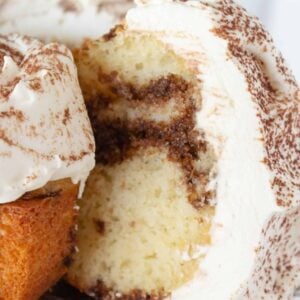
All that is left to do is cut a slice and enjoy every last bite. It truly is a wonderful combination and my husband thought it was the perfect breakfast.
Expert Tips
- To prepare the Bundt pan, I use a good pan and spray it liberally with nonstick spray.
- You can check your bundt cake for doneness with a toothpick or by pressing down on the top of the cake. When the cake springs back it is ready.
- When you are poking holes in the cake, be sure to not poke all of the way through the cake. The further down you poke into the cake, the farther the chocolate coffee mixture will soak inside.
- Be sure to use as much of the chocolate coffee liquid as you can, so that it seeps into every hole. If there is some that goes over the sides you can either leave it or wipe it up with a paper towel.
Storage
Store leftover Tiramisu Cake in an airtight container in the refrigerator for up to 3 days. This cake can also be frozen without the frosting for up to 3 months.
Do you love Bundt Cakes? Try these recipes…


Did you try this recipe? Leave a ⭐️⭐️⭐️⭐️⭐️ review below and tag @practicallyhomemade on Pinterest!
Tiramisu Bundt Cake
Ingredients
Cake
- 15.25 ounces vanilla cake mix
- 3 eggs
- ⅓ cup vegetable oil
- 1 ¼ cups water
Chocolate Coffee Mixture
- 4 Tablespoons chocolate syrup
- 4 teaspoons espresso powder
- 4 Tablespoons water
Mascarpone Cream
- 2 cups heavy cream
- ½ cup sweetened condensed milk
- 1 teaspoon vanilla extract
- 8 ounces mascarpone cheese, softened
Instructions
- Preheat oven to 350°. Spray a bundt pan liberally with nonstick cooking spray and set aside.
Cake
- In a large bowl combine vanilla cake mix, eggs, vegetable oil and water. Mix together using a hand held mixer {or by hand} for two minutes or until the batter is thick and mixed. Pour into the prepared Bundt pan and spread out into an even layer.
- Bake for 35-40 minutes or until a toothpick inserted in the center comes out clean. Let the cake cool in the pan for 10 minutes. After 10 minutes, invert the cake onto a cooling rack to cool completely.
- Once the cake is cool, invert the cake onto your serving plate so the the flat bottom of the cake is actually the top.
- Using a toothpick or skewer, make holes in the top of the cake that do not go all of the way through. The more holes you make, the more the cake will soak up the chocolate coffee mixture.
Chocolate Coffee Mixture
- Combine the chocolate syrup, espresso powder and water in a liquid measuring cup {this will allow it to be easily poured}. Whisk the mixture until the espresso powder is dissolved.
- Pour the mixture over the top of the cake slowly, making sure that it is soaking into the holes that you made into the top. Try to use as much of the mixture as you can because this will ensure that the holes get filled. If some of it goes over the edges, just leave it or clean it up using a paper towel.
Mascarpone Cream
- While the chocolate coffee mixture is soaking into the cake, turn your attention to the mascarpone cream. Combine the heavy cream, sweetened condensed milk, vanilla and mascarpone cheese into a bowl. Mix together {using a hand held mixer} until you have a nice and thick cream.
- Take the cream and spread it over the top of the cake, being sure to cover all of the holes. Finally, sprinkle cocoa powder over the top of the cake for the perfect finishing touch.
- Refrigerate for at least 2 hours and serve. Refrigerate leftovers for up to 4 days.
Nutrition
Nutrition information is automatically calculated, so should only be used as an approximation.