This post may contain affiliate sales links. Please see our full disclosure policy for details.
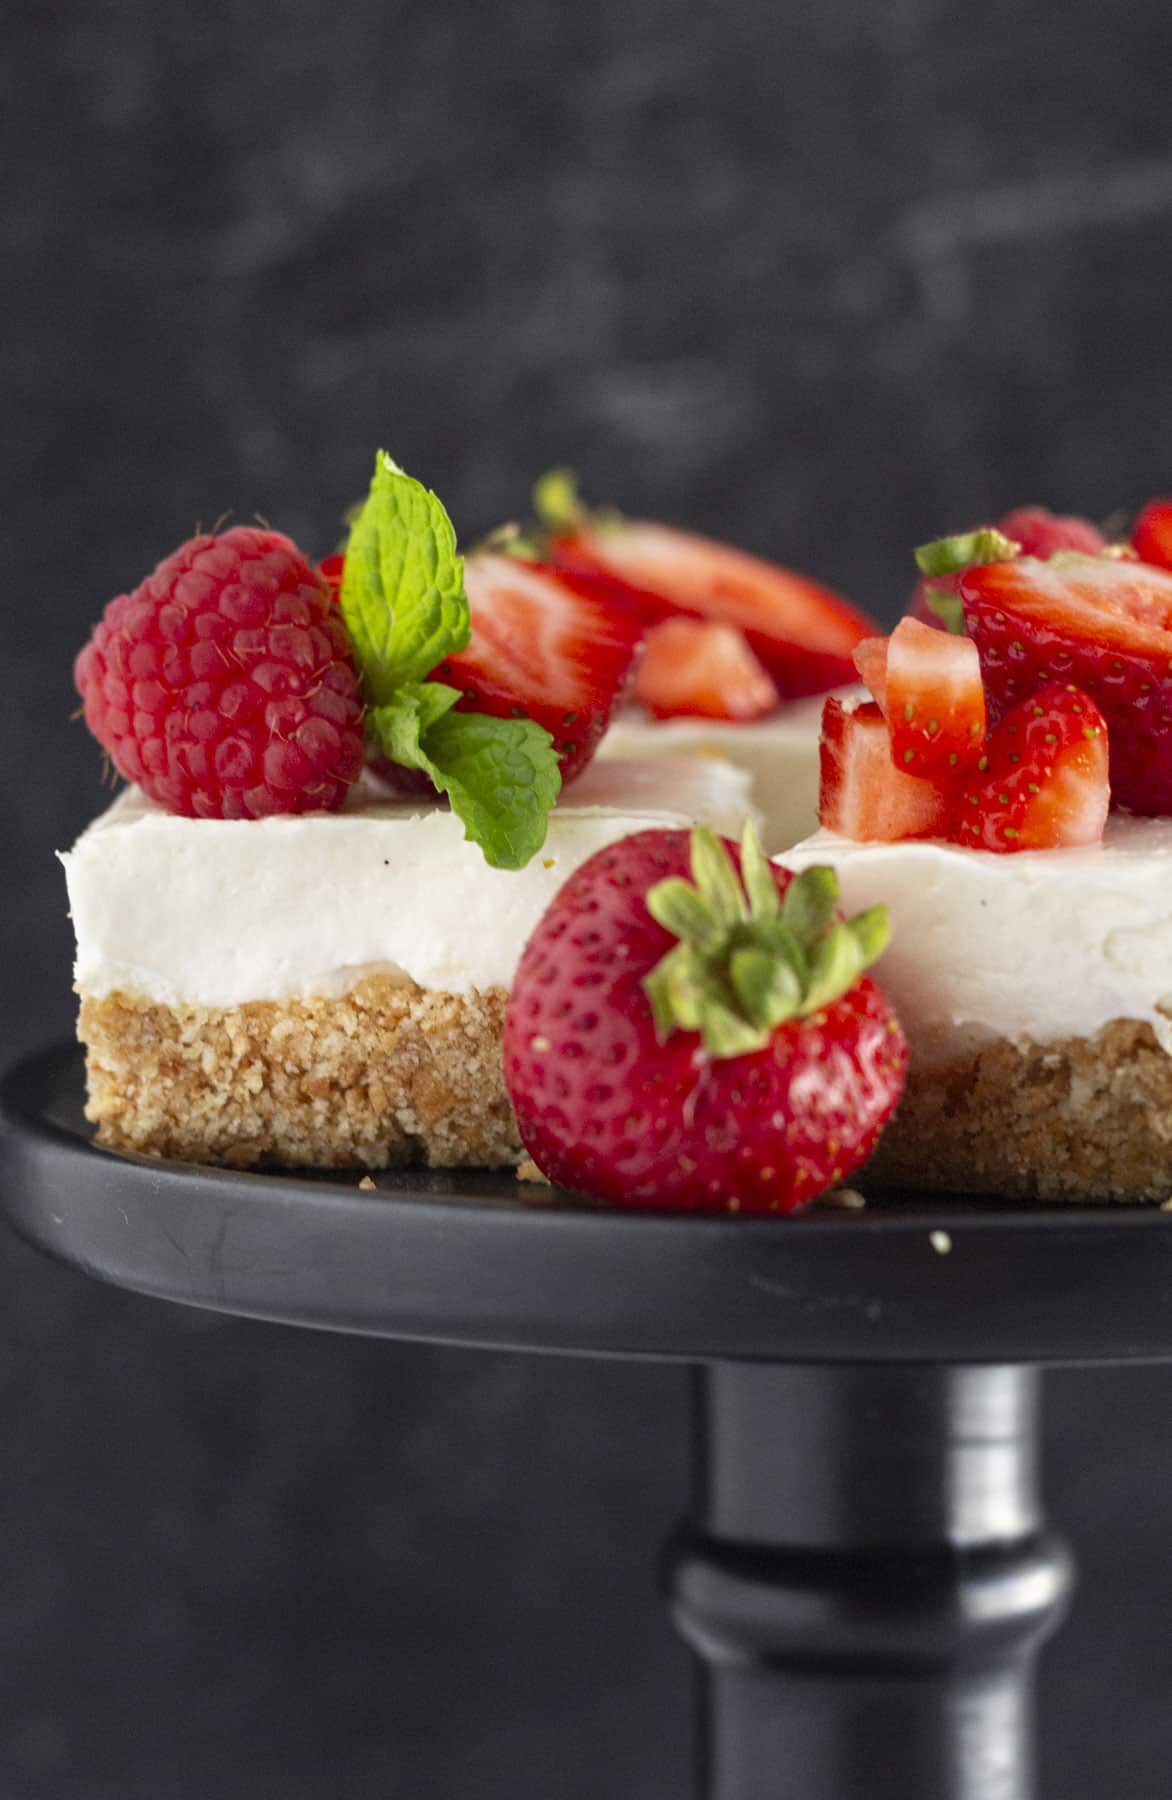
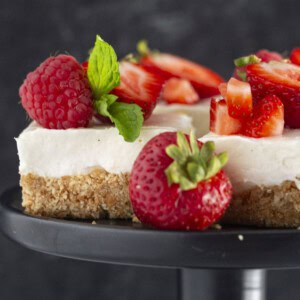
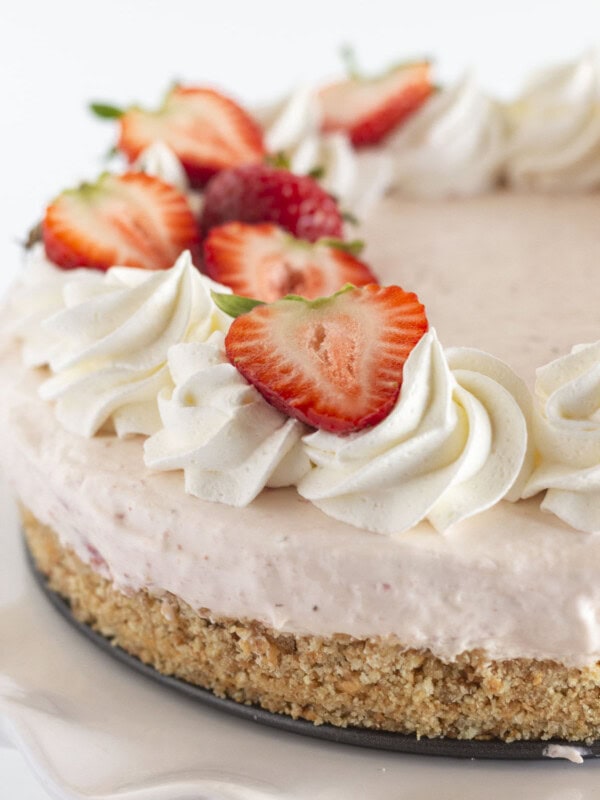
These no bake cheesecake bars are a crowd-pleaser that everyone will love! They have a buttery vanilla wafer crust topped with a smooth and creamy cheesecake filling, and the best part is you don’t even need to turn on your oven. With just a hint of vanilla, these bars have a classic flavor that’s hard to resist.

Table of Contents
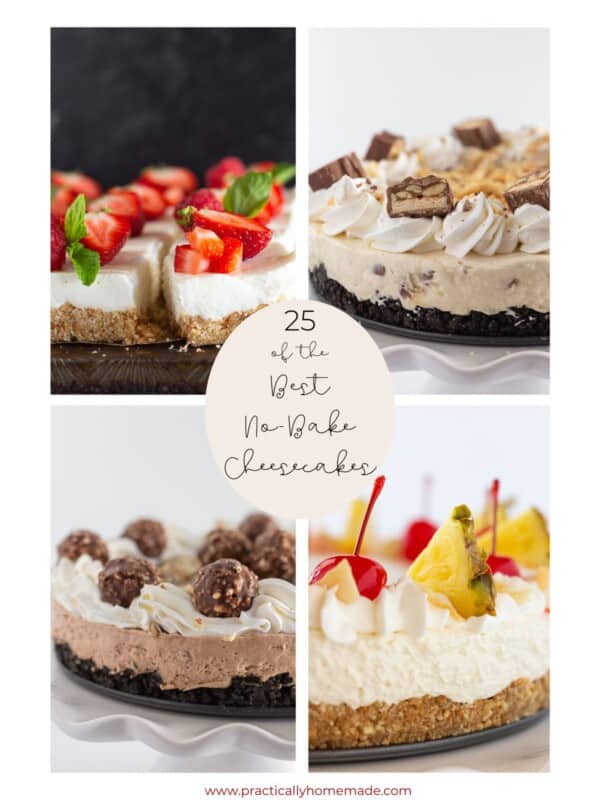
Are you a fan of cheesecake? We sure are and this no bake cheesecake bar recipe is a family favorite. From the perfect four ingredient cheesecake mousse that comes together in minutes to the endless topping possibilities, it is the queen of no bake recipes.
The best part is that it uses simple ingredients and doesn’t require an oven or hot water bath like traditional cheesecake.
Within minutes your no bake dessert is finished and all it needs is a bit of time to set up which also makes it the perfect make ahead dessert. I love serving it at dinner parties, summer picnics and other gatherings.
What goes into this Recipe

- Vanilla Wafers: They form the base of the buttery, slightly sweet crust. Using a food processor to break down the cookies is so convenient.
- Cream Cheese: Make sure to use room temperature cream cheese so it blends smoothly into the filling.
- Powdered Sugar: Sweetens the filling and helps create a smooth texture.
- Vanilla Bean Paste: Adds a rich, warm vanilla flavor that compliments the tangy cream cheese beautifully.
- Whipped Topping: Folding in a whipped topping like Cool Whip lightens the filling and gives it a creamy, mousse-like consistency.
See recipe card for full information on ingredients and quantities.
How to make No Bake Cheesecake Bars
- To make the vanilla wafer crust, grab a medium mixing bowl and combine the cookie crumbs, light brown sugar, and melted butter. Once everything is well mixed, pour the crumb mixture into your prepared pan. Use your fingers {or the bottom of a glass} and press the crumbs firmly into the bottom of the springform pan in an even layer. Put the crust into the fridge while you work on the filling.
- For the cheesecake layer, start by adding your room temperature cream cheese to a medium bowl. Using a hand mixer or stand mixer that is fitted with the whisk attachment, beat the cream cheese until it’s nice and creamy. Next, add the powdered sugar and vanilla bean paste to the bowl with the cream cheese. Keep mixing until everything is well combined and smooth. Finally, gently fold in the whipped topping until it’s fully incorporated into the cream cheese mixture. Be careful not to overmix, or you’ll deflate the whipped topping and lose that lovely light texture.

- Pour the cheesecake filling onto the chilled and prepared crust, using a spatula to spread it out into an even layer. Make sure the filling reaches all the way to the edges of the pan. Place the pan in the refrigerator and let the cheesecake bars chill for at least 4 hours, or overnight if you have the time. This will give the filling a chance to set up properly.
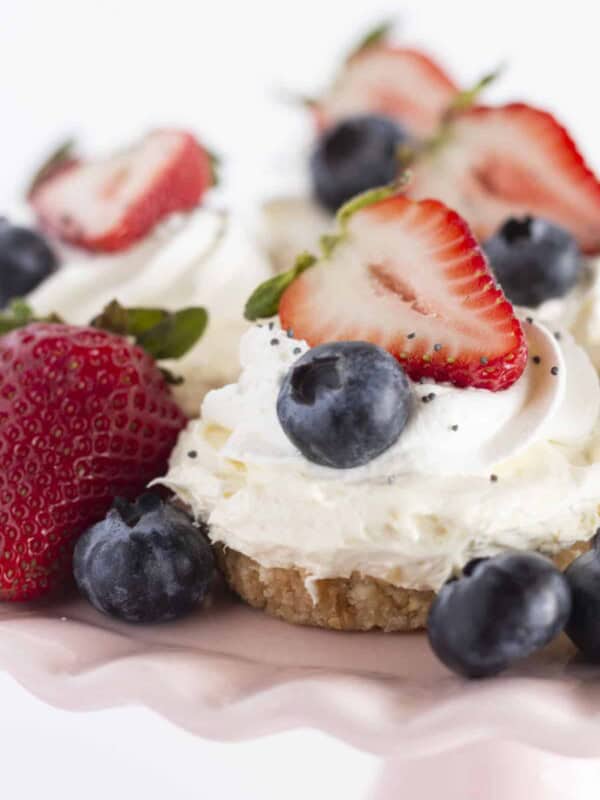
- When you’re ready to serve, use the overhanging parchment paper to lift the entire slab of cheesecake out of the pan and onto a cutting board. Slice it into 16 even squares. To finish, add a dollop of whipped topping to each square and top with a piece of fresh fruit. Serve the bars chilled, and watch them disappear!

Expert Tips
- Start with room temperature cream cheese. This simple step will give you a super smooth filling without the lumps that cold cream cheese can leave behind.
- Chill the bars for at least 4 hours, or overnight if possible. This gives the filling time to set properly, so you get clean, neat slices.
- Use full-fat cream cheese for the best flavor and texture. Low-fat or non-fat versions may not set up as well or have the same creamy consistency.
- Get creative with toppings. I served them with fresh strawberries for the perfect no bake strawberry cheesecake bars but you could also use fresh blueberries or even cherry pie filling. A drizzle of chocolate sauce or caramel would also be amazing. Another option would be the pecan pie topping from this pecan cheesecake.
Storage and Freezing
Store: Keep your easy cheesecake bars in an airtight container in the refrigerator for up to 4 days. The bars will remain firm and the crust will stay crisp when chilled.
Freeze: You can freeze these bars for up to 1 month. Slice them into squares, then wrap each square tightly in plastic wrap and place them in a freezer-safe container. When you’re ready to enjoy, let the bars thaw in the refrigerator overnight before serving.
Recipe FAQs
Absolutely! Feel free to experiment with different types of cookies for the crust. Oreos would make a delicious chocolate crust, like this cookies and cream cheesecake.
A simple graham cracker crust would provide a nice traditional flavor and Biscoff cookies would give it a perfectly spiced touch! Just make sure to adjust the amount of butter as needed to get the right consistency for the crust.
Yes, you can make these no bake cheesecake bars in a different size pan, but keep in mind that the thickness of the bars will vary. If you use a larger pan, the bars will be thinner, and if you use a smaller pan, they’ll be thicker. You may also need to adjust the chilling time accordingly.
Yes, you can use homemade whipped cream by whipping heavy cream into stiff peaks, using powdered sugar as a stabilizer. Just keep in mind that homemade whipped cream may not be as stable as store-bought whipped topping, so the bars may be a bit softer and more prone to melting at room temperature.
To make it, combine 1 cup of heavy whipping cream and 1/4 cup of powdered sugar to a bowl and beat until stiff peaks form. Add vanilla extract for extra flavor.
You can make these bars up to 2-3 days in advance. Just store them in an airtight container in the refrigerator until you’re ready to serve. If you’re making them more than a day ahead, wait to add the fruit garnishes until just before serving for the best presentation.
Do you love cheesecake? Try these recipes…

Cheesecakes
Churro Cheesecake Bars

Cheesecakes
The Best No Bake Cherry Cheesecake
Desserts
Easy No Bake Mini Cheesecakes
Did you try this recipe?
Leave a ⭐️ review below and tag @practicallyhomemade on Pinterest!
Super Easy No Bake Cheesecake Bars
Ingredients
Vanilla Wafer Crust
- 2 ¼ cup vanilla wafer cookies
- ¼ cup brown sugar, {packed}
- ⅓ cup butter, {melted}
Cheesecake Filling
- 16 ounces cream cheese, {room temperature}
- 2 cups powdered sugar
- 1 teaspoon vanilla bean paste
- 8 ounces whipped topping
Toppings
- ½ cup whipped topping
- ½ cup fresh fruit
Instructions
- Prep a 9×9 baking pan by lining the bottom with parchment paper that is long enough to hang over the sides of the pan. Spray lightly with nonstick spray.
Vanilla Wafer Crust
- Combine vanilla wafer crumbs {you can make them easily by pulsing them in a food processor}, brown sugar and melted butter in a bowl. Mix together until everything is nicely incorporated. Pour into the prepared pan. Press crumbs firmly into the bottom of the pan. Refrigerate until filling is ready.
Cheesecake Filling
- Add softened cream cheese to a medium bowl and mix until creamy {using a hand held or stand mixer}. Add powdered sugar and vanilla bean paste, continue to mix until combined. Finally, add the whipped topping and fold it into the mixture until it is completely incorporated {being careful to not deflate the topping as you mix}.
Assembly and Serving
- Pour the filling onto the graham cracker crust and spread out into an even layer. Refrigerate for at least 4 hours {overnight if able}. To serve, use the parchment paper hanging over the sides of the pan and lift the cheesecake bars from the pan and onto a cutting board. Cut into 16 even squares. Top with a dollop of whipped cream and fresh fruit, serve. Leftovers should be stored in an airtight container in the refrigerator for up to 4 days.
Notes
Nutrition
Nutrition information is automatically calculated, so should only be used as an approximation.


These cheesecake bars are a family favorite!