Easy Cookie Baking Tips for Better Cookies
Updated Jan 05, 2026, Published Feb 02, 2024
This post may contain affiliate sales links. Please see our full disclosure policy for details.
Today I am sharing all of the Cookie Baking Tips that I have discovered from baking thousands of cookies. They are simple things that you can incorporate into your baking today and get the best cookies ever.

Table of Contents
- Best Cookie Baking Tips
- 1. Room Temperature Butter
- 2. Read the Recipe Completely Before Beginning
- 3. Pre-Prep the Ingredients
- 4. Do not over mix the dough after adding the dry Ingredients
- 5. Measure Flour Correctly
- 6. Prep your baking sheet correctly
- 7. Use a Cookie Scoop
- 8. Give cookie dough space when baking
- 9. Bake One Batch at a Time
- 10. Do not Over Bake the Cookies
- 11. Use a round cookie cutter to get perfectly round cookies
- 12. Use great ingredients
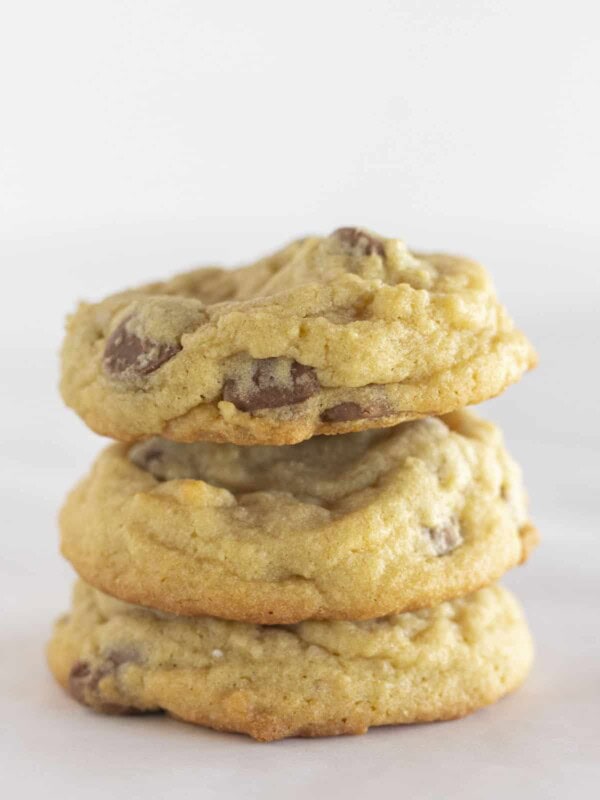
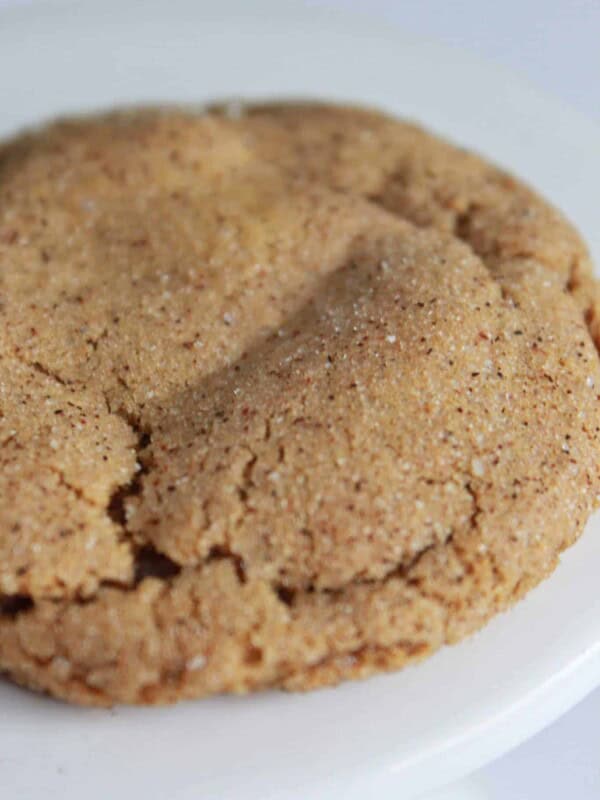
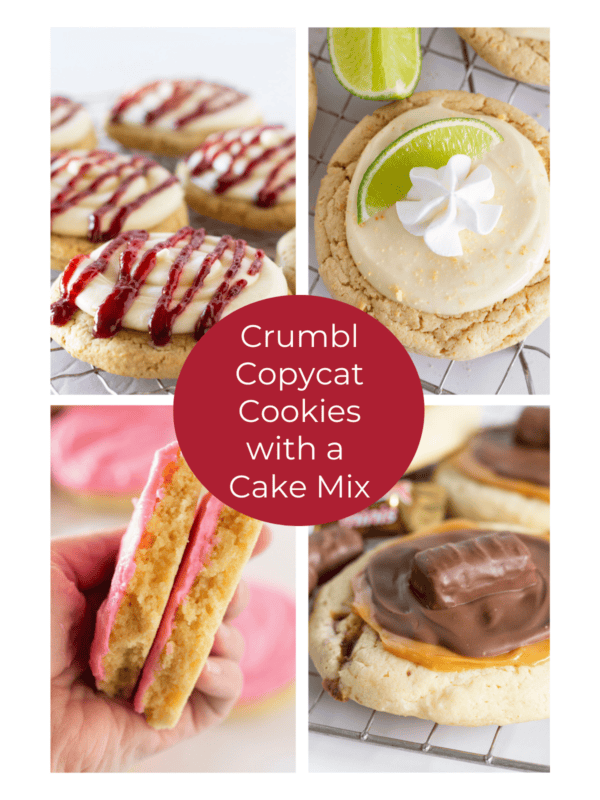
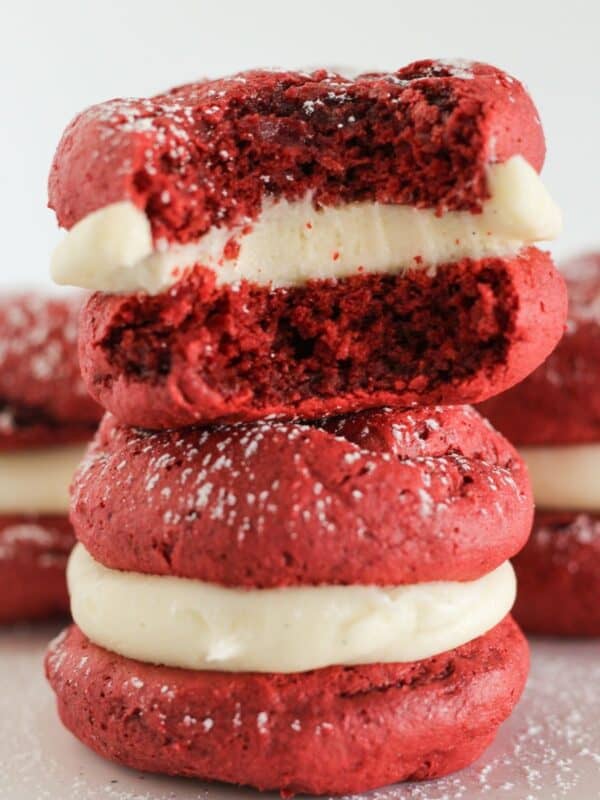
- Need a few cookie ideas? Try these awesome recipes…
I will admit that until I was a culinary teacher, I never thought about what could make my cookie baking better.
The truth is that baking can be intimidating. It is more temperamental than throwing together a casserole because the recipe is like a scientific formula. All of the ingredients and directions need to work in harmony for a victorious outcome.
Best Cookie Baking Tips
1. Room Temperature Butter
Most cookie recipes start with softened butter. Using a room temperature butter in your dough ensures that you can cream butter and sugar together easily.
While there are a few recipes that allow you to use cold butter {see this cookie recipe} or even melted butter {like these Easy Mini Chocolate Chip Cookies}, room temperature is the most common.
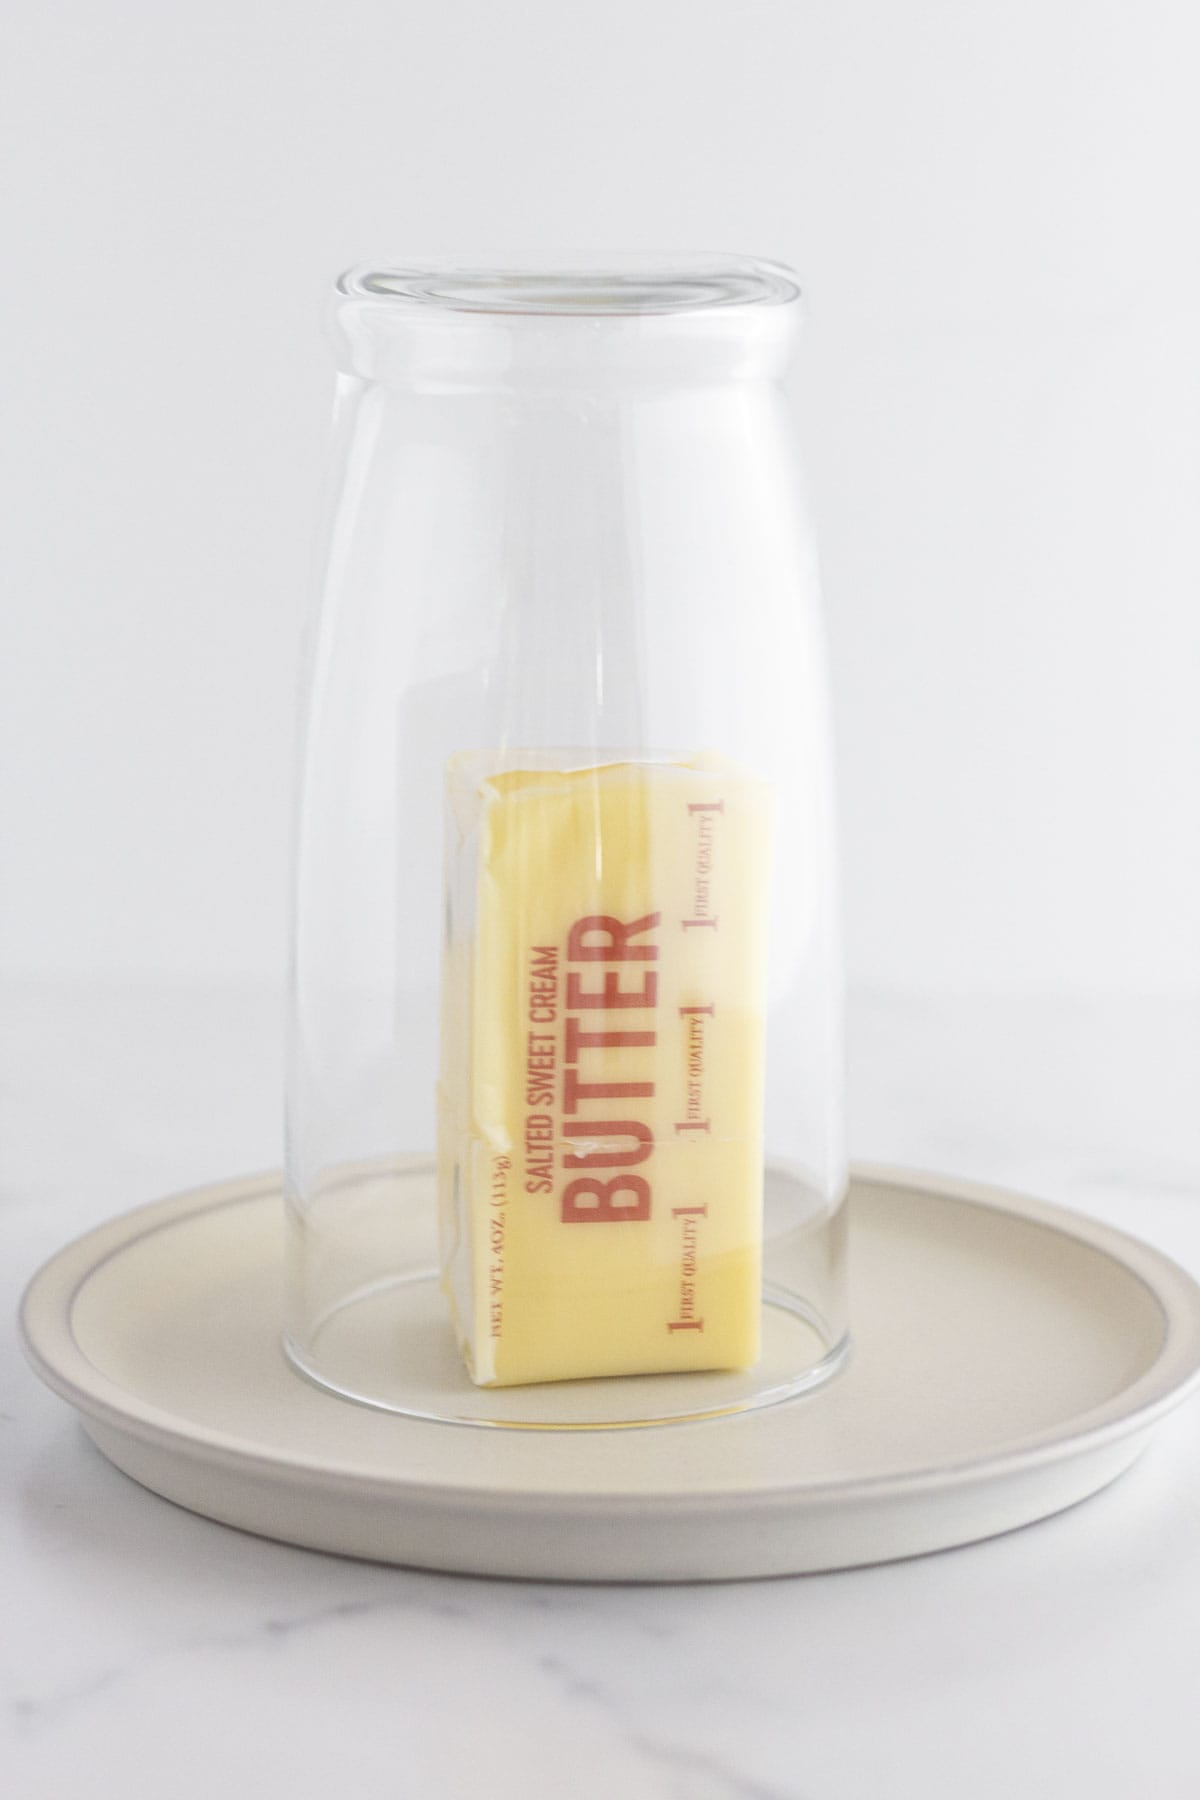
This can require planning ahead but what happens when you want to bake cookies right now? How can you get softened butter without waiting for hours?
A great trick for softening butter quickly, is to fill a glass cup or bowl {one that will fit over the butter} with hot water. After a few minutes, pour the water out {be careful because it is hot} and place it over the cold stick of butter. The heat of the glass will soften the butter in minutes and you are ready to bake!
2. Read the Recipe Completely Before Beginning
How many times have you gotten half way through a recipe and realized that you either don’t have all of the ingredients needed or weren’t prepared for an upcoming step?
Reading the recipe from start to finish before you start baking eliminates any guess work. It allows you to assemble the cookie dough quickly and without any surprises.
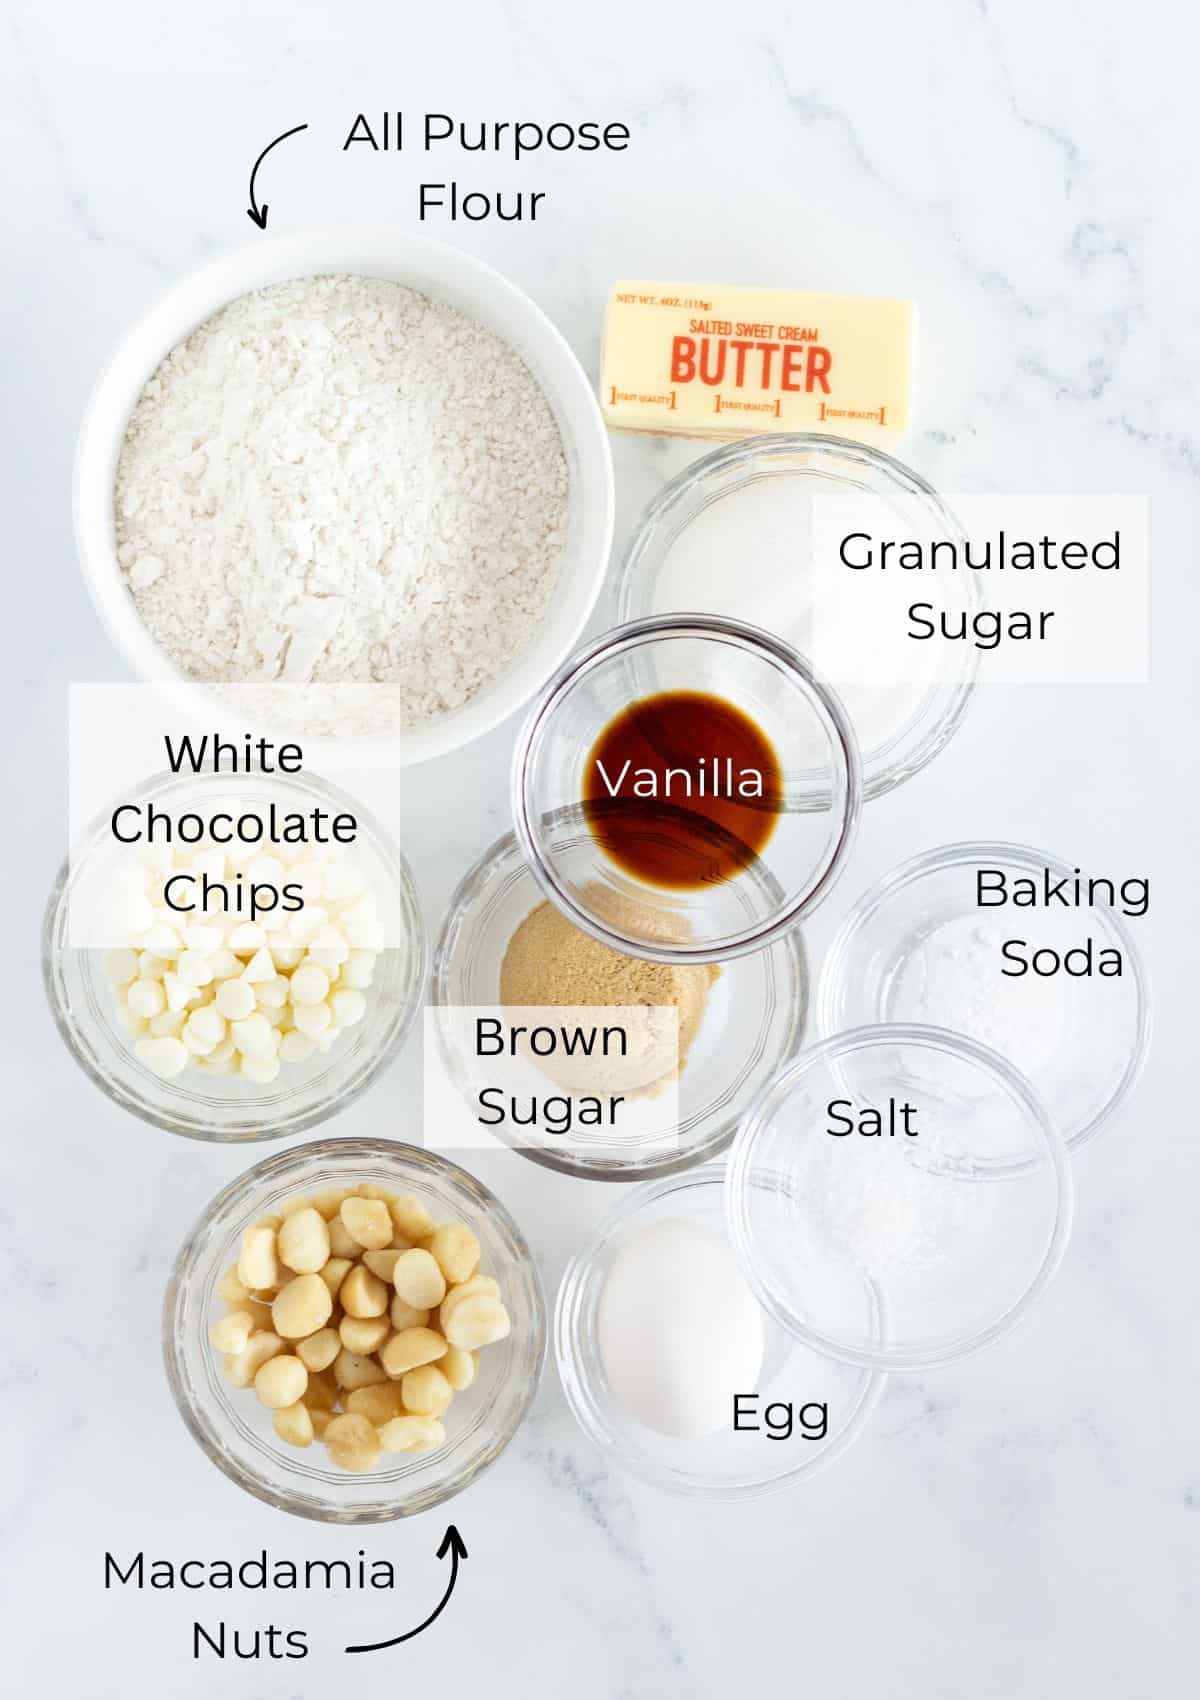
3. Pre-Prep the Ingredients
Having your ingredients ready {like this photo for White Chocolate Macadamia Cookies} and measured out before you start helps to pull the recipe together in no time.
When everything is organized and in arms reach you are less likely to forget ingredients or steps in the instructions. Being prepared is a game changer.
4. Do not over mix the dough after adding the dry Ingredients
For nice thick cookies I suggest adding the dry ingredients at one time and mixing just until it is incorporated.
When you over mix at this step too much air is incorporated into the cookie dough and it will almost certainly result in super flat cookies.
The problem is that the air in the dough will instantly expand when it hits the heat of the oven and then deflate just as quickly. When you only mix until the ingredients are combined you will not have this problem.
Note: This doesn’t include creaming the butter and sugar together. That step can be mixed for a long time without any problems.
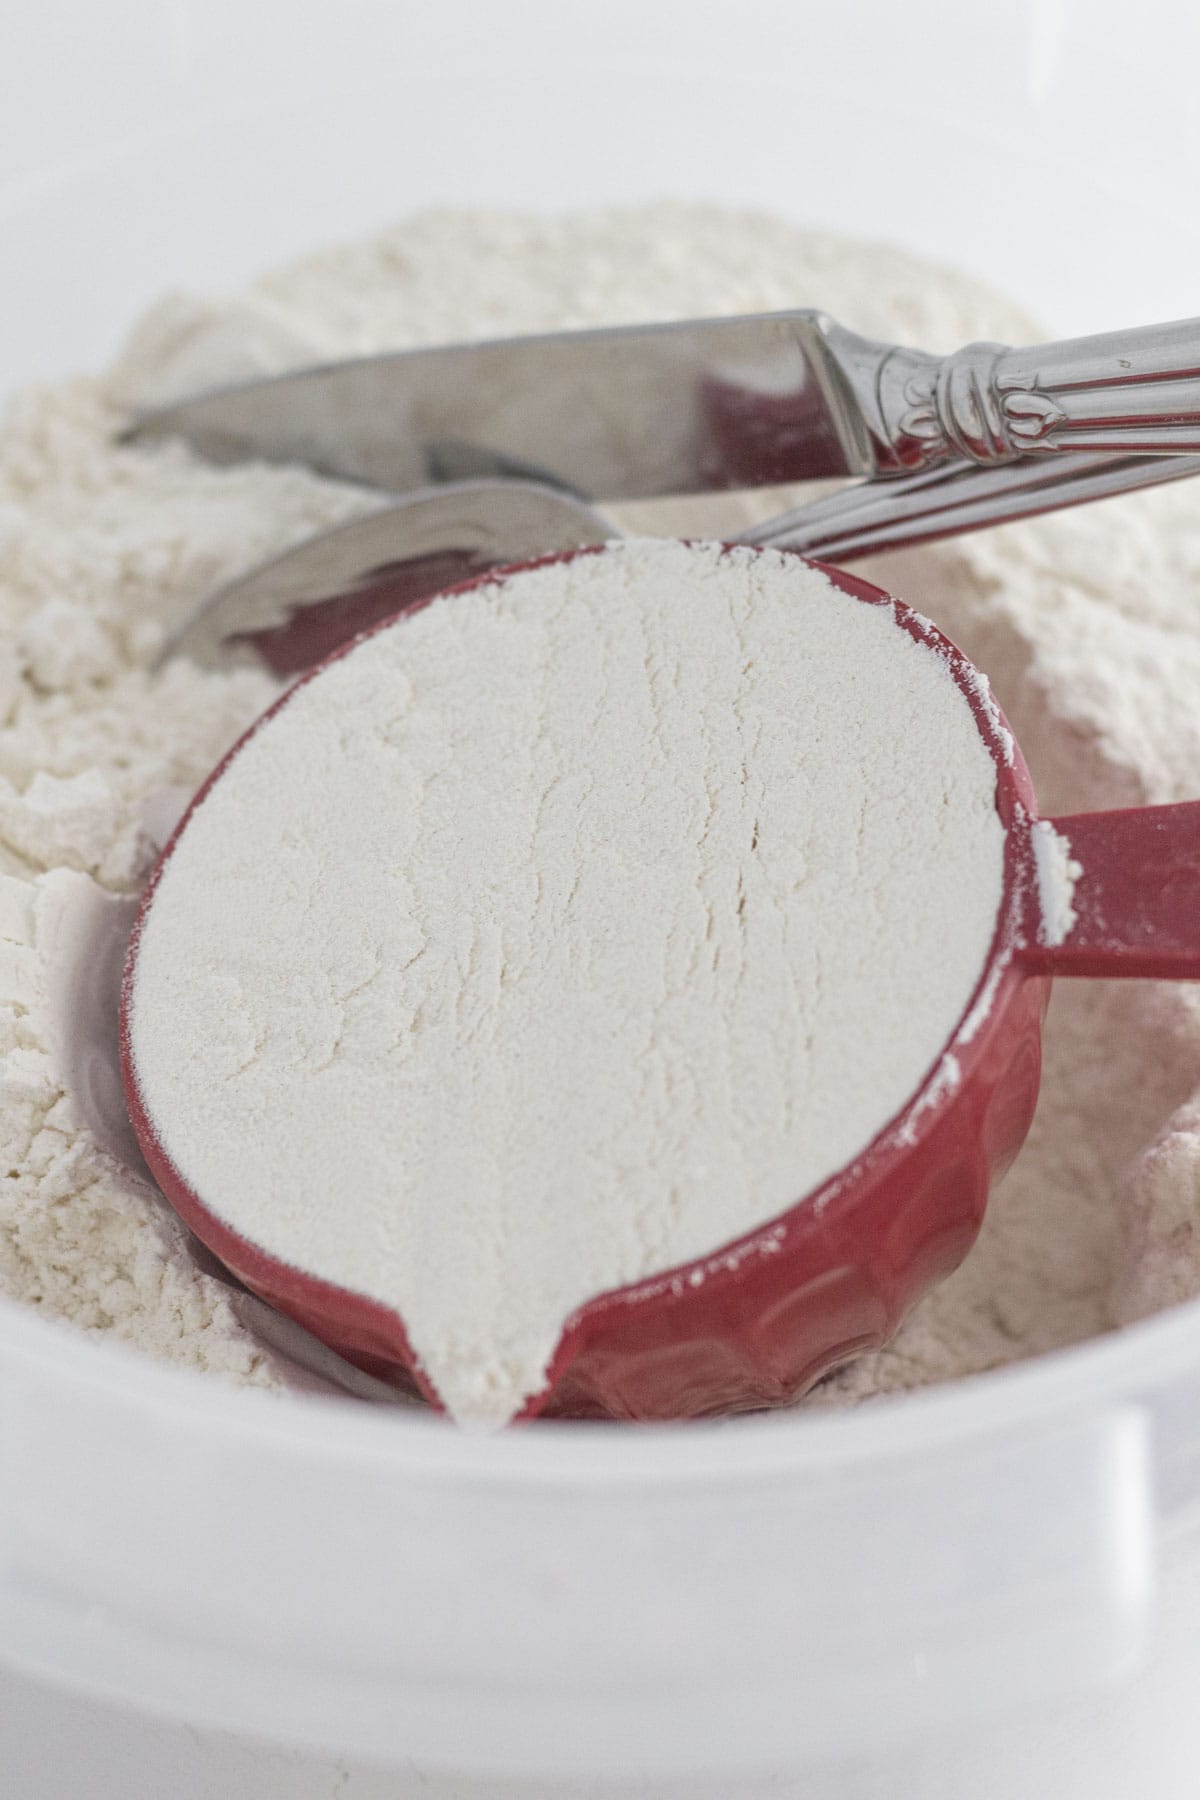
5. Measure Flour Correctly
Adding too little flour can make the cookies spread and adding too much flour can make them super dense. The truth is that the correct amount of flour can make or break a recipe.
When I was teaching, one of my first lessons was in measuring. Using the spoon and level technique is a simple way to make sure you have the right amount of flour.
To do this, just use a spoon to fill the measuring cup and then use the flat side of a butter knife to level it off.
6. Prep your baking sheet correctly
Another one of my cookie baking tips is adding a sheet of parchment paper or a silicone mat to the cookie sheets instead of spraying with nonstick spray is the best way to get perfect cookies.
When you use nonstick spray it can make the cookies spread more than they should. It will also start to build up on your pans and become hard to remove.
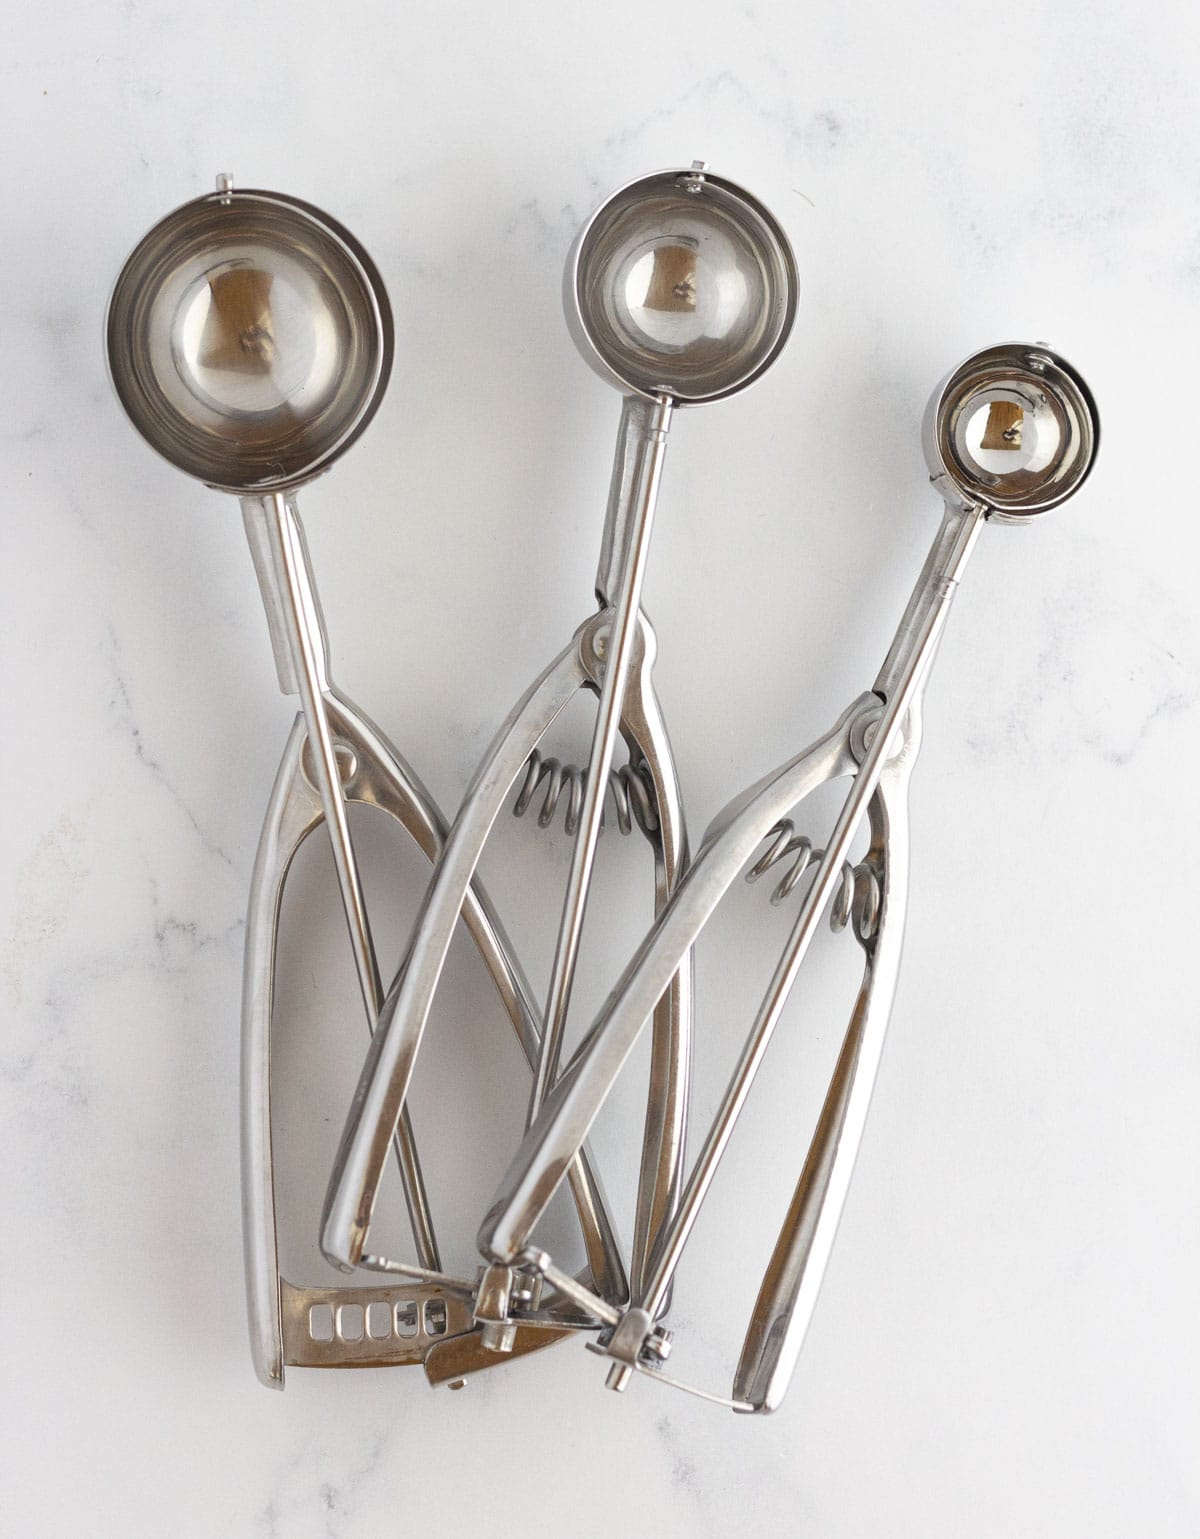
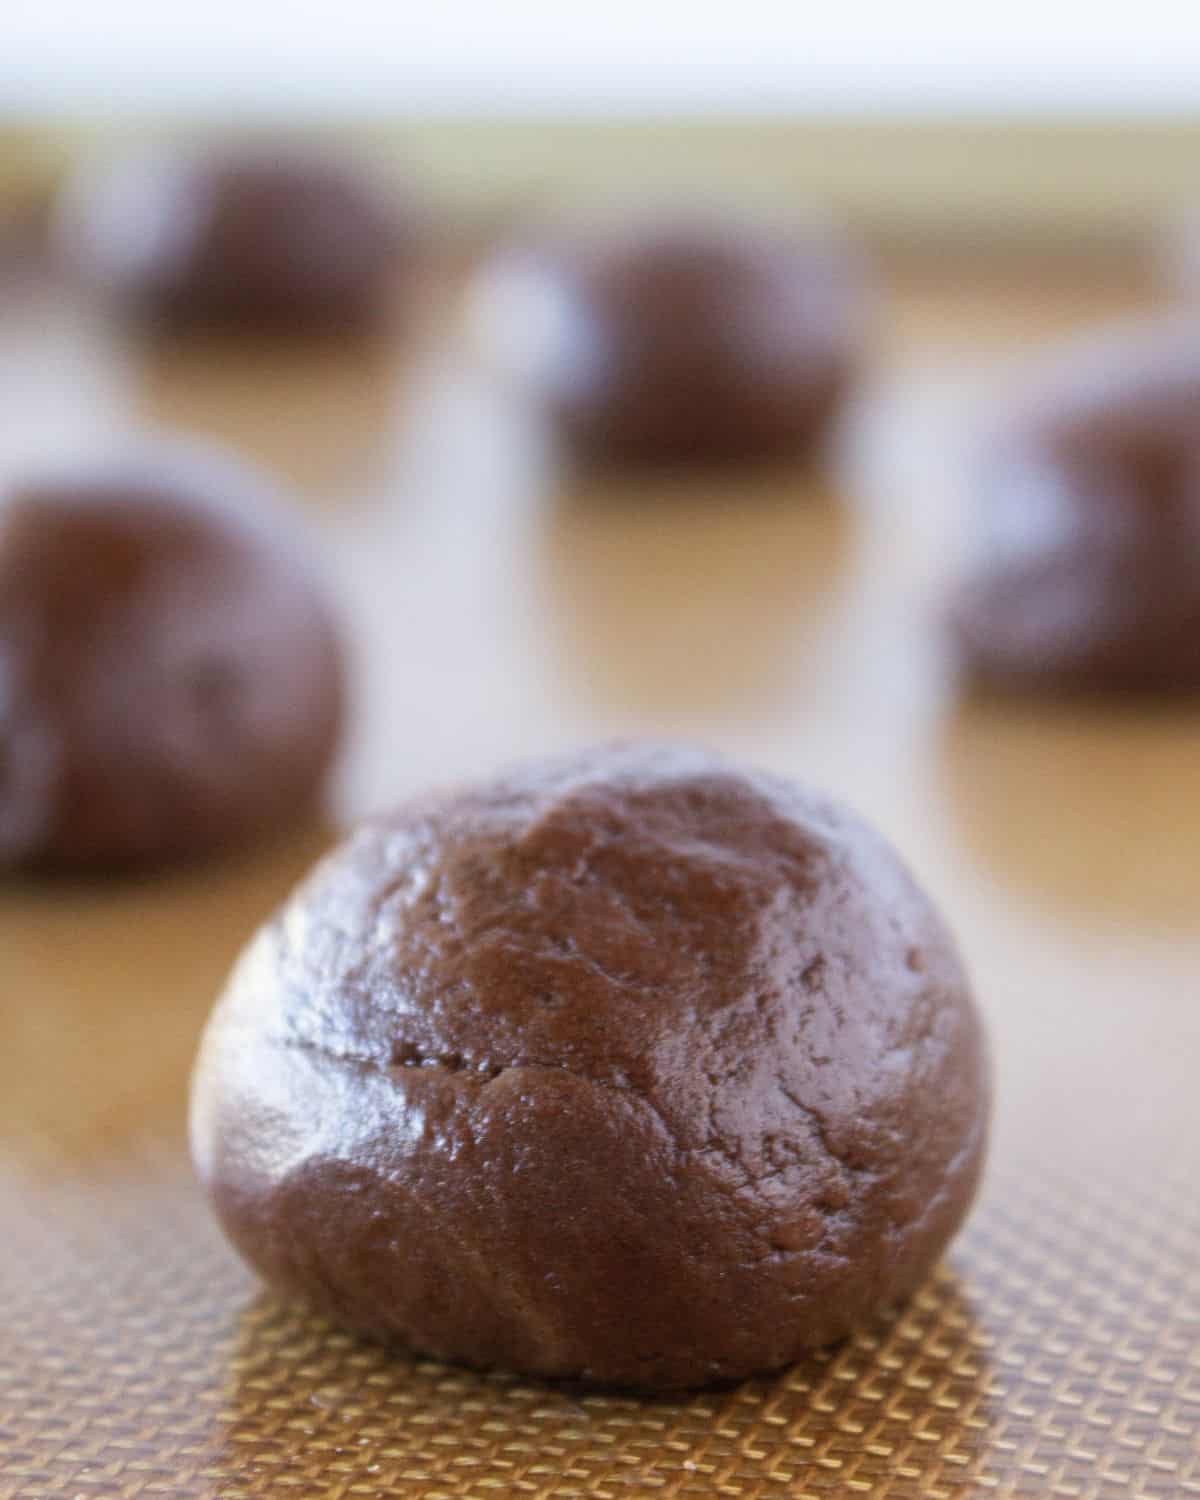
7. Use a Cookie Scoop
Using a cookie scoop {or ice cream scoop} is an easy and affordable way to up your cookie baking game.
First and foremost it keeps all of the cookies the same size. Having uniform cookie dough mounds on the baking sheet allows the cookies to bake evenly while keeping a nice round shape.
Another benefit is that the end product is a gorgeous and symmetrical cookie that looks like they came from a bakery. With a variety of sizes, it is easy to get smaller cookies or larger cookies by changing up the cookie scoop.
8. Give cookie dough space when baking
Giving cookie dough mounds plenty of space to spread is important when it comes to the end result.
When cookies are too close together they can easily spread into each other or even bake into one giant cookie.
Two inches between the balls of dough in most cases is the perfect amount of space to give them enough room to bake up perfectly. Just like these Buckeye Brownie Cookies.
9. Bake One Batch at a Time
Trying to bake more than one sheet of cookies at one time can seem like a great time saving tip.
The truth is that overcrowding the oven will result in cookies that are not evenly baked.
Most standard ovens heat comes from the bottom. So when you add a tray of cookies to both the top and bottom rack each sheet will bake differently.
The bottom cookie sheet is going to over bake {the bottoms might even burn} and the top sheet will be under-baked because it didn’t get as much heat.
You can try to rotate the sheets in the middle of the bake time but that doesn’t always work. You should add a single layer in the center of the oven for best results. Take your time and bake one sheet at a time.
10. Do not Over Bake the Cookies
When it comes to cookie baking tips, my biggest tip for thick, soft and chewy cookies is to not over bake them.
Follow the bake time on the recipe and pull the cookies from the oven once the edges are set.
The middle may look a little underdone but if you cool the cookies on the baking sheet {instead of a cooling rack} the residual heat will continue to bake the cookies and set them up perfectly.
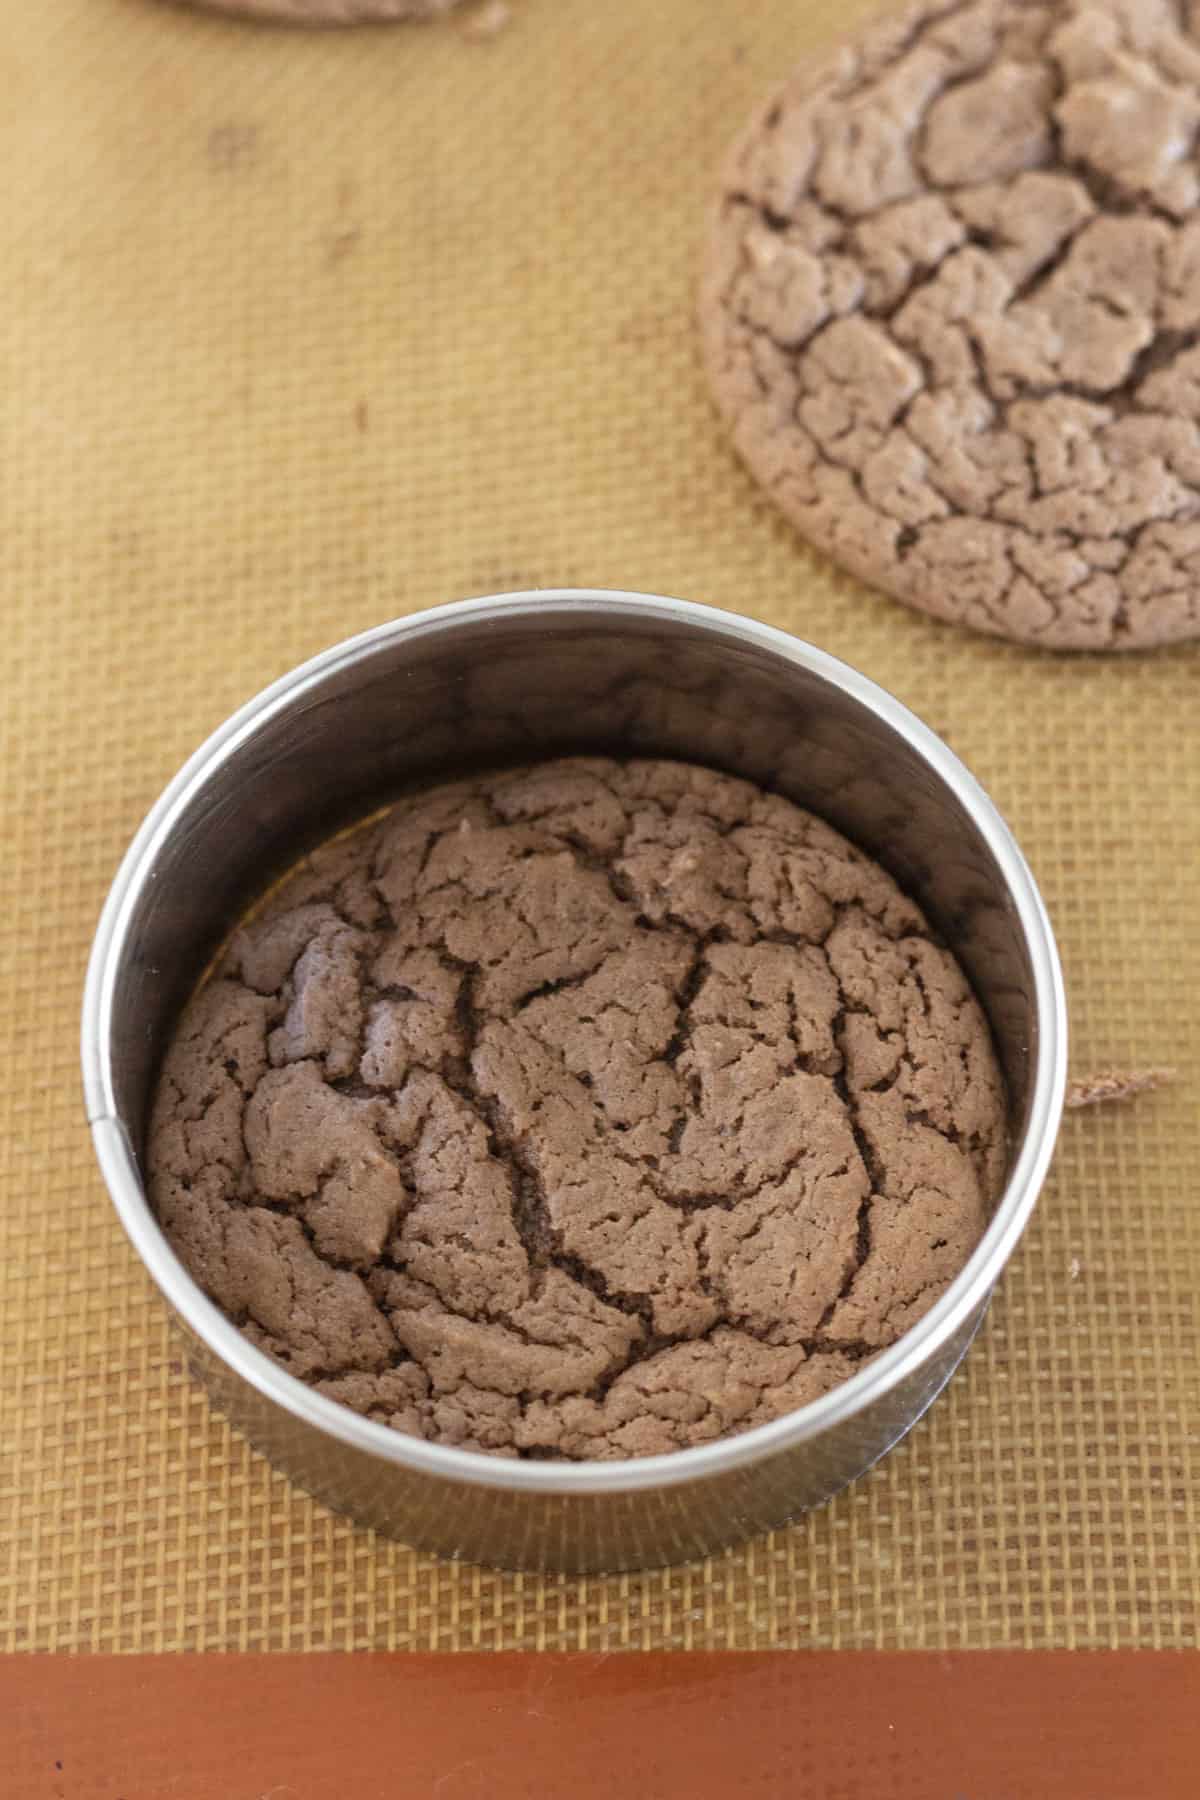
11. Use a round cookie cutter to get perfectly round cookies
While using a cookie scoop is definitely going to help cookies can become misshapen when baking. The great news is that it is easy to fix.
To do this, work while the cookies are warm. Then either take a utensil to go around each cookie and shape them.
An easier way is to use round cookie cutters that are larger than the cookie. Place it over the cookie and move the cutter in a circular motion. The cookies will be perfectly round.
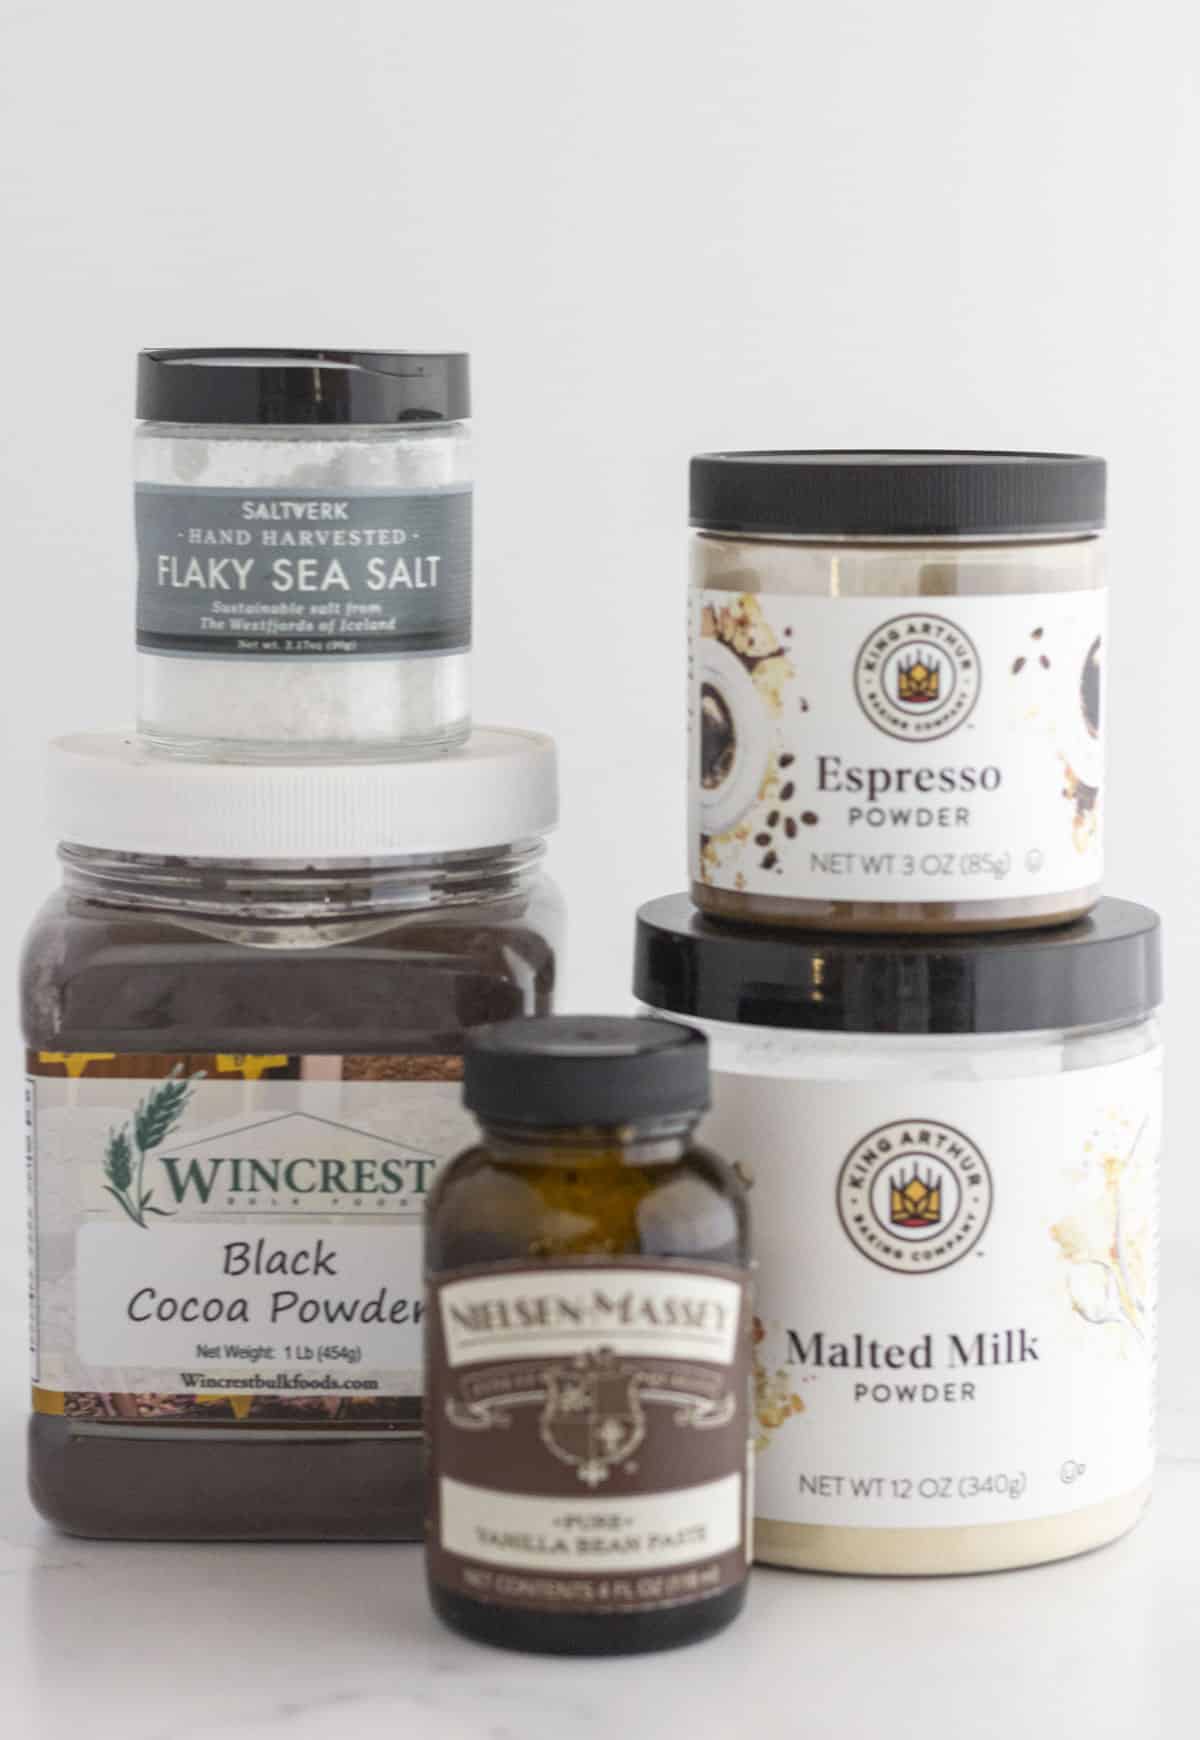
12. Use great ingredients
Simple things like using vanilla bean paste {my new favorite ingredient} instead of vanilla extract can help to give your cookies an extra special flavor.
Adding a sprinkle of flaky sea salt to the top of a chocolate chip cookie gives them a wonderful sweet and salty finish. It is fabulous on top of these Pecan Chocolate Chip Cookies.
Other items like black cocoa powder {that is used in Oreo cookies}, malted milk powder and espresso powder are also great ways to add flavor to cookies.
Follow these easy tips and you are sure to create the most amazing cookies ever, right in the comfort of your own kitchen.


I love your recipes and tips. But where do you buy your vanilla bean paste and black cocoa. Also the cookie scoops
Thank you
This post https://practicallyhomemade.com/cookie-baking-basics/ will show you what I use and where to get them. Enjoy!
Great ideas. I will use them.
Thank you so much ms June. There’s times when something just doesn’t feel right , been awhile since making. It is nice to have someone (you) to have as a go to person just being one click away.
Thanks Pam! I am obsessed and now I have an outlet for my craziness.