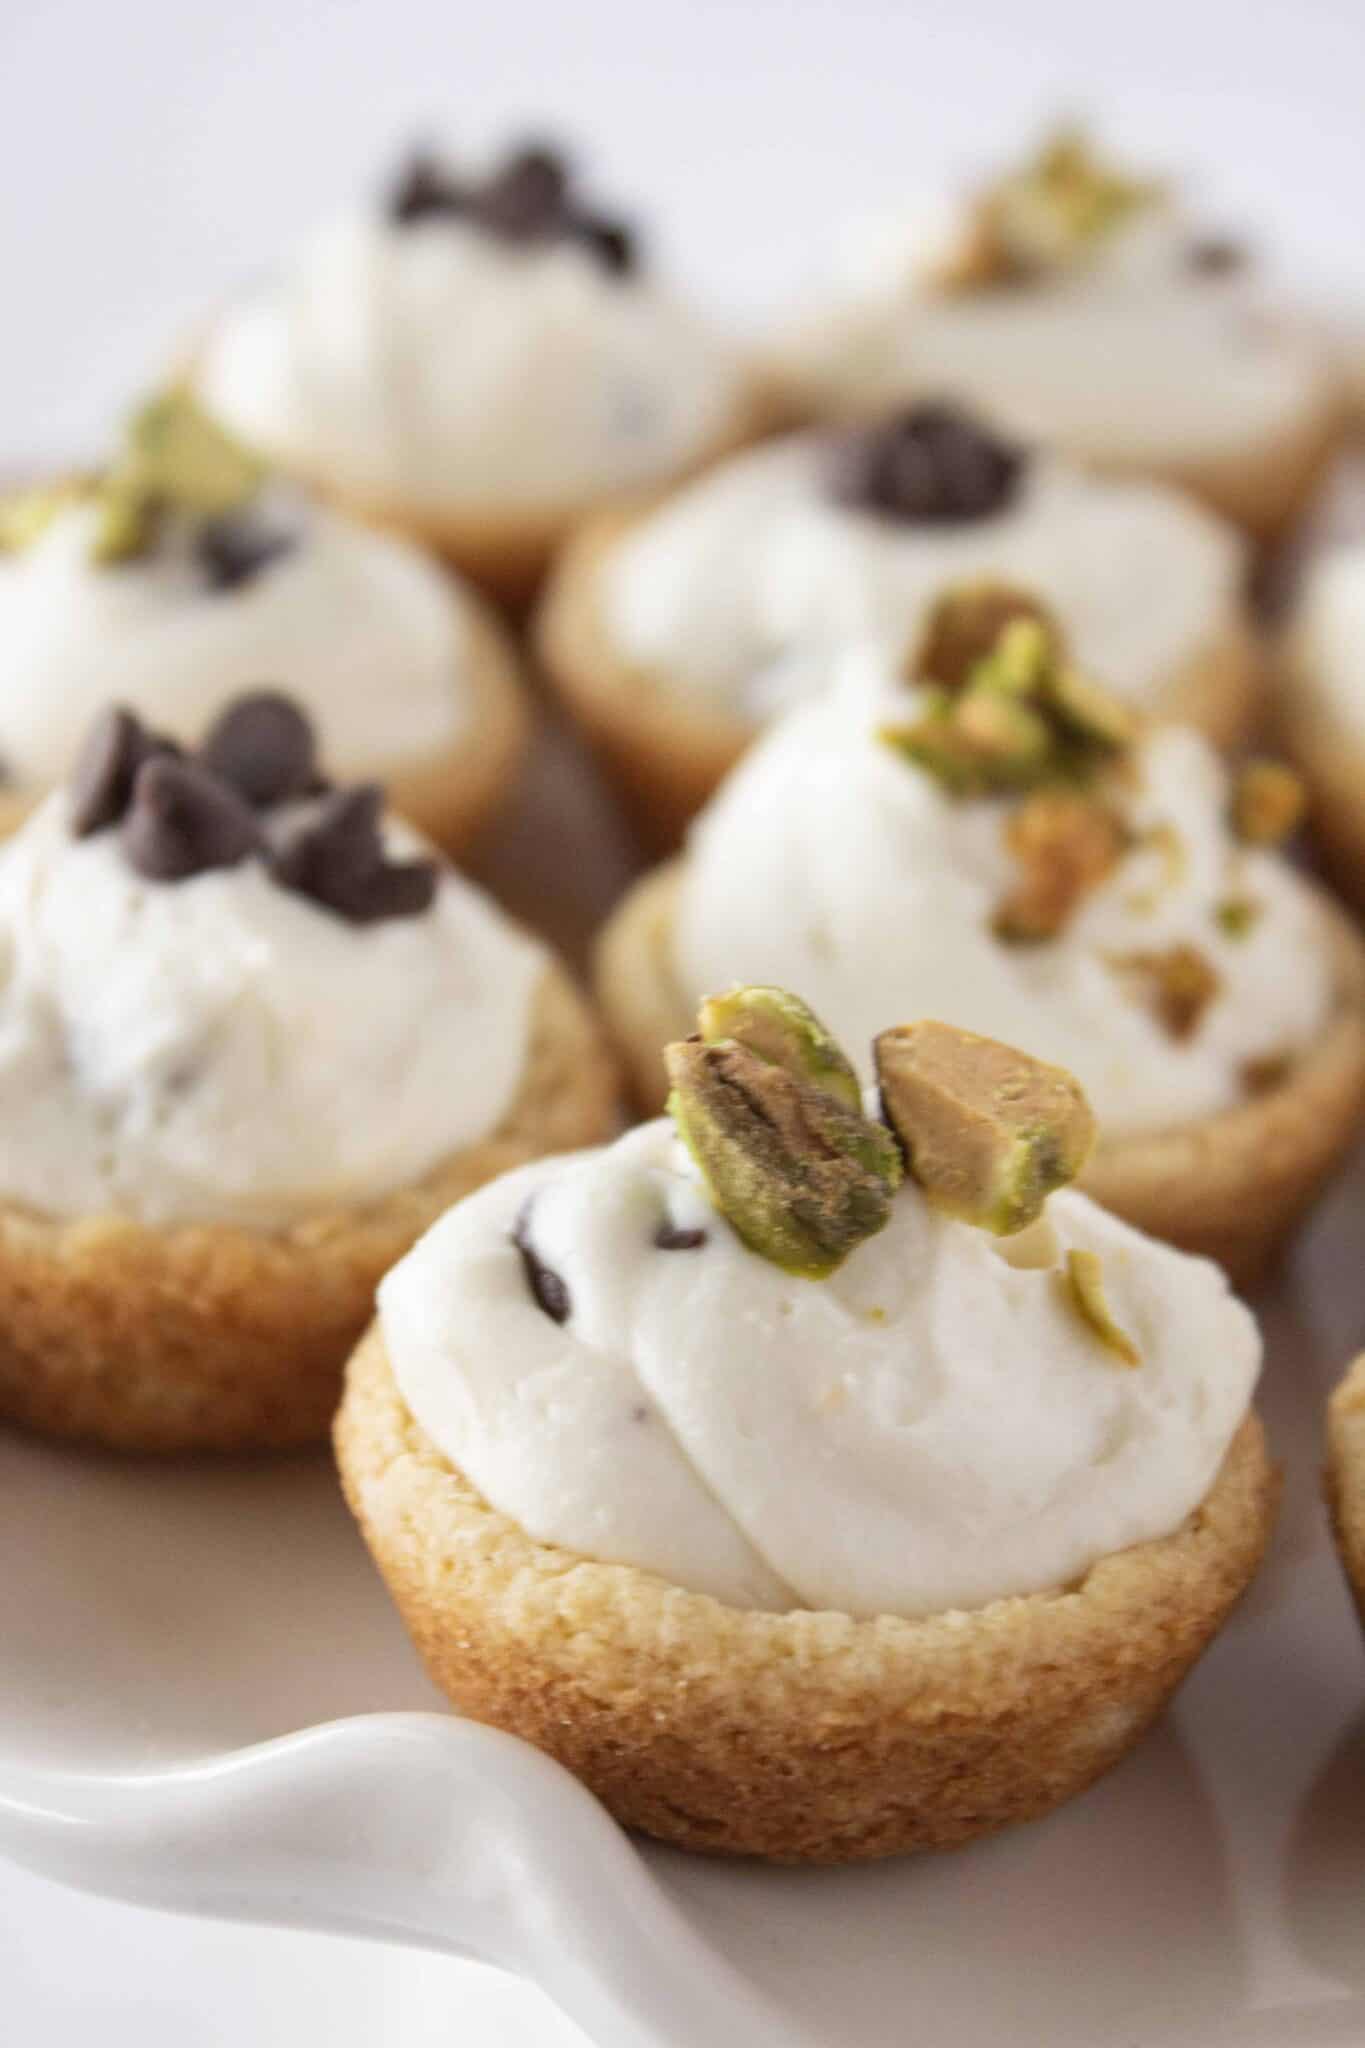
Cannoli Cookie Cups {made with a Cake Mix}
Updated Mar 30, 2026, Published Dec 21, 2020
This post may contain affiliate sales links. Please see our full disclosure policy for details.
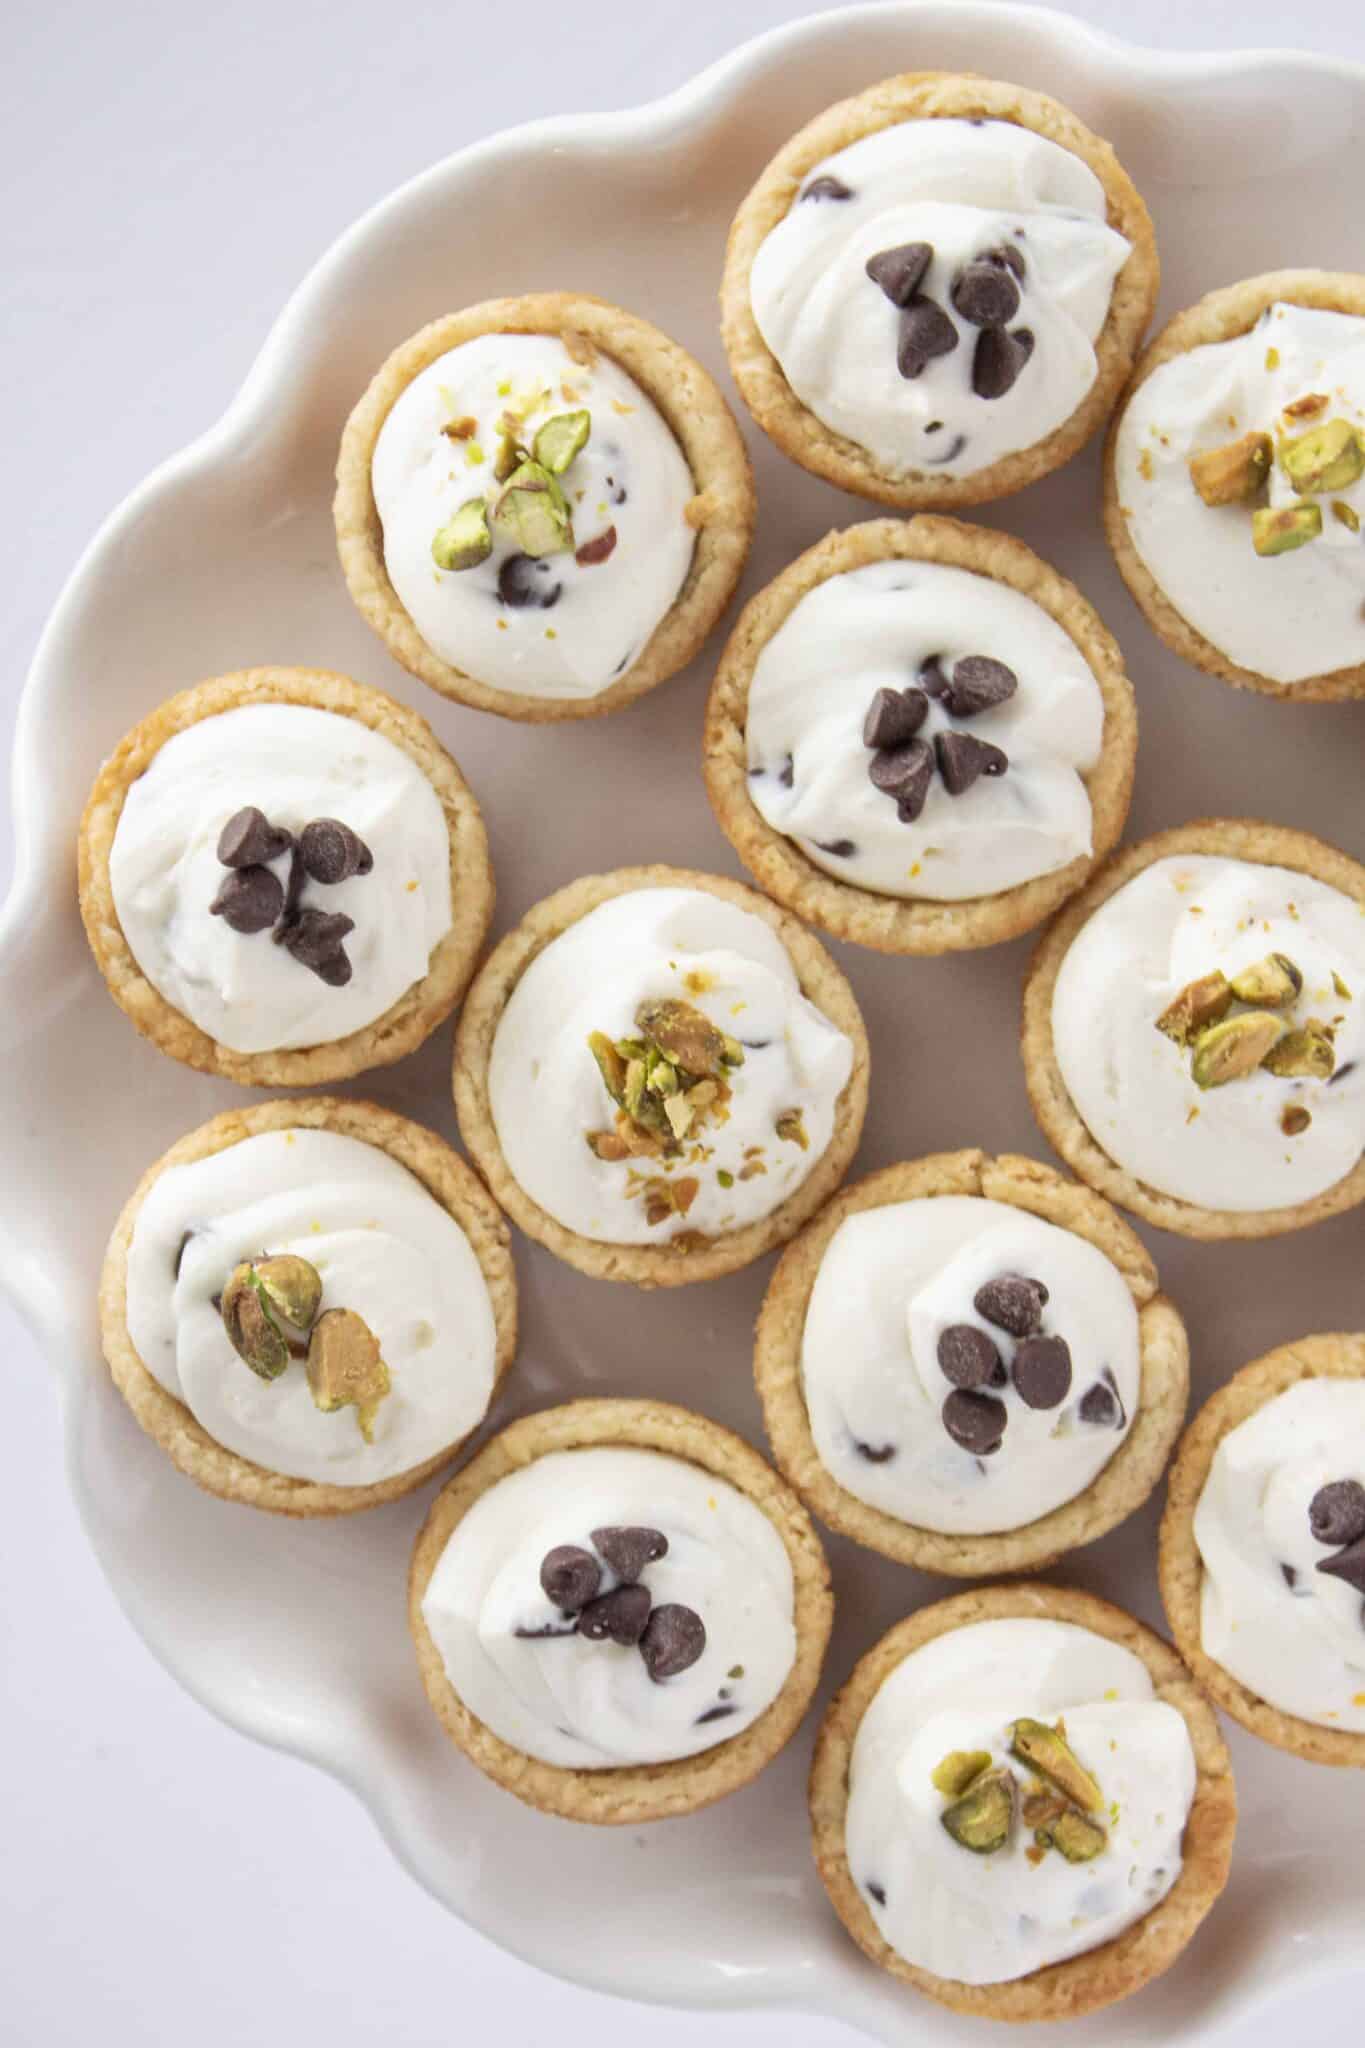
These Cannoli Cookie Cups have all the flavors of classic cannoli—but in a bite-sized cookie cup that’s easy to make and even easier to eat.
If you love cannoli but don’t love the time it takes to make them, this shortcut version is for you. The cookie base starts with a cake mix, making these cannoli cookie cups with cake mix a quick and easy dessert.
Top them with mini chocolate chips or pistachios and you’ve got a bakery-worthy dessert in no time.
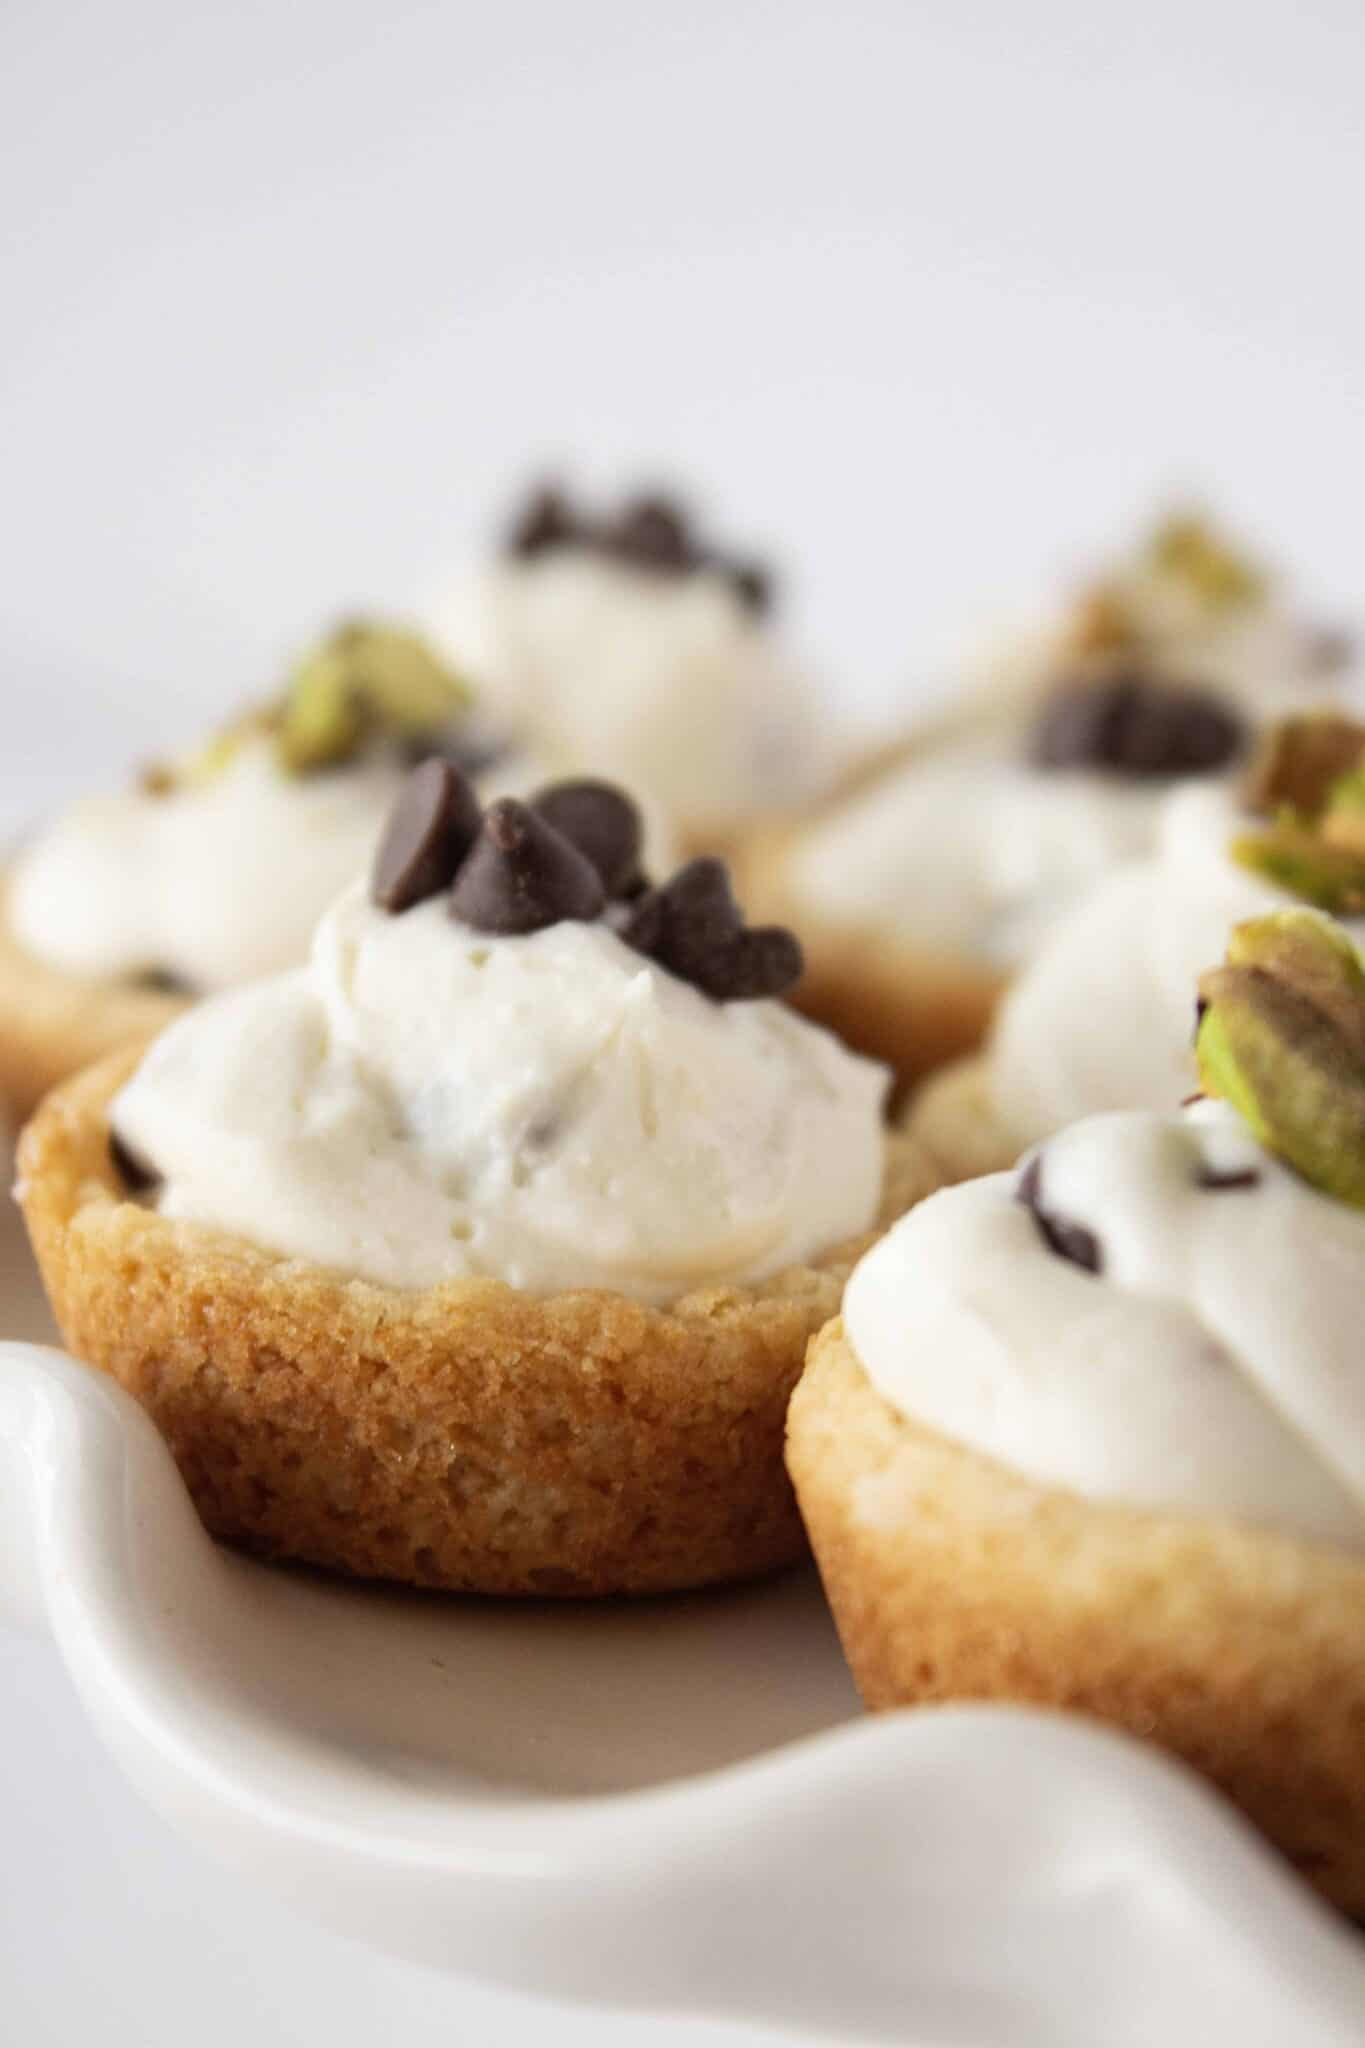
Table of Contents
Why This Recipe Works
These cannoli cookie cups with cake mix give you all the flavor of a traditional cannoli—without the extra time or effort.
Instead of frying shells, everything is baked into a simple cookie cup, making them easier to prepare and perfect for serving at parties or gatherings.
Using a cake mix creates a soft, chewy cookie base that holds its shape perfectly, making it ideal for cookie cups.
The filling combines ricotta and cream cheese for the perfect balance of texture, light and slightly grainy like a classic cannoli, but smooth enough to pipe easily.
And the addition of orange zest brings everything to life, adding a subtle brightness that makes the flavor feel complete.
Ingredients Needed
- Vanilla Cake Mix – We’ll use this as the base for these cannoli cookie cups with cake mix to save time and get perfectly consistent results.
- Ricotta Cheese – The key to that classic cannoli flavor. It gives the filling a rich, slightly textured consistency that makes it feel authentic.
- Orange Zest – Adding orange zest to the filling gives it a light citrus flavor that makes it totally addictive.
- Mini Chocolate Chips – Be sure to use the mini version so as not to overwhelm the little cups. We want more creamy filling than chocolate!
See recipe card for full information on ingredients and quantities.
The Cake Mix I Used
For these cannoli cookies, I used a vanilla cake mix. I love this shortcut ingredient so much that I’ve made a whole collection of vanilla cake mix recipes! Using a cake mix is what makes these cannoli cookie cups so quick and foolproof.
I used Betty Crocker cake mix for this recipe, but Duncan Hines and Pillsbury brands would be perfect as well. Whatever you use, just make sure it comes in a 13.25-ounce box.
Can I Use a Different Cake Mix?
Yes, you can always substitute white cake mix for vanilla, but this recipe would also be great with yellow cake mix. Keep in mind that yellow cake mix will make the cookies more yellow, so they won’t have the color of a classic cannoli.
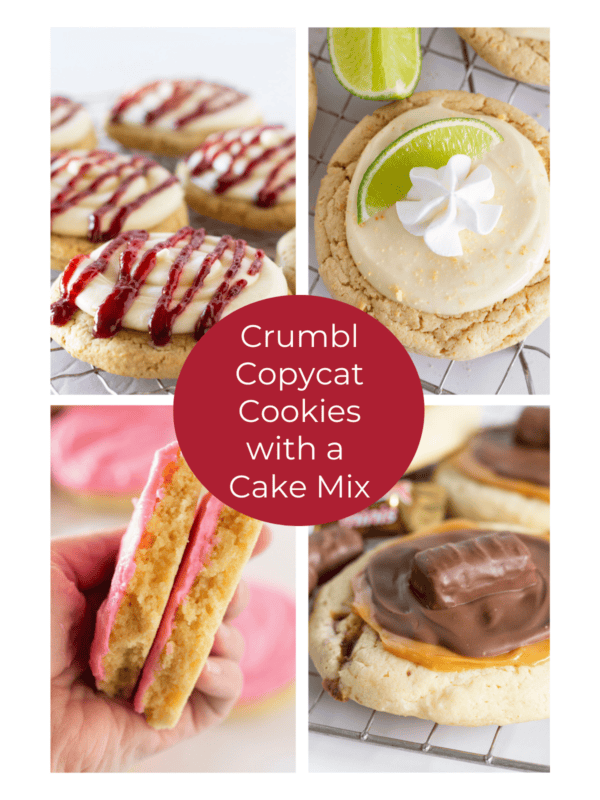
And if you love cake mix cookies as much as I do, be sure to check out the rest of my cake mix cookie recipes!
How to Make Cannoli Cookie Cups with a Cake Mix
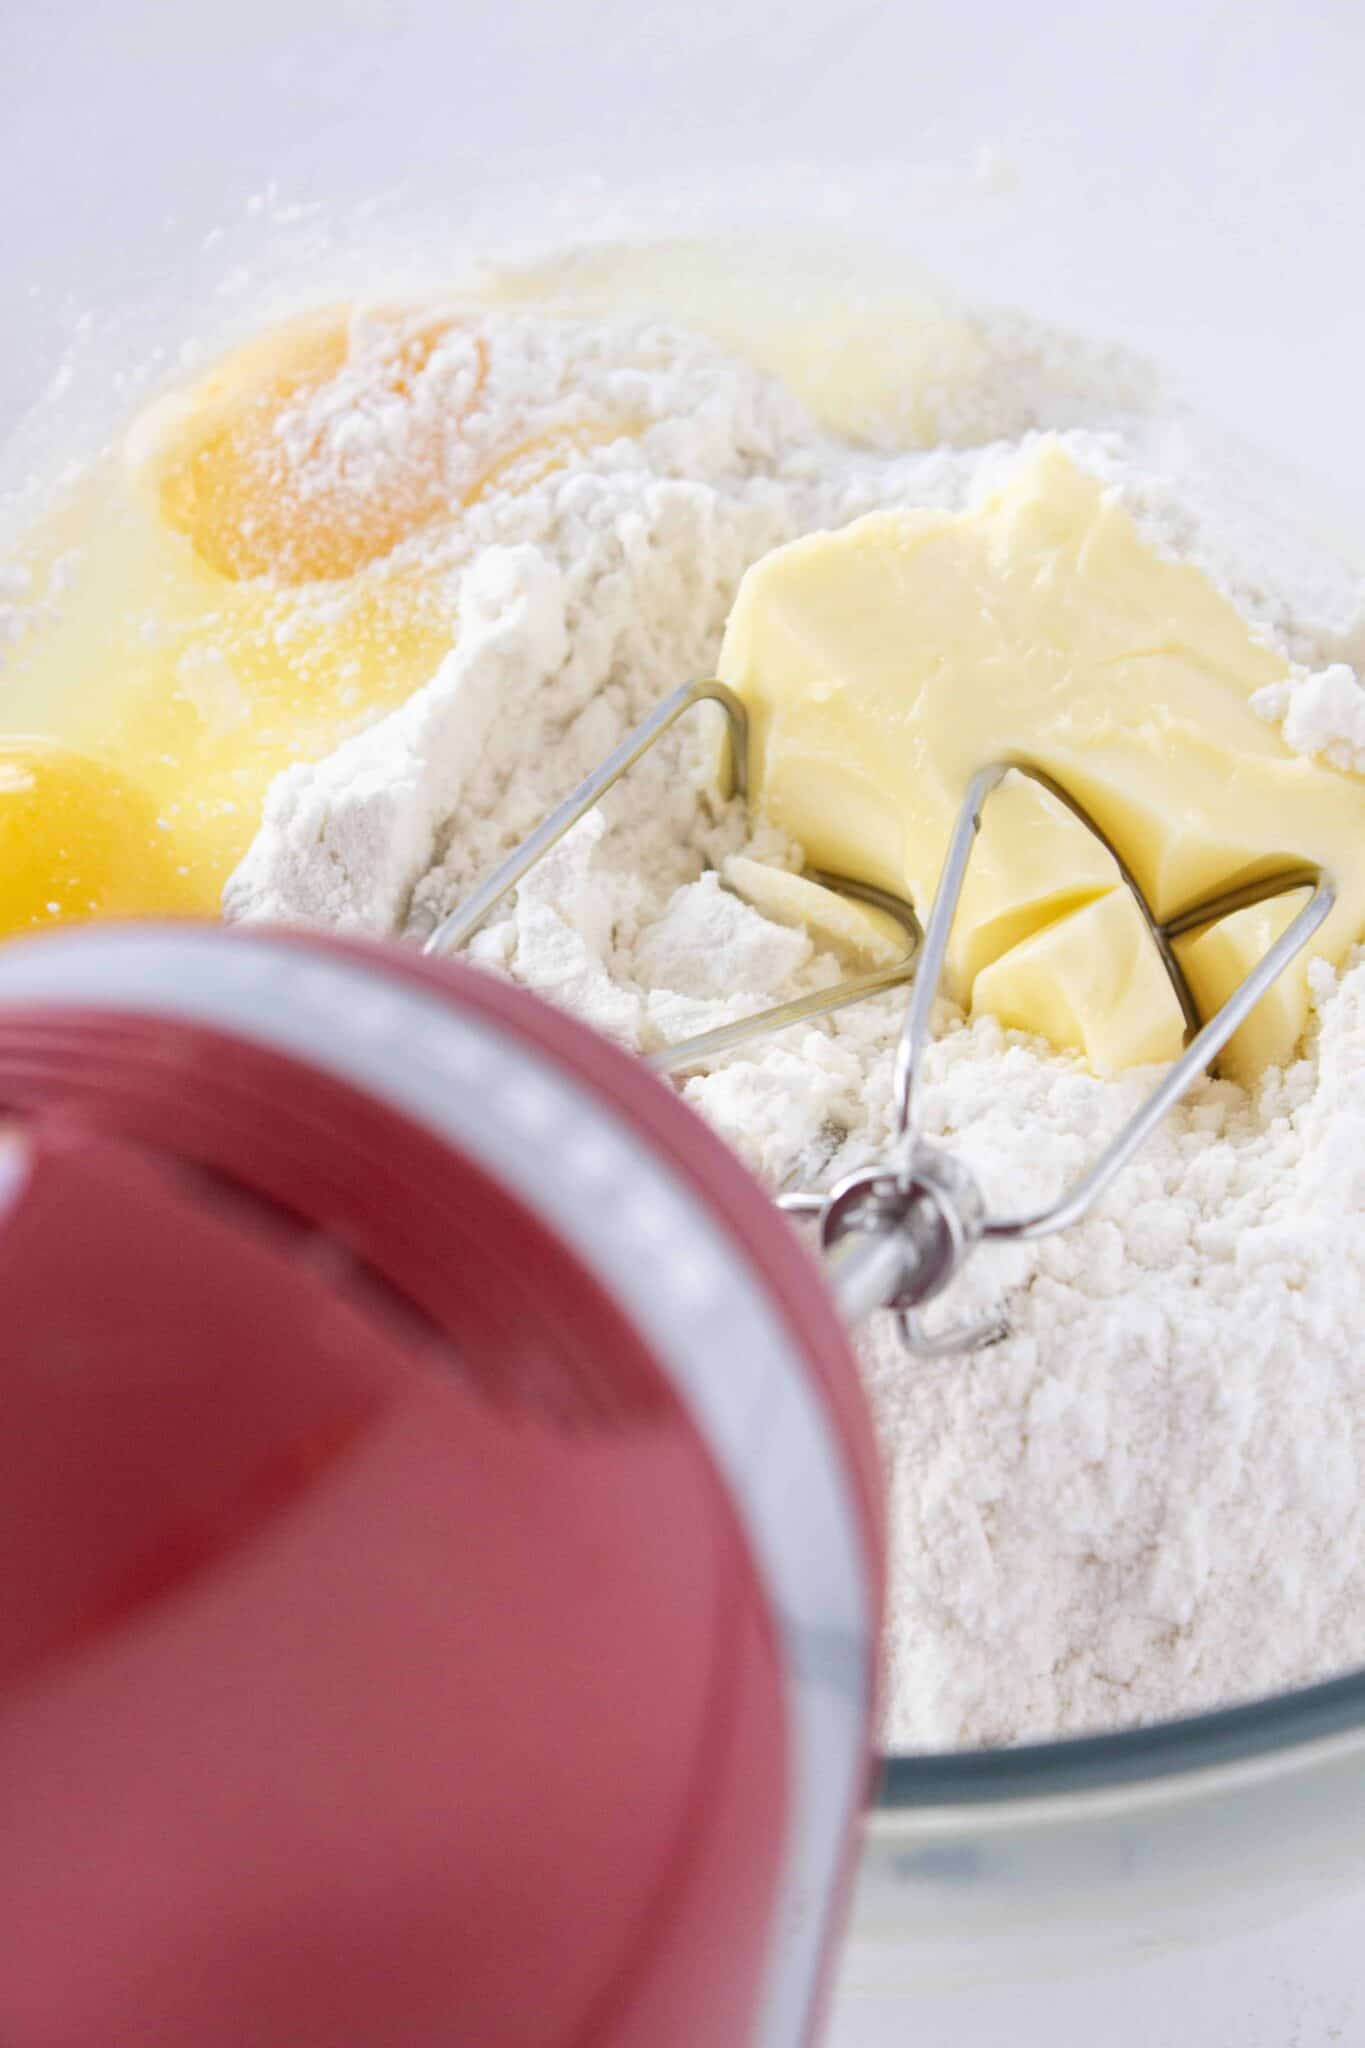
- Start by combining the cake mix with butter and eggs with a handheld mixer or by hand. Mix until you have a nice, thick cookie dough.
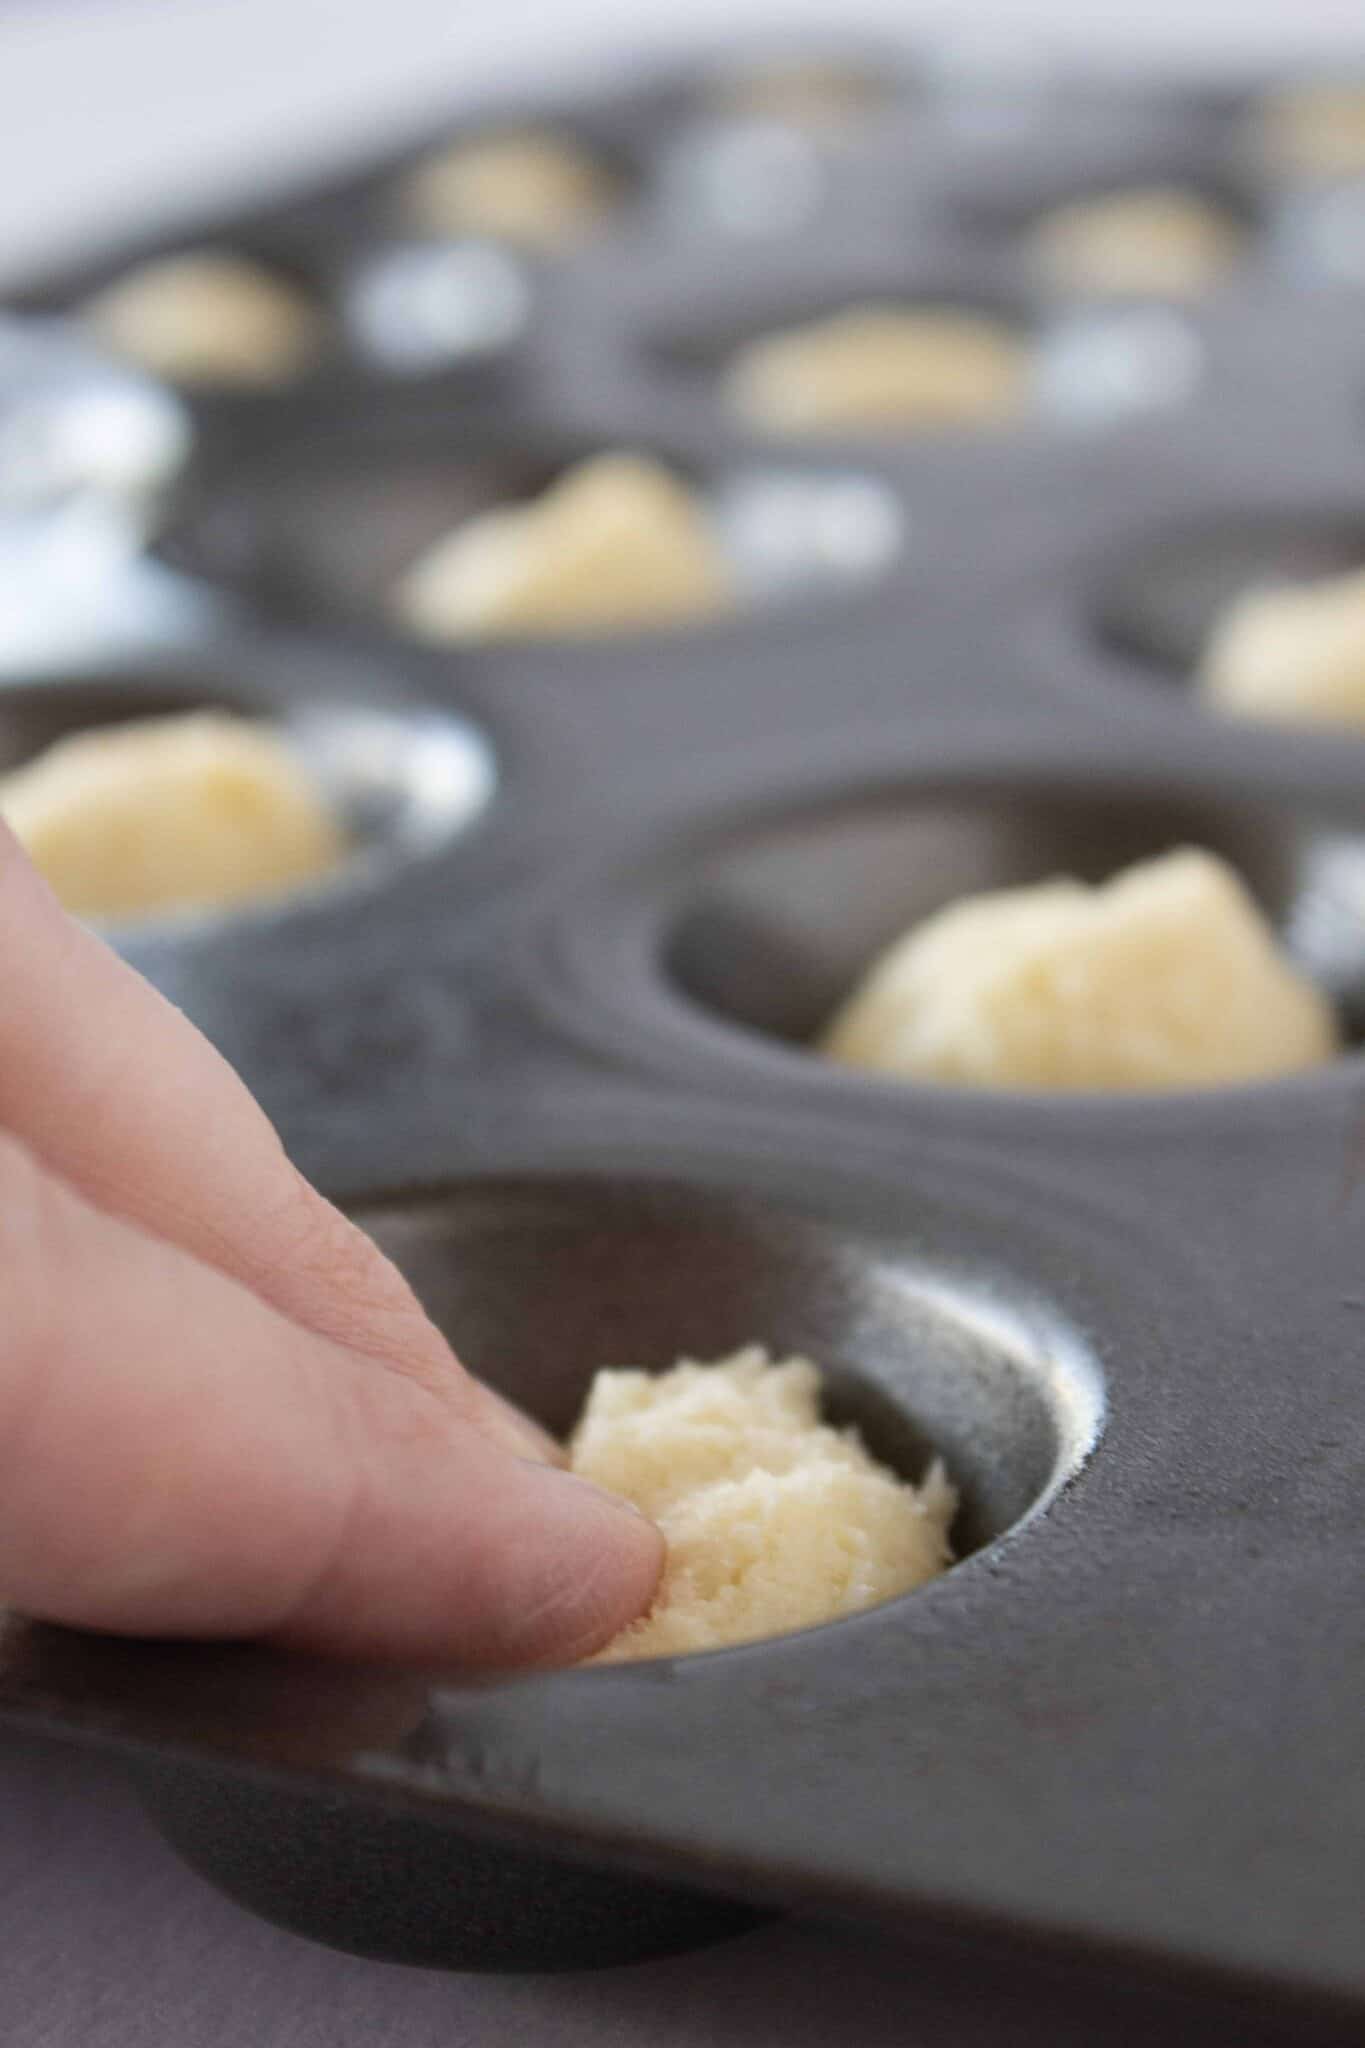
- Prepare your mini muffin pan by spraying each cup liberally with nonstick spray. Using a small cookie scoop {or 1/2 tablespoon}, scoop a mound of dough into each cup.
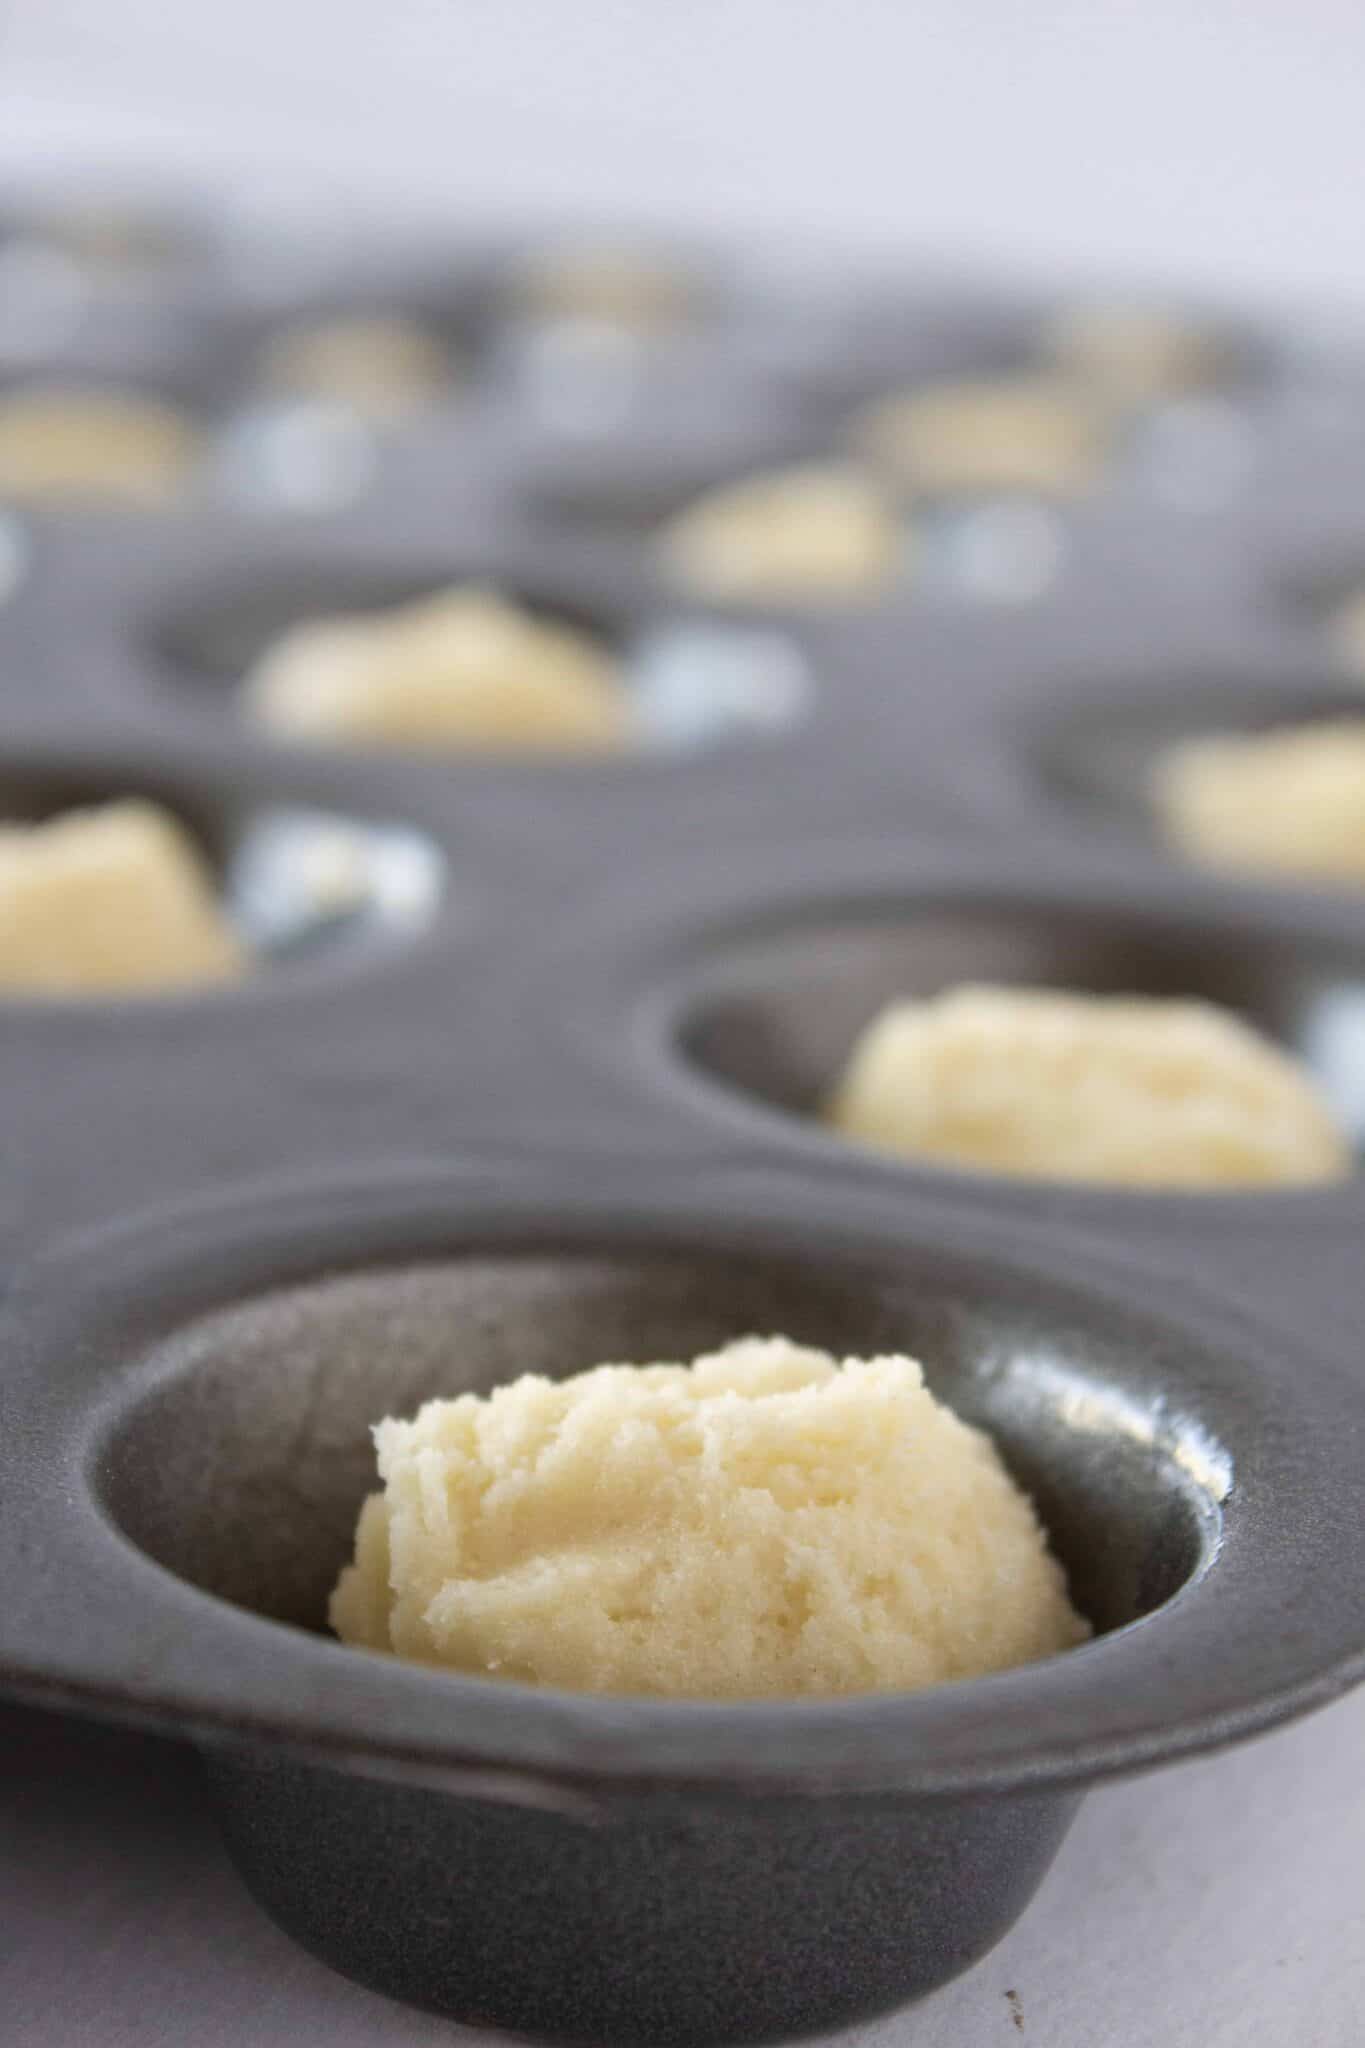
- Use your fingertips to press the mound of dough down. You want a level cookie in each cup.
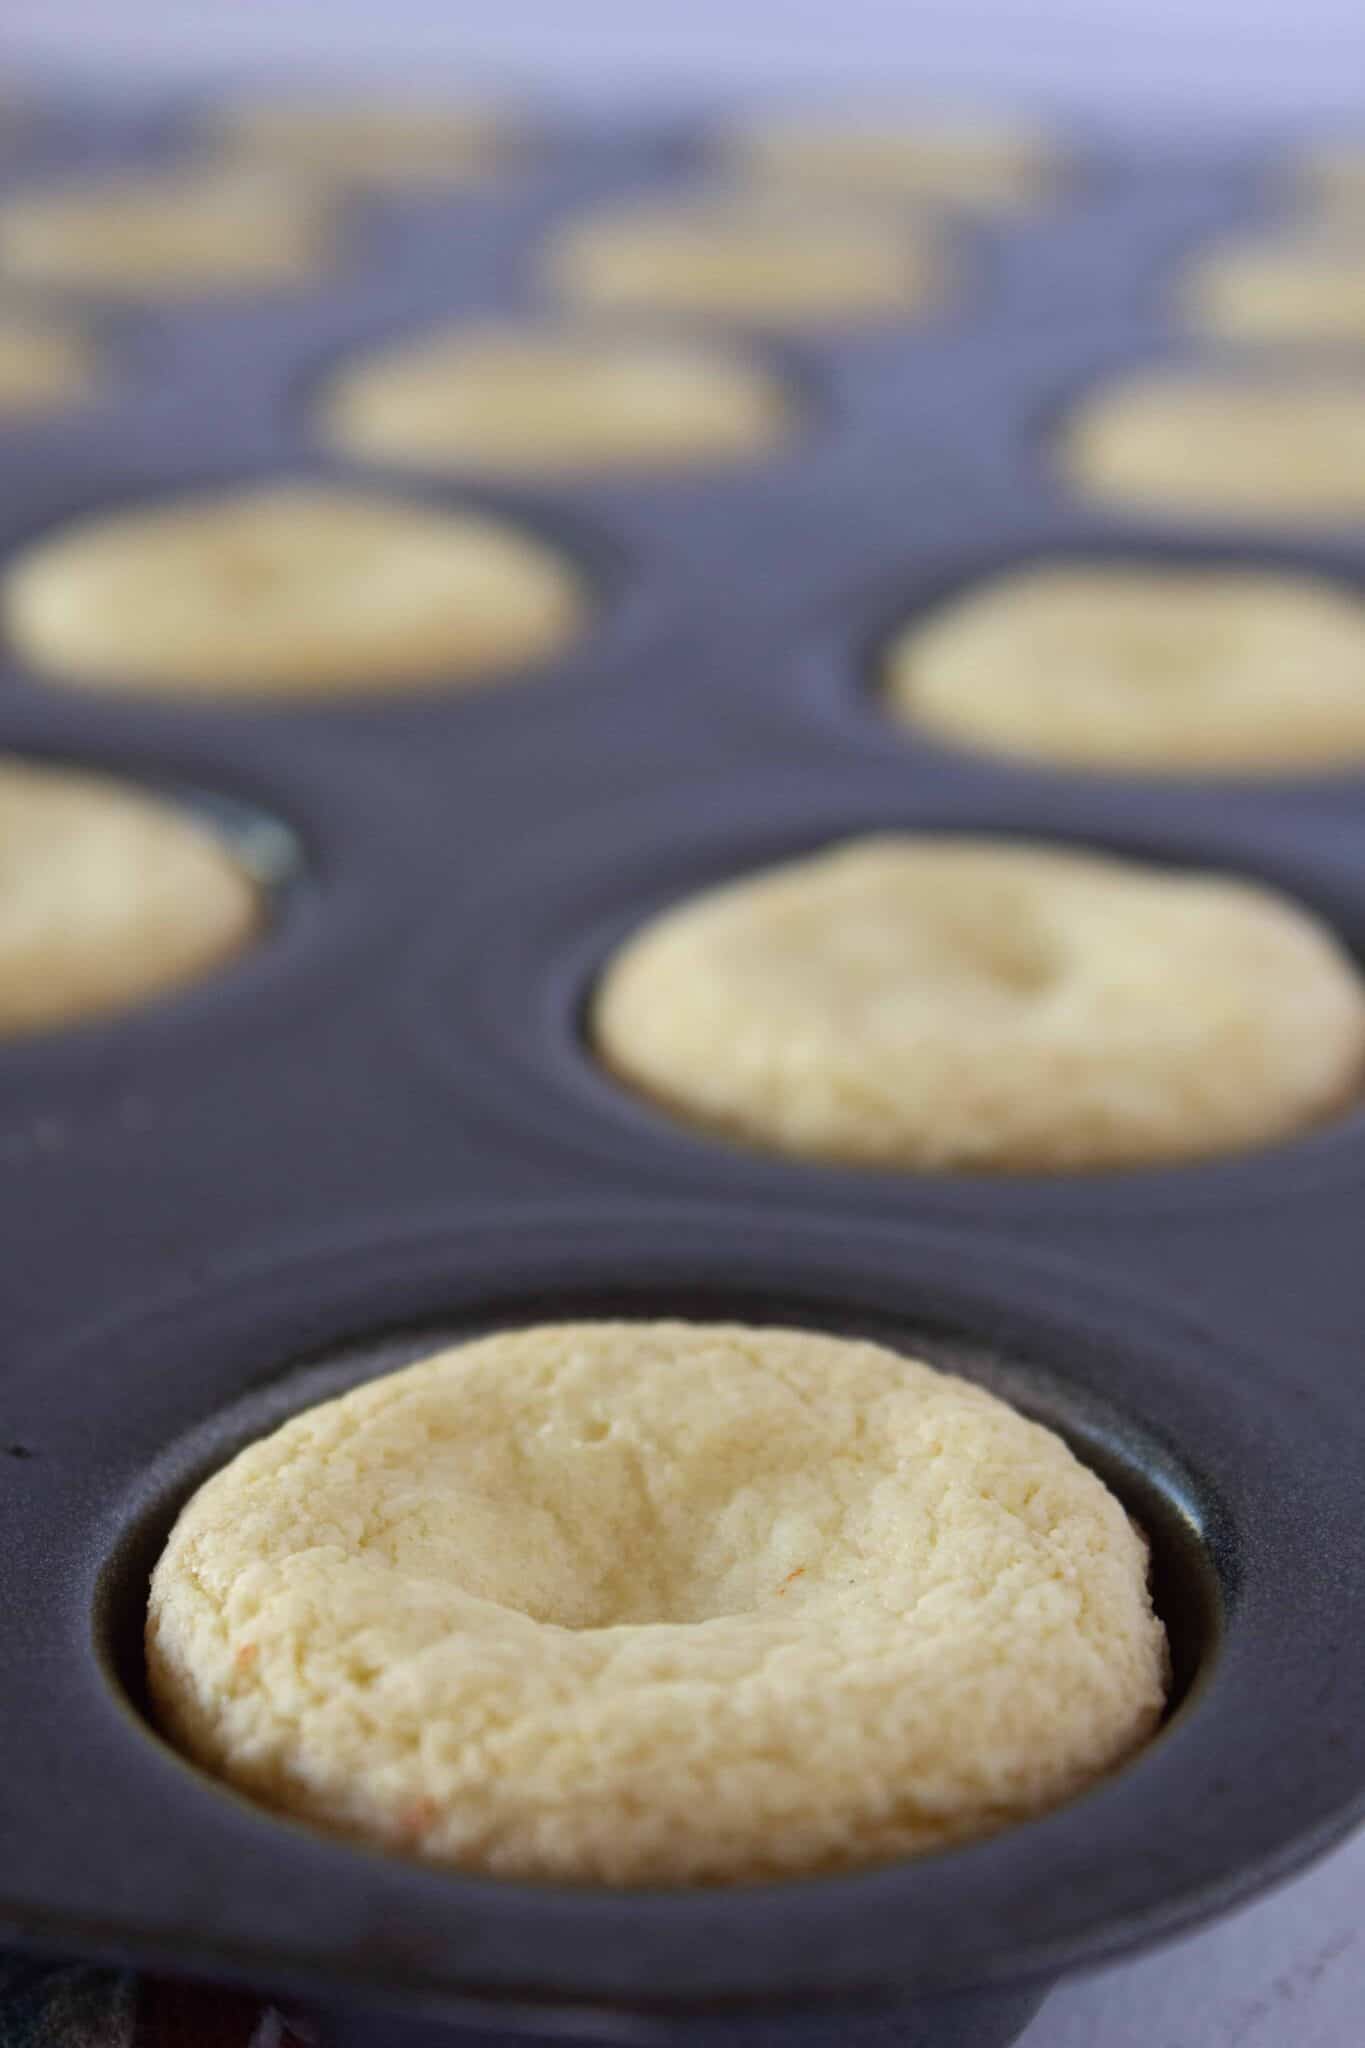
- Bake in a 350-degree oven for 9-11 minutes or until the top and sides just start to brown. Remove from the oven and immediately run a knife or offset spatula around the edge of each cookie cup. Make sure that they come loose or they will stick as they sit.
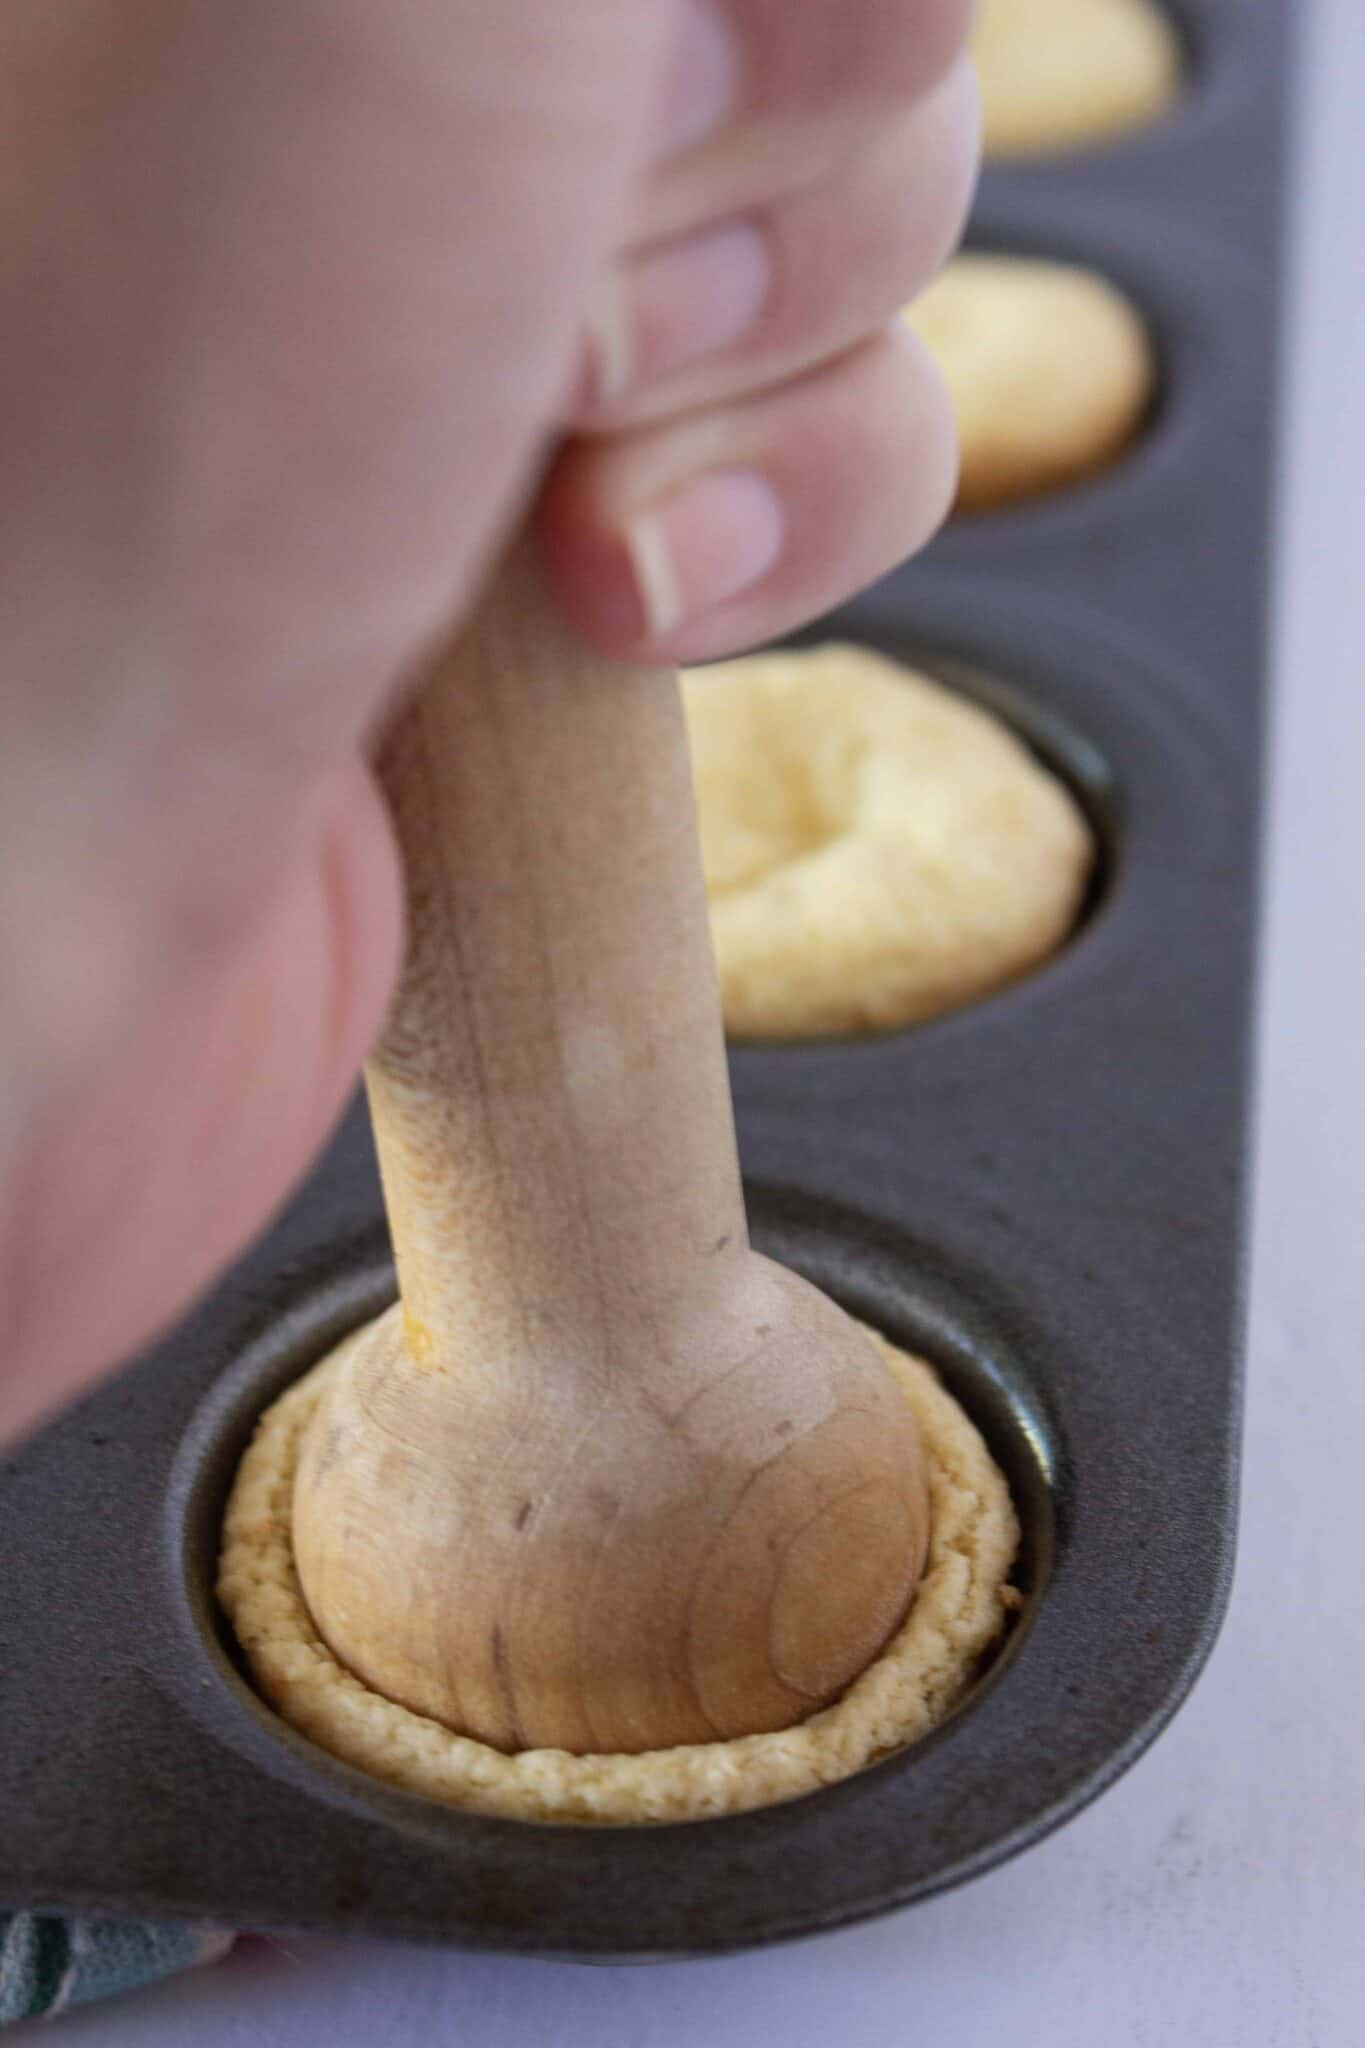
- Allow them to cool for a few minutes. Using a tart shaper or the end of a wooden spoon, create an indentation in the middle of each cookie. Remove from the pan and continue baking your second batch.
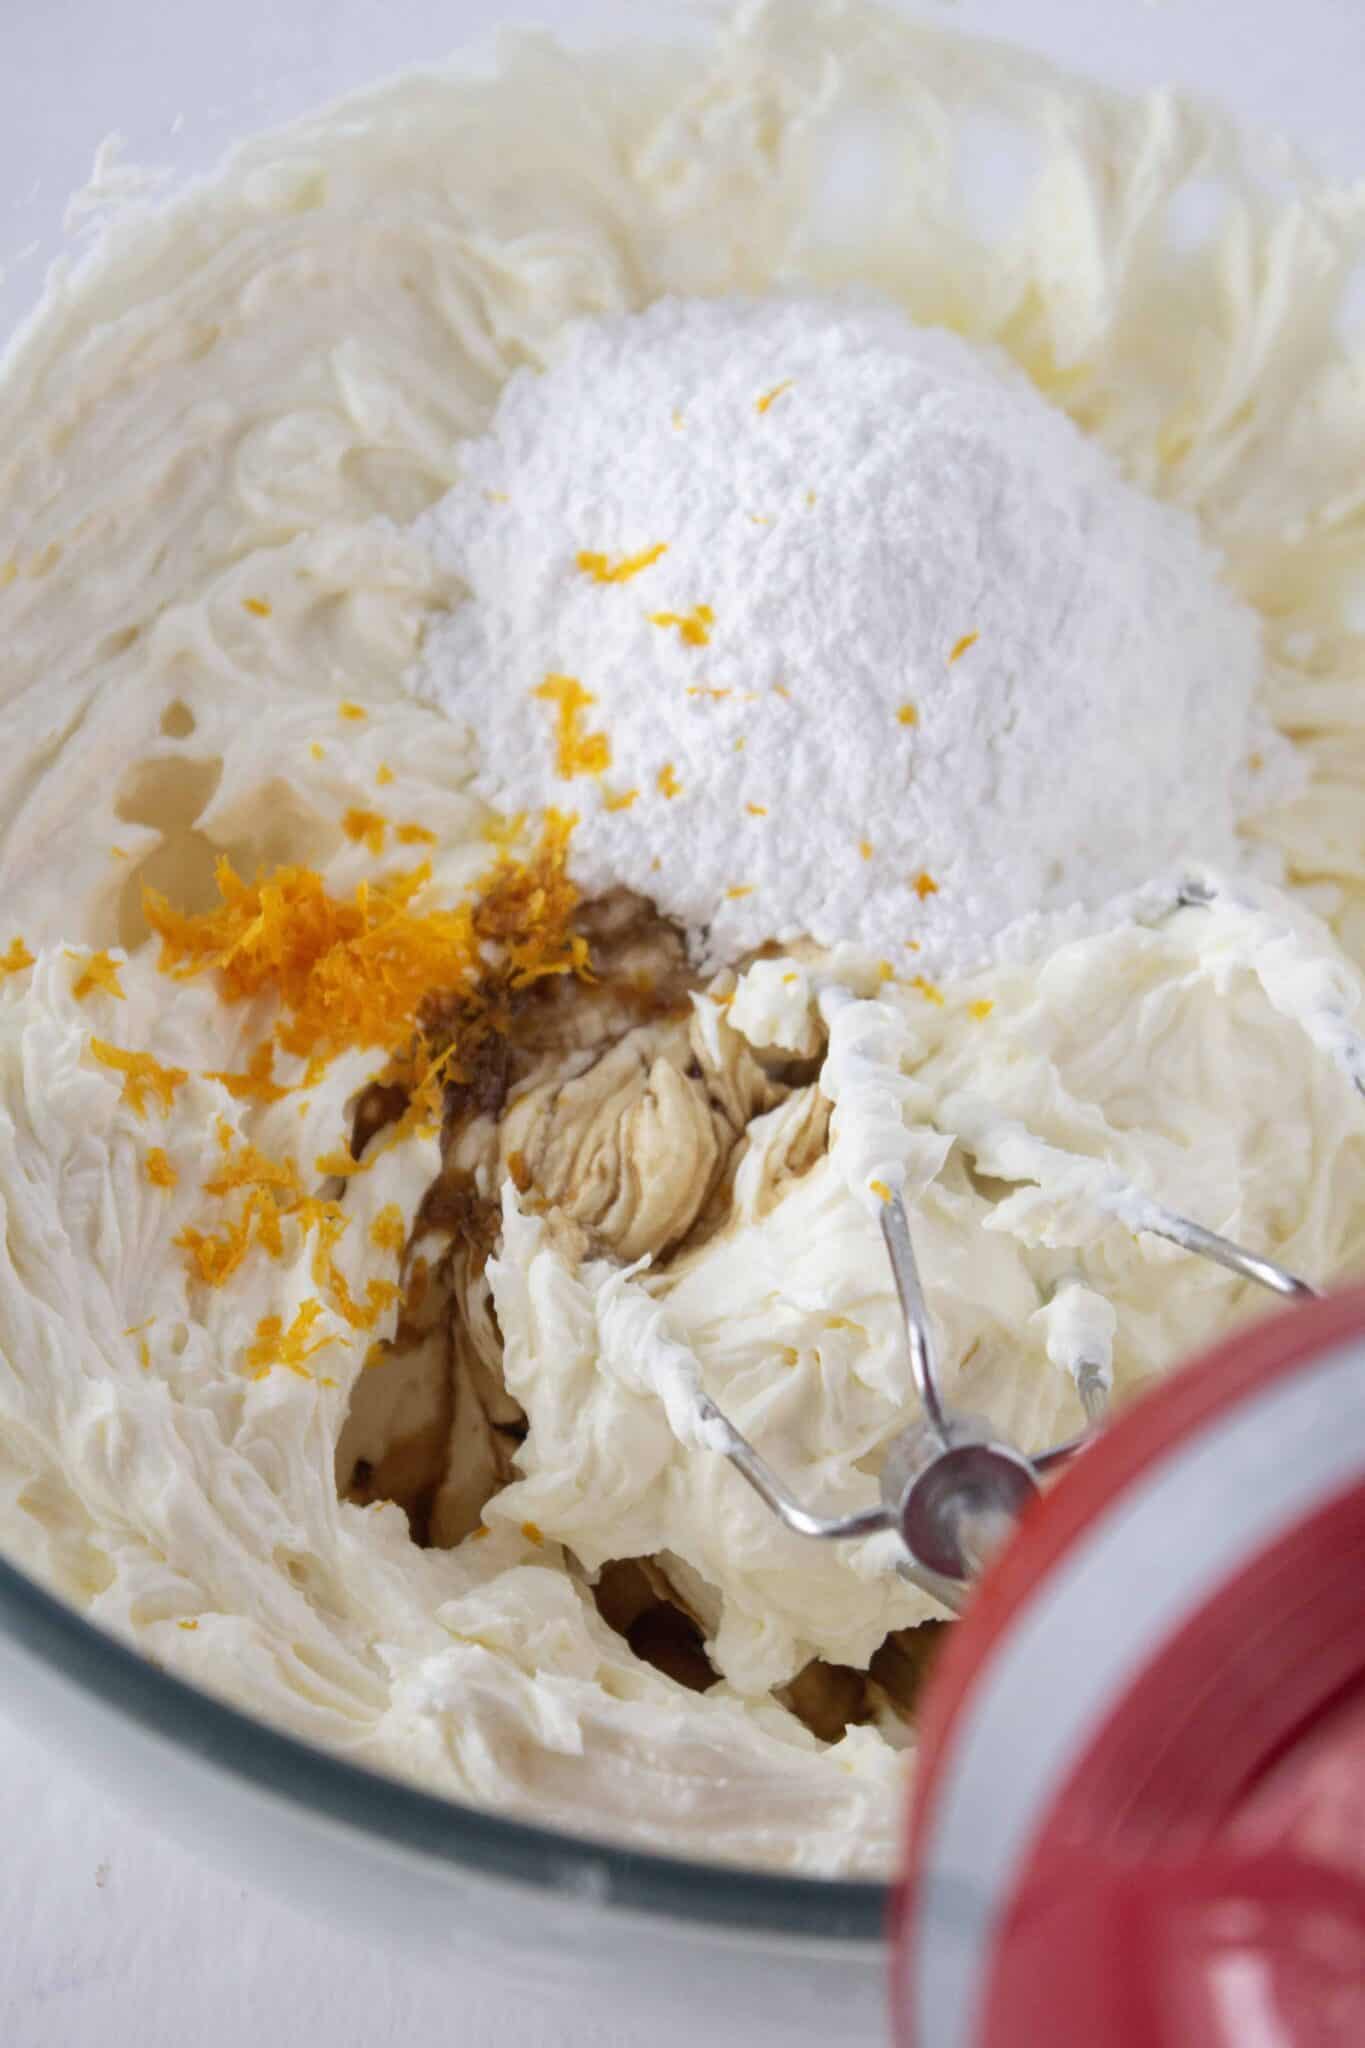
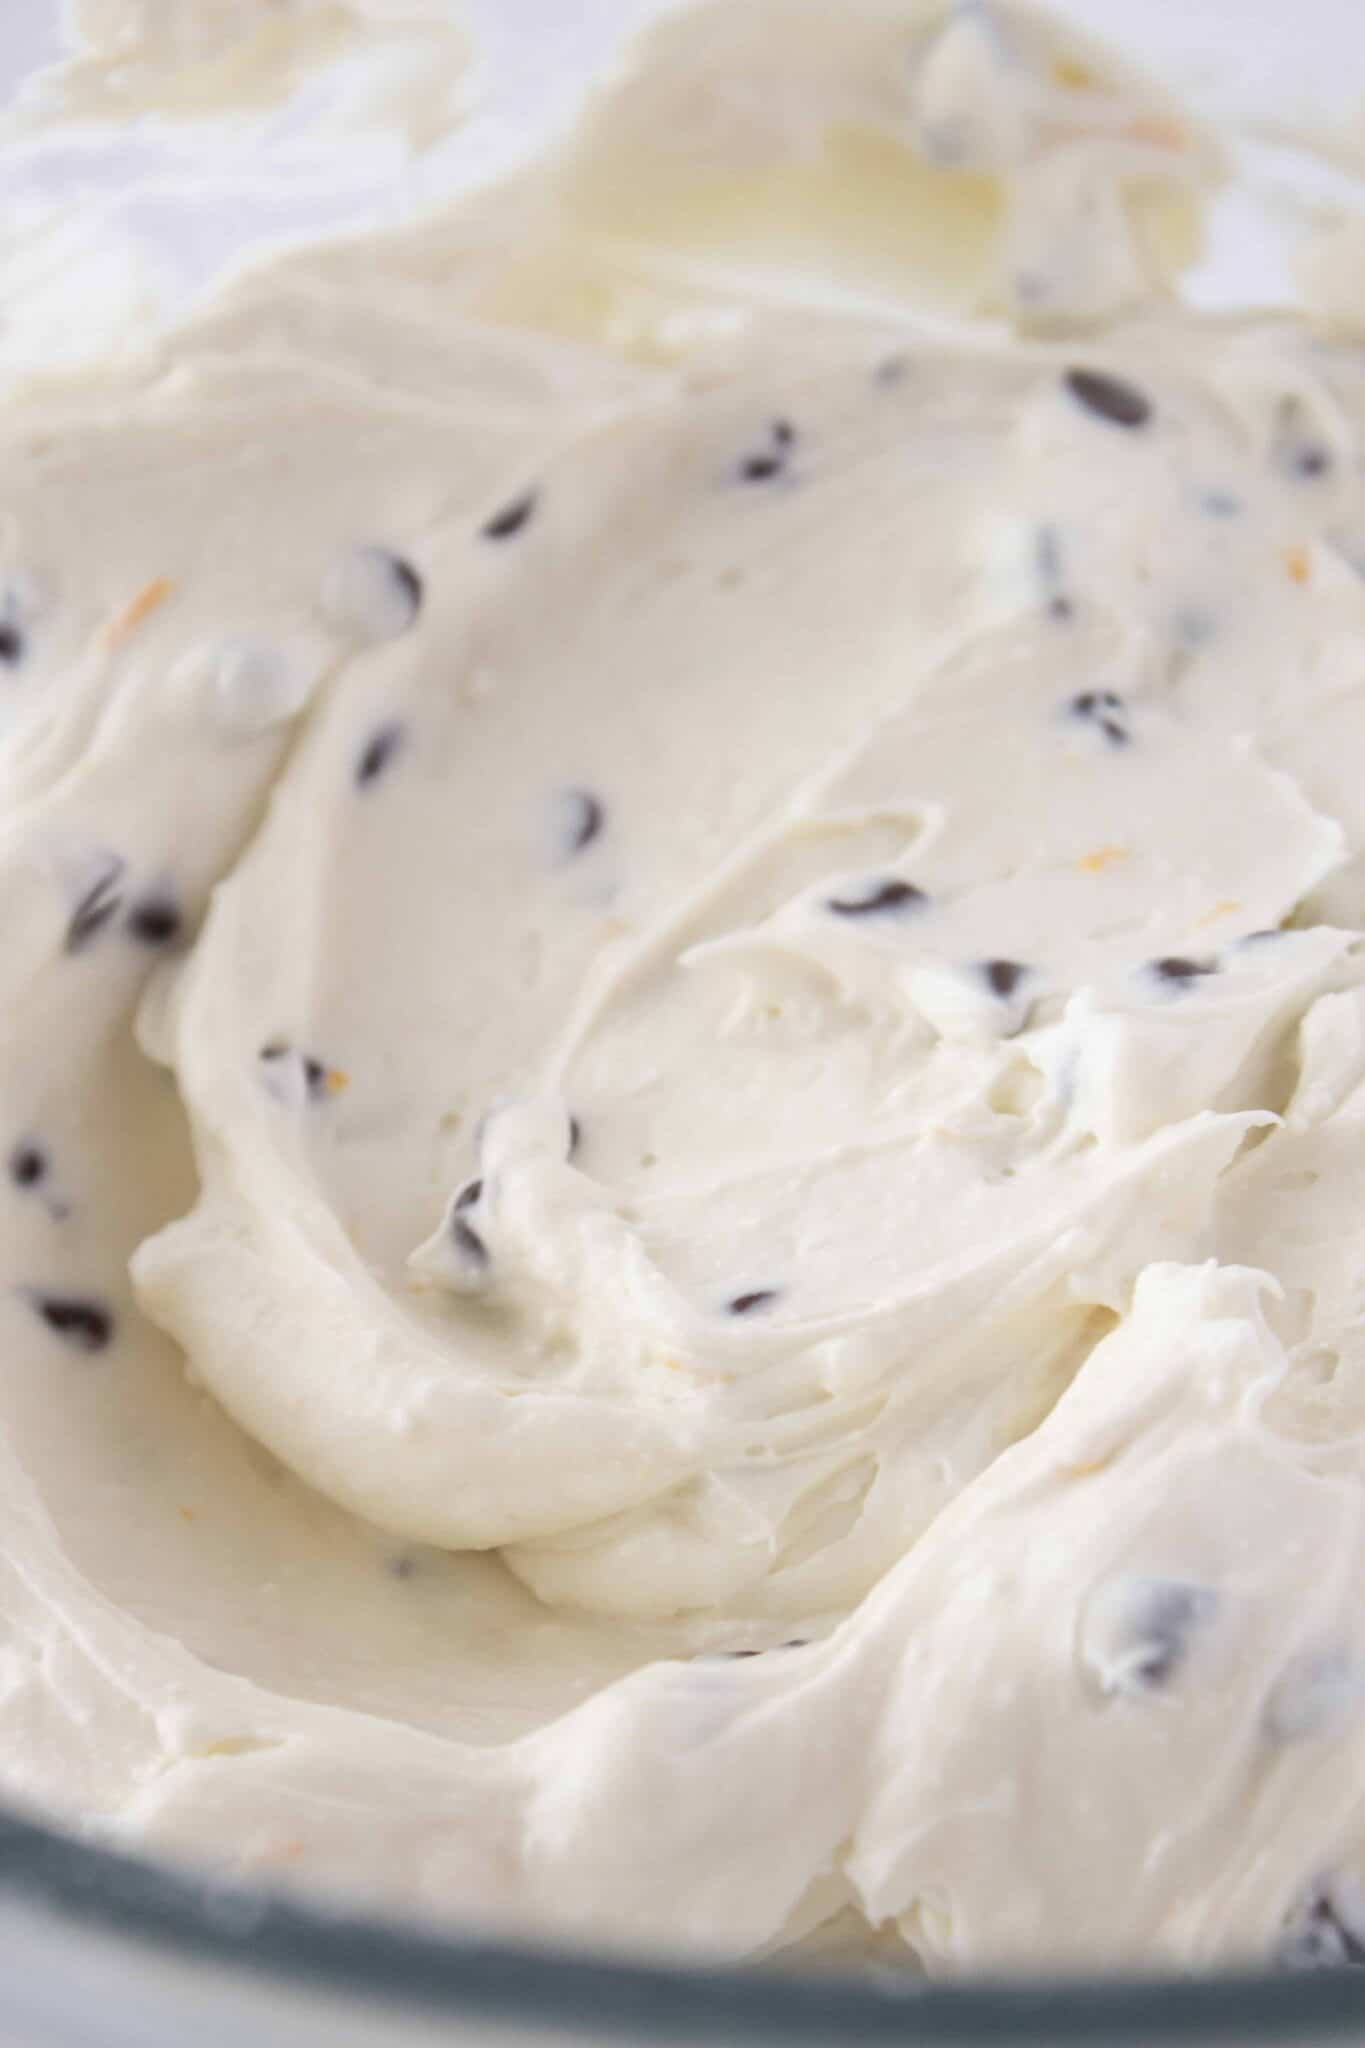
- Begin the cannoli cookie filling by combining the ricotta and cream cheese with a handheld mixer {or by hand} until the mixture is nicely incorporated and smooth. Then add the powdered sugar, orange zest and vanilla extract. Mix until completely combined.
- Finally, add the mini chocolate chips to the filling and stir to combine.
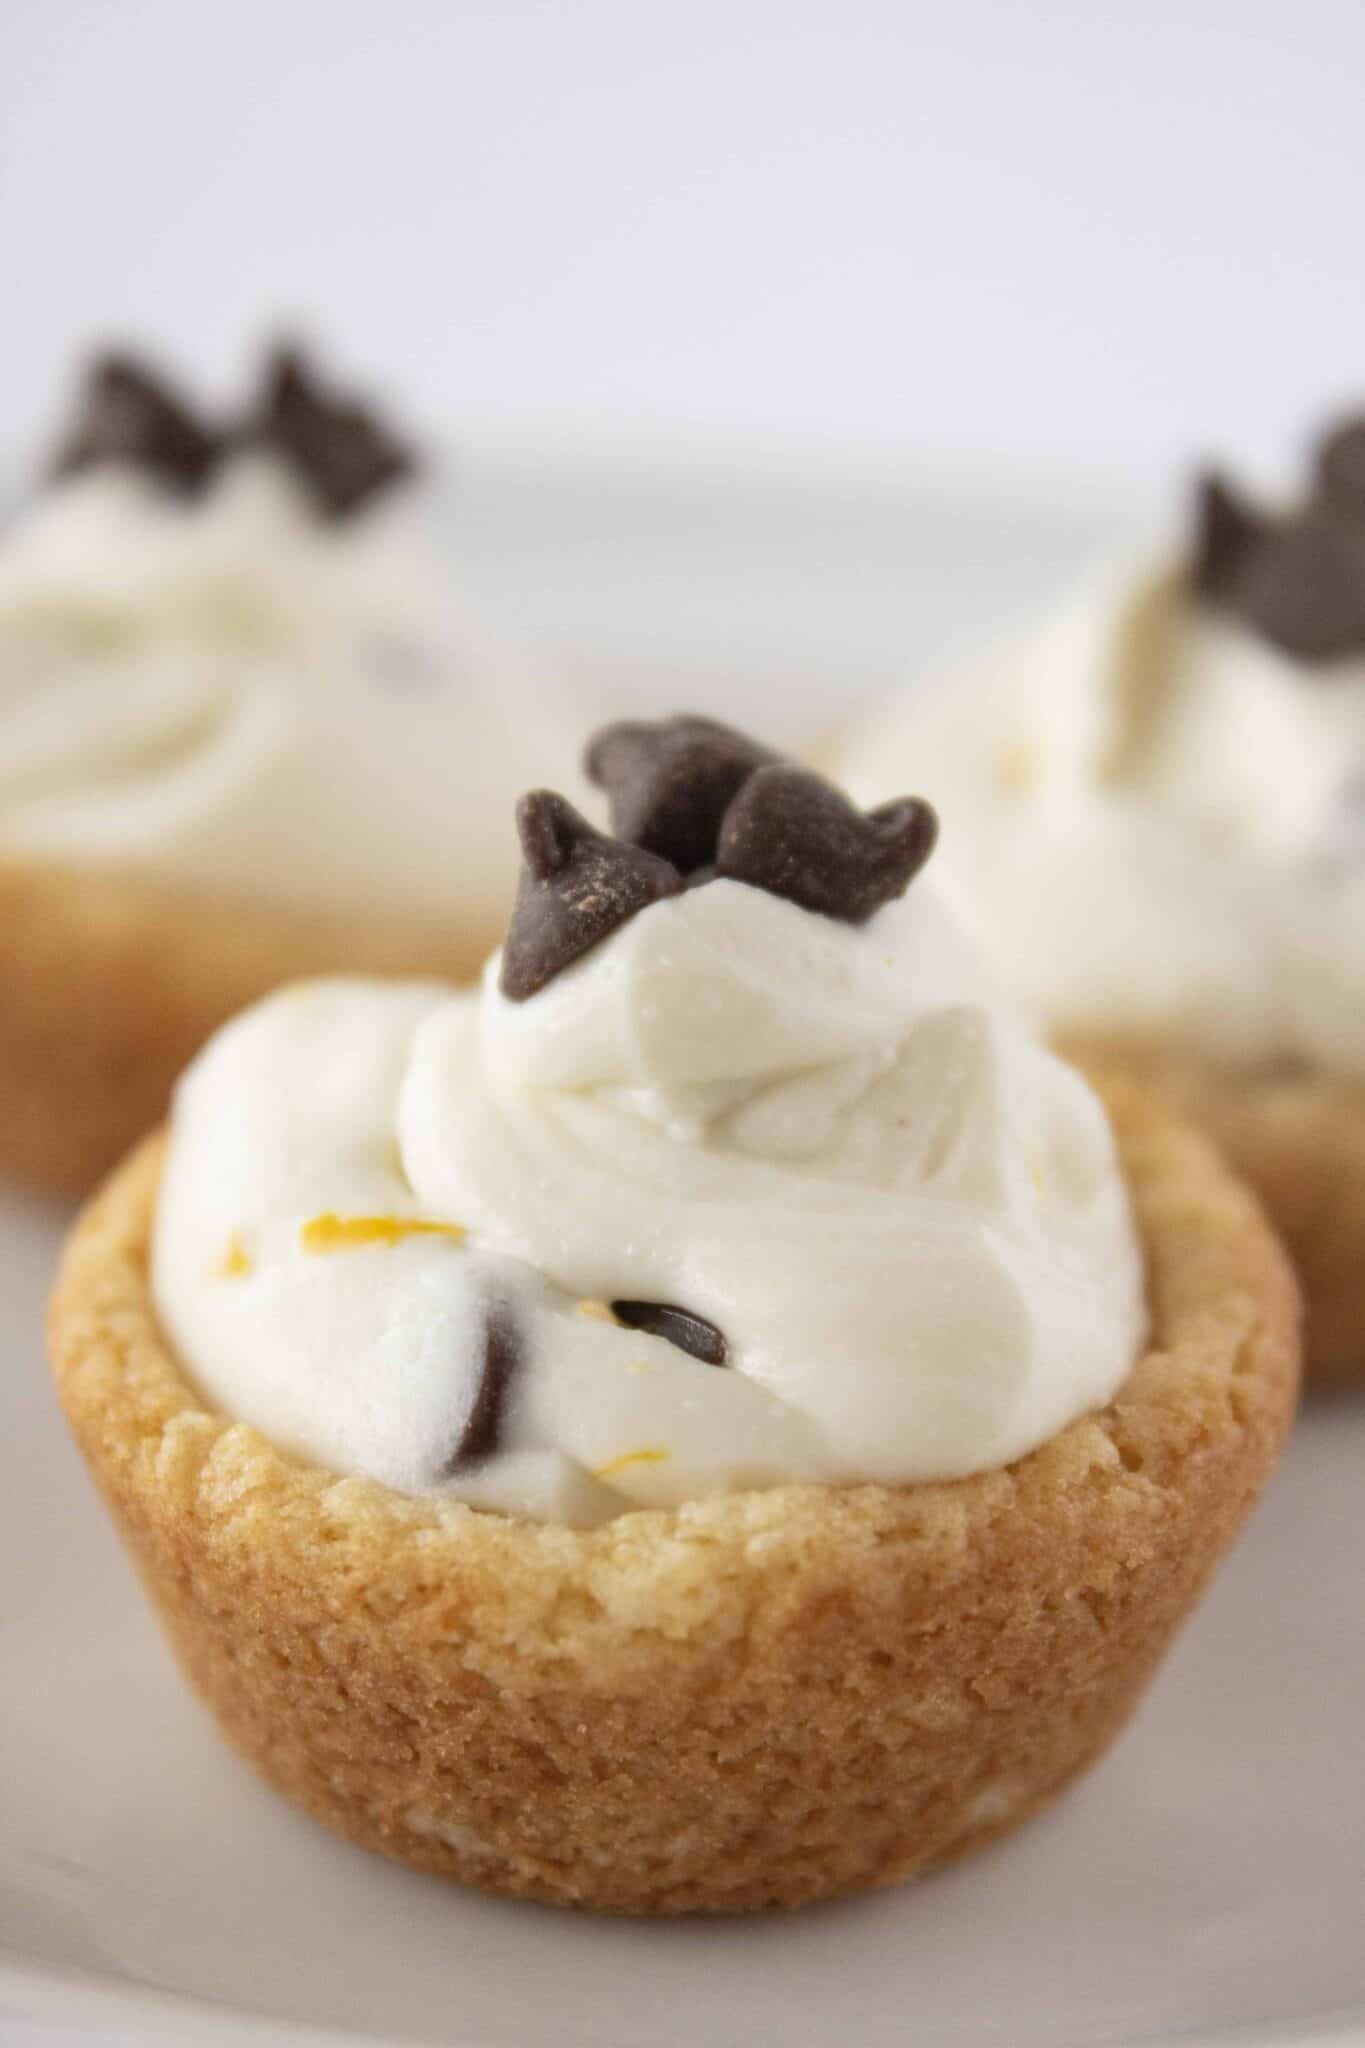
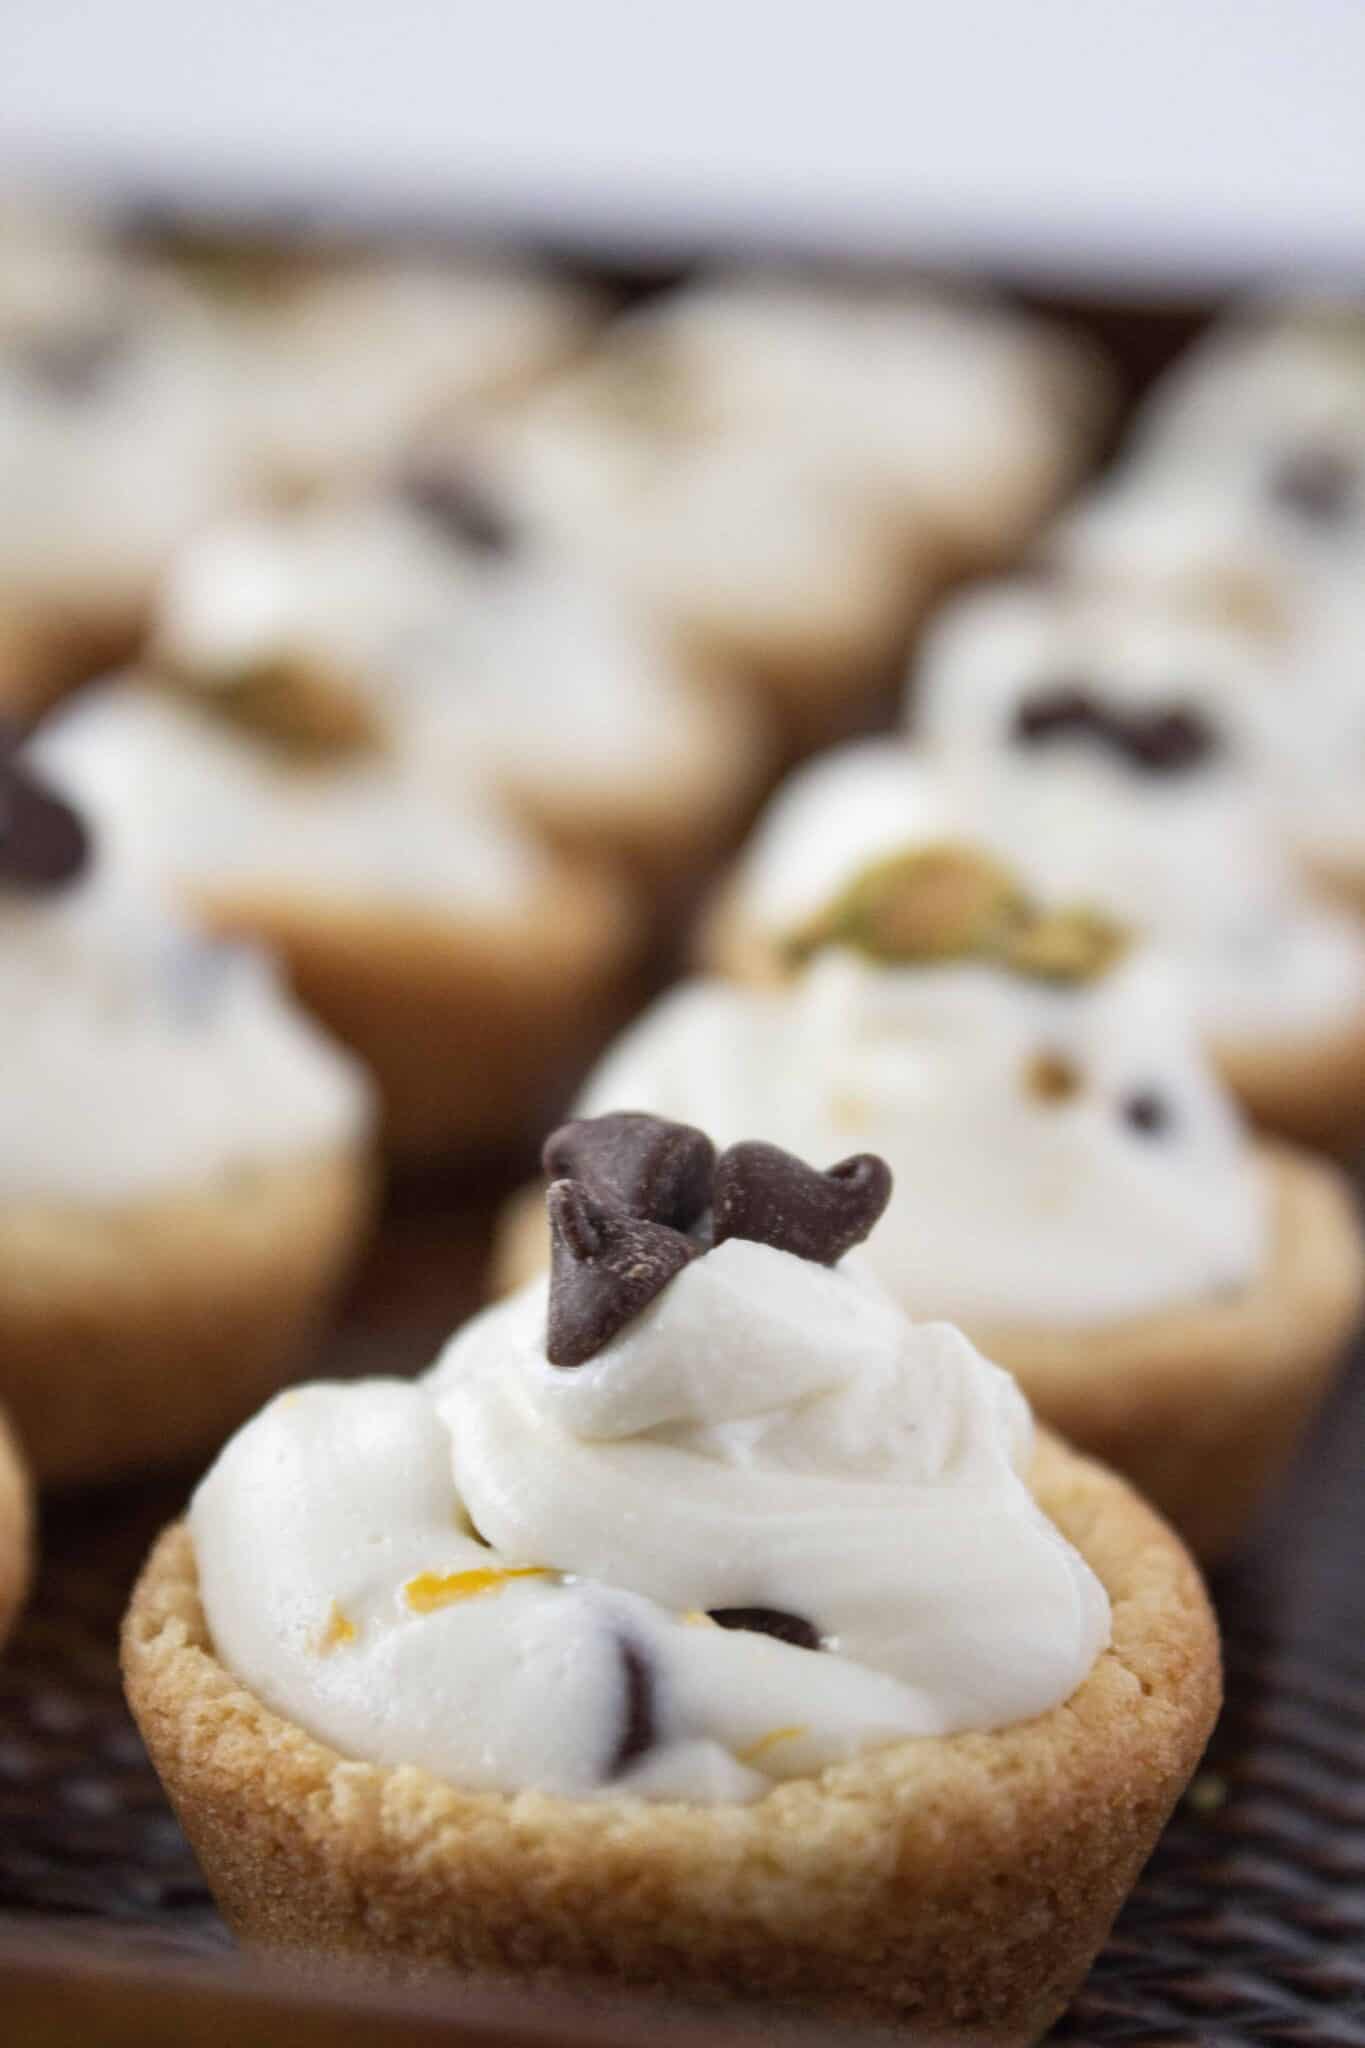
- To assemble, spoon or pipe the mixture into each cookie cup.
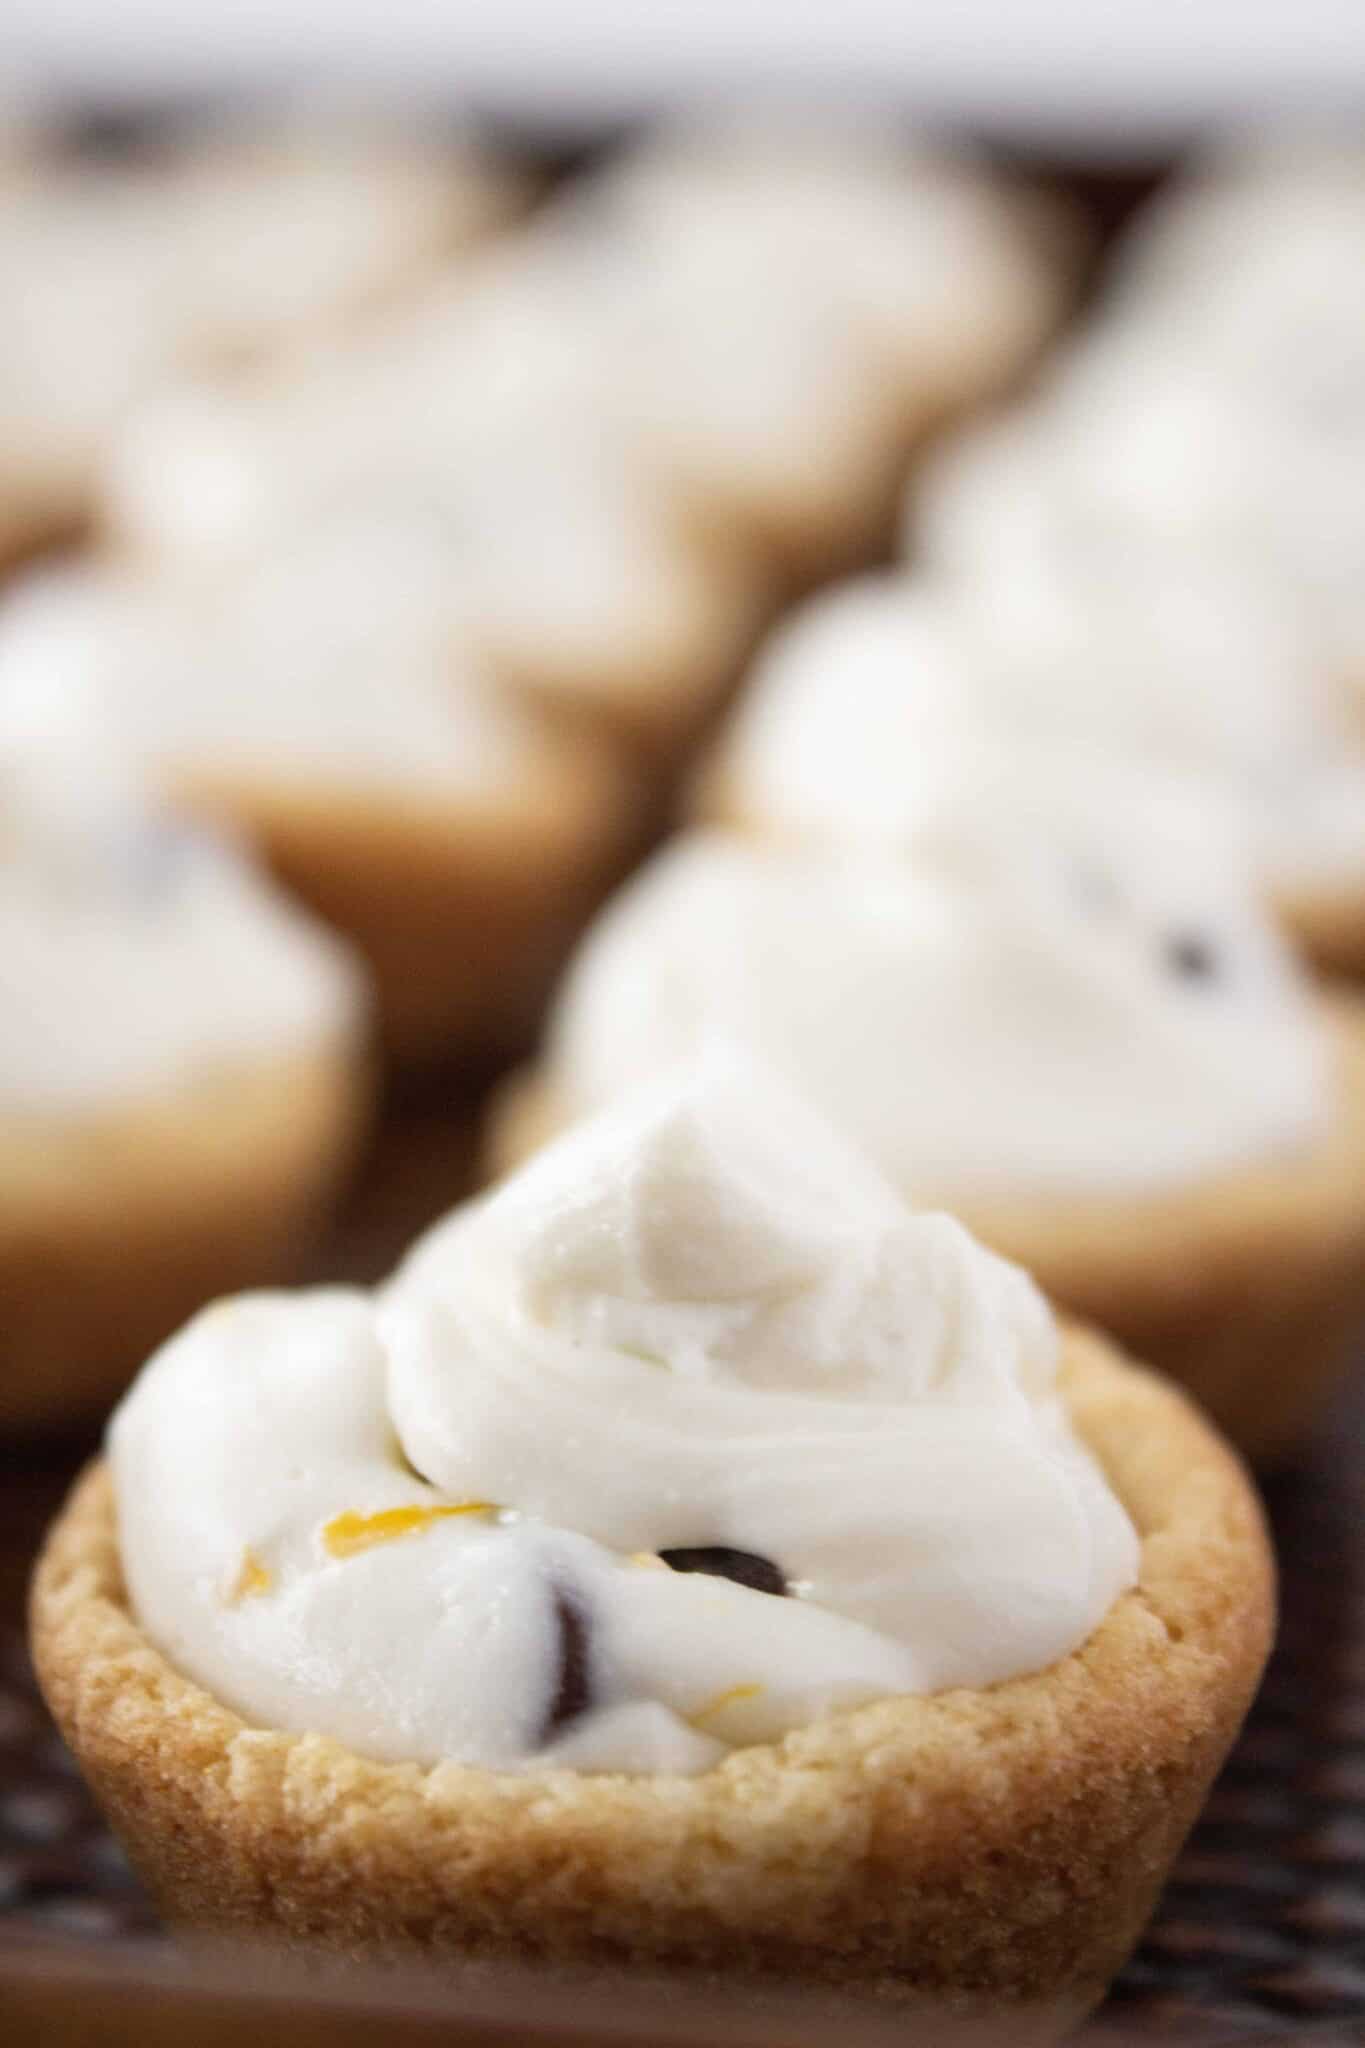
- To finish these cannoli cookie cups with cake mix, add a few additional mini chocolate chips or pistachios to the top of each cookie.
Pro Tips
- Use a knife to loosen the cookie cups right when they come out of the oven. If you wait until they cool for this step, they will stick to the pan.
- Use your tart shaper while the cookies are still warm. This should be done right after loosening the cups to get those perfect indentations.
- Use a wooden spoon to stir in chocolate chips. I don’t like to use a mixer for this part because it can break up the chocolate chips.
- No piping bag? No problem! You can use a Ziploc bag with a corner cut off, or spoon the cannoli filling into each cup.
Storage Instructions
Cannoli Cups can be kept in an airtight container {or covered tightly with plastic wrap} in the refrigerator for up to 4 days.
Recipe FAQs
Ricotta is traditional, but you can also use mascarpone cheese for a richer filling.
No, this ingredient isn’t traditional. Usually cannoli filling has only ricotta and sugar, but we’re adding it here for a creamier texture and a bit of tangy flavor.
Want more cookie cup recipes?
- Banana Pudding Cookie Cups
- Coconut Cream Pie Cookie Cups
- Boston Cream Pie Cookie Bites
- Ice Cream Sundae Cookie Bites
- Snickers Cookie Cups Recipe
- Lemon Bar Cookie Cups Recipe
Did you try this recipe? Leave a ⭐️ review below and tag @practicallyhomemade on Pinterest!

Cannoli Cookie Cups Recipe
Ingredients
Cookie Cups
- 1 box vanilla cake mix, {13.25 ounces}
- 2 large eggs
- ⅓ cup butter , {softened}
Cannoli Filling
- 1 cup ricotta cheese , {I used part skim}
- 6 ounces cream cheese, {softened}
- ½ cup powdered sugar
- ½ teaspoon vanilla extract
- 1 teaspoon orange zest
- ¼ cup mini chocolate chips
Toppings
- ¼ cup mini chocolate chips
- ¼ cup pistachios , {chopped}
Instructions
Cookie Cups
- Preheat the oven to 350 degrees. Prepare a mini muffin pan by spraying each cup liberally with non-stick cooking spray. Pour the vanilla cake mix into a medium bowl and whisk {or sift} to remove any lumps. Add the softened butter and eggs to the cake mix and combine with a hand held mixer {or by hand} until the dough is thick and sticky. Using a small cookie scoop {or 1/2 tbsp.}, put a mound of cookie dough into each muffin cup. Using your fingers, go back and press the mound of dough down to create a level cookie. Bake for 9-11 minutes. {Do not over bake, they will set up as they cool.} Remove from the oven and immediately run a knife around the edge of each cookie cup {I used an offset butter knife}. Go back and use a tart shaper {or end of a wooden spoon} to press the middle of each cookie down and create an indentation. Move cookies to a cooling rack and let them cool completely. Continue to bake a second batch if necessary.
Cannoli Filling
- Combine ricotta and cream cheese with a hand held mixer {or by hand} until creamy and smooth. Add powdered sugar, vanilla and orange zest and mix to combine. Finally add the mini chocolate chips and stir until evenly distributed. Cover and refrigerate for 30 minutes.
Assembly
- Take a heaping teaspoon of filling and place into the indentation of each cookie cup. {I like to add the filling to a Ziploc bag, cut the corner from one bottom and pipe the filling into the cookie cups}. Top with additional mini chocolate chips or chopped pistachios and serve.
Notes
Nutrition
Nutrition information is automatically calculated, so should only be used as an approximation.


I absolutely love all of your recipes! You are now my go to gal for quick and easy fabulous dishes/desserts! Keep all the goodness coming this way!
I am so glad! That makes my whole month. I appreciate you reaching out. Happy Holidays.