How to make Easy Individual Charcuterie Cups
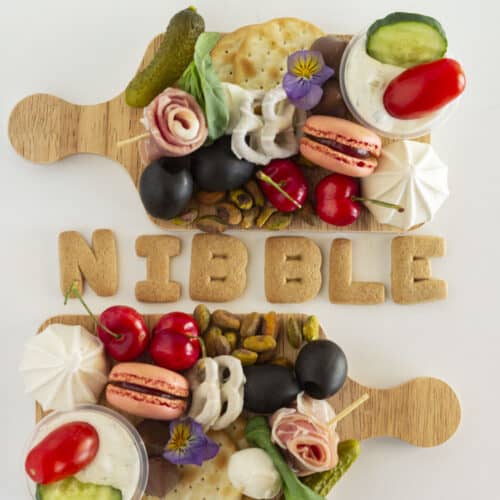
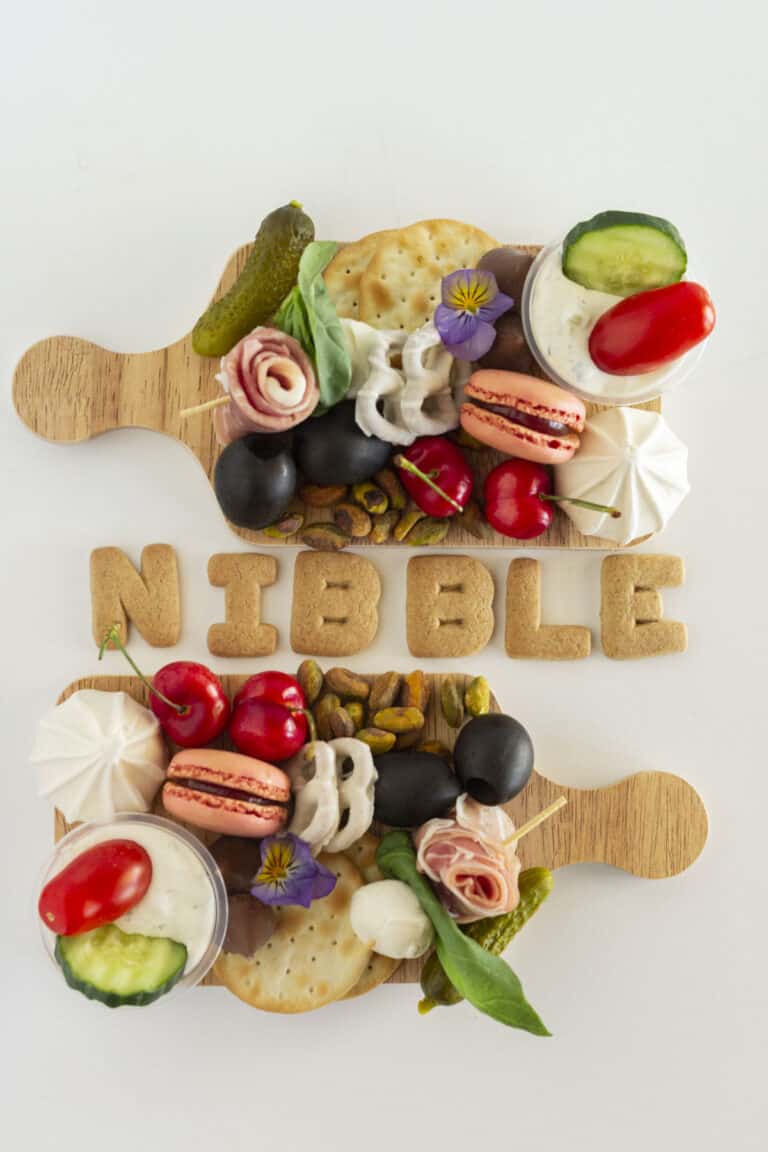
As someone who runs a charcuterie business with my sister Jamie, I’ve had the joy of creating boards and tables for a variety of events. Individual boards are especially versatile because they allow you to cater to everyone’s tastes, a win for guests with allergies or specific dietary needs.
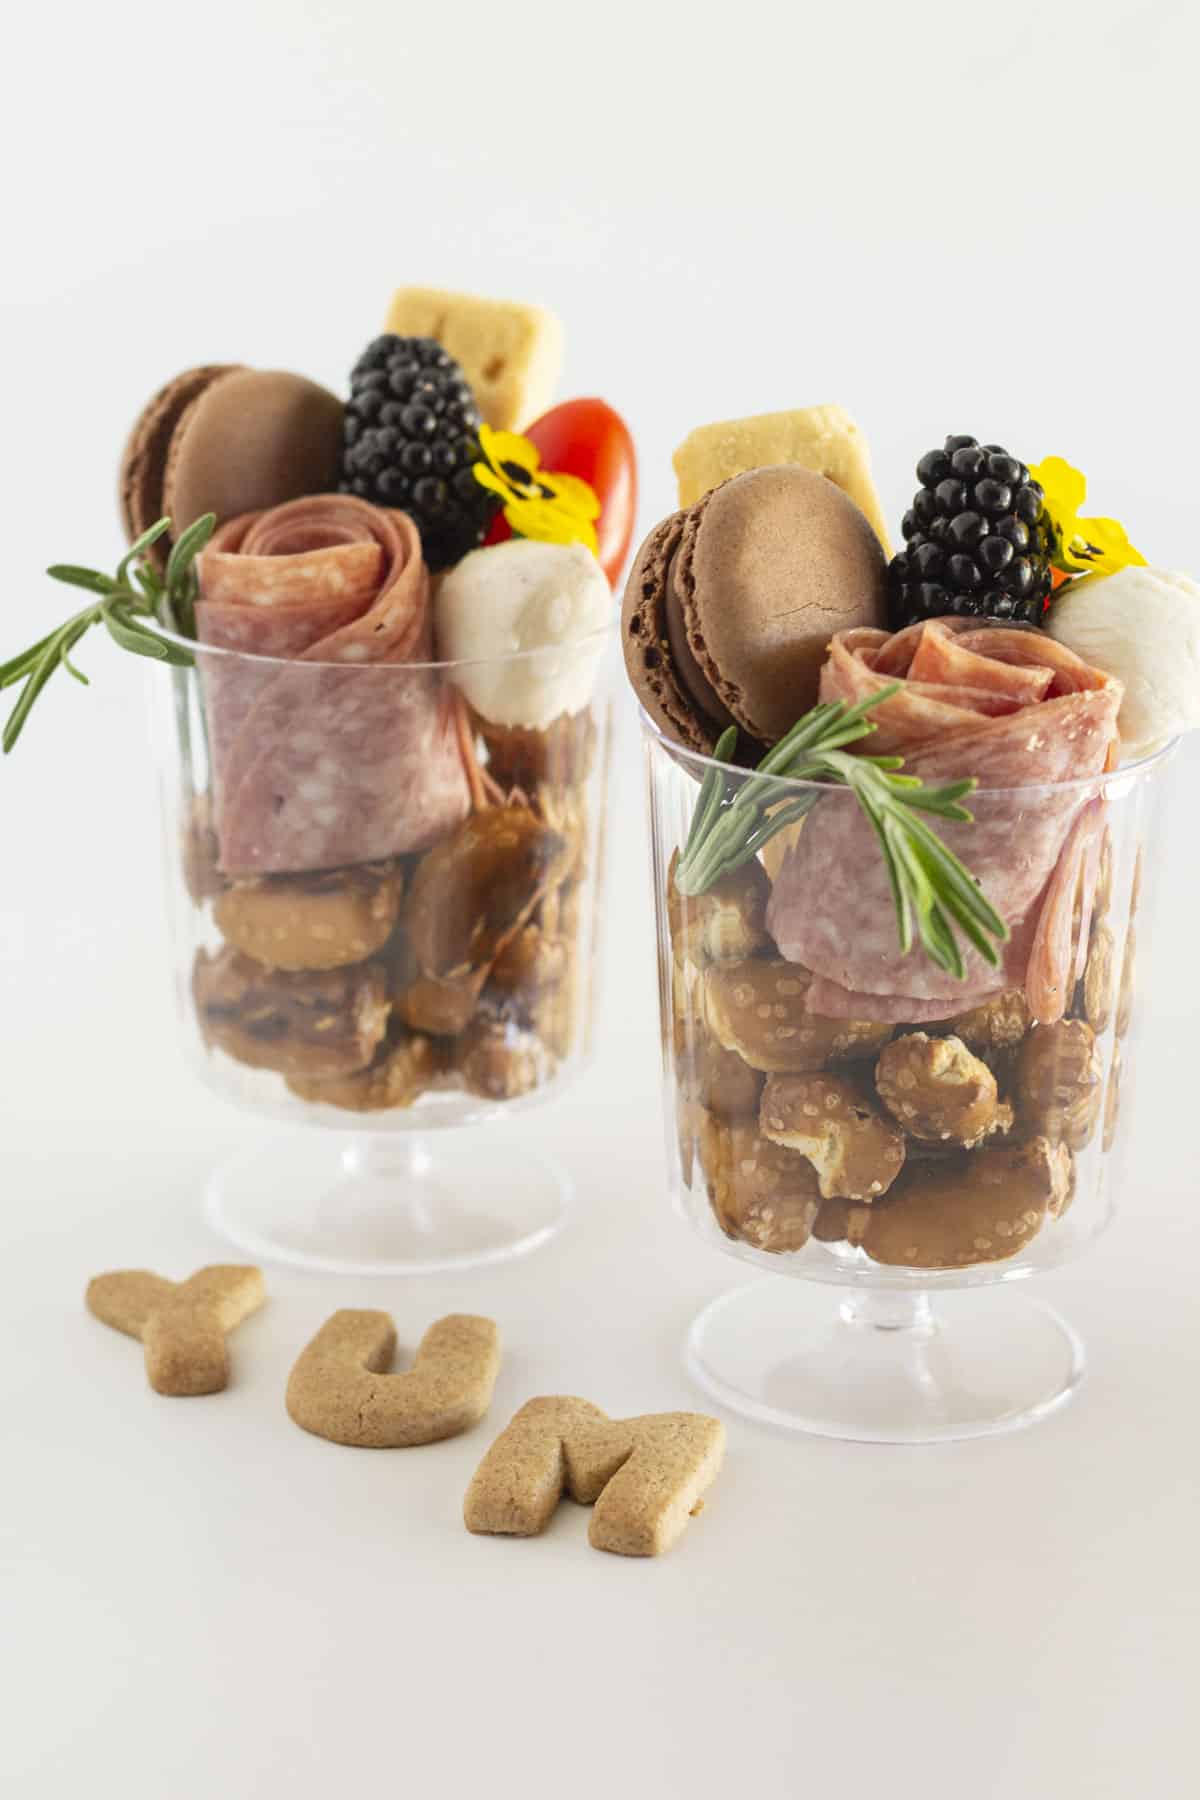
Table of Contents
Not only are individual charcuterie boards visually stunning, but they’re also practical. From kid-friendly boards with crackers, cheese cubes, and fresh fruit to more sophisticated options featuring gourmet cheeses, cured meats, and curated sweets…the possibilities are endless.
You can also add personal touches like mini labels, themed decorations, or coordinating colors to make each board feel special. Whether you’re hosting a casual get-together or a formal celebration, individual charcuterie boards add a touch of elegance and thoughtfulness to your table.
Free Email Series
Tips & tricks to achieve the most delicious cookies of your life!
What is a Charcuterie Cup?
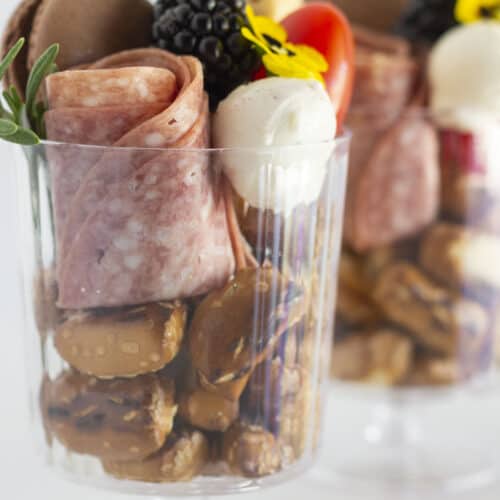
A charcuterie cup is a combination of select meats and cheeses that are accompanied by foods that pair well with them and served in an individual cup.
Oftentimes those items include crackers, fresh fruit, olives, vegetables and nuts. Unlike a traditional charcuterie board, each guest gets their own individual servings and they are portable. They are perfect for the holiday season.
How to make Individual Charcuterie Cups
You can choose to make a mini charcuterie board for each person or create a charcuterie cup for everyone.
It should be full of colorful and delicious items but the food needs to be smaller in size. It is especially wonderful to use a combination of savory and sweet foods with a variety of textures.
Going with food that is in season ensures that everything will taste amazing and be affordable.
What you’ll need to make Charcuterie Cups
Meats
A variety of meats is normally the way to go but in a mini cup there isn’t much room and most often they are for one person. Choose a single serving of either sliced salami, prosciutto or pepperoni. You can also go with deli meat like turkey or ham.
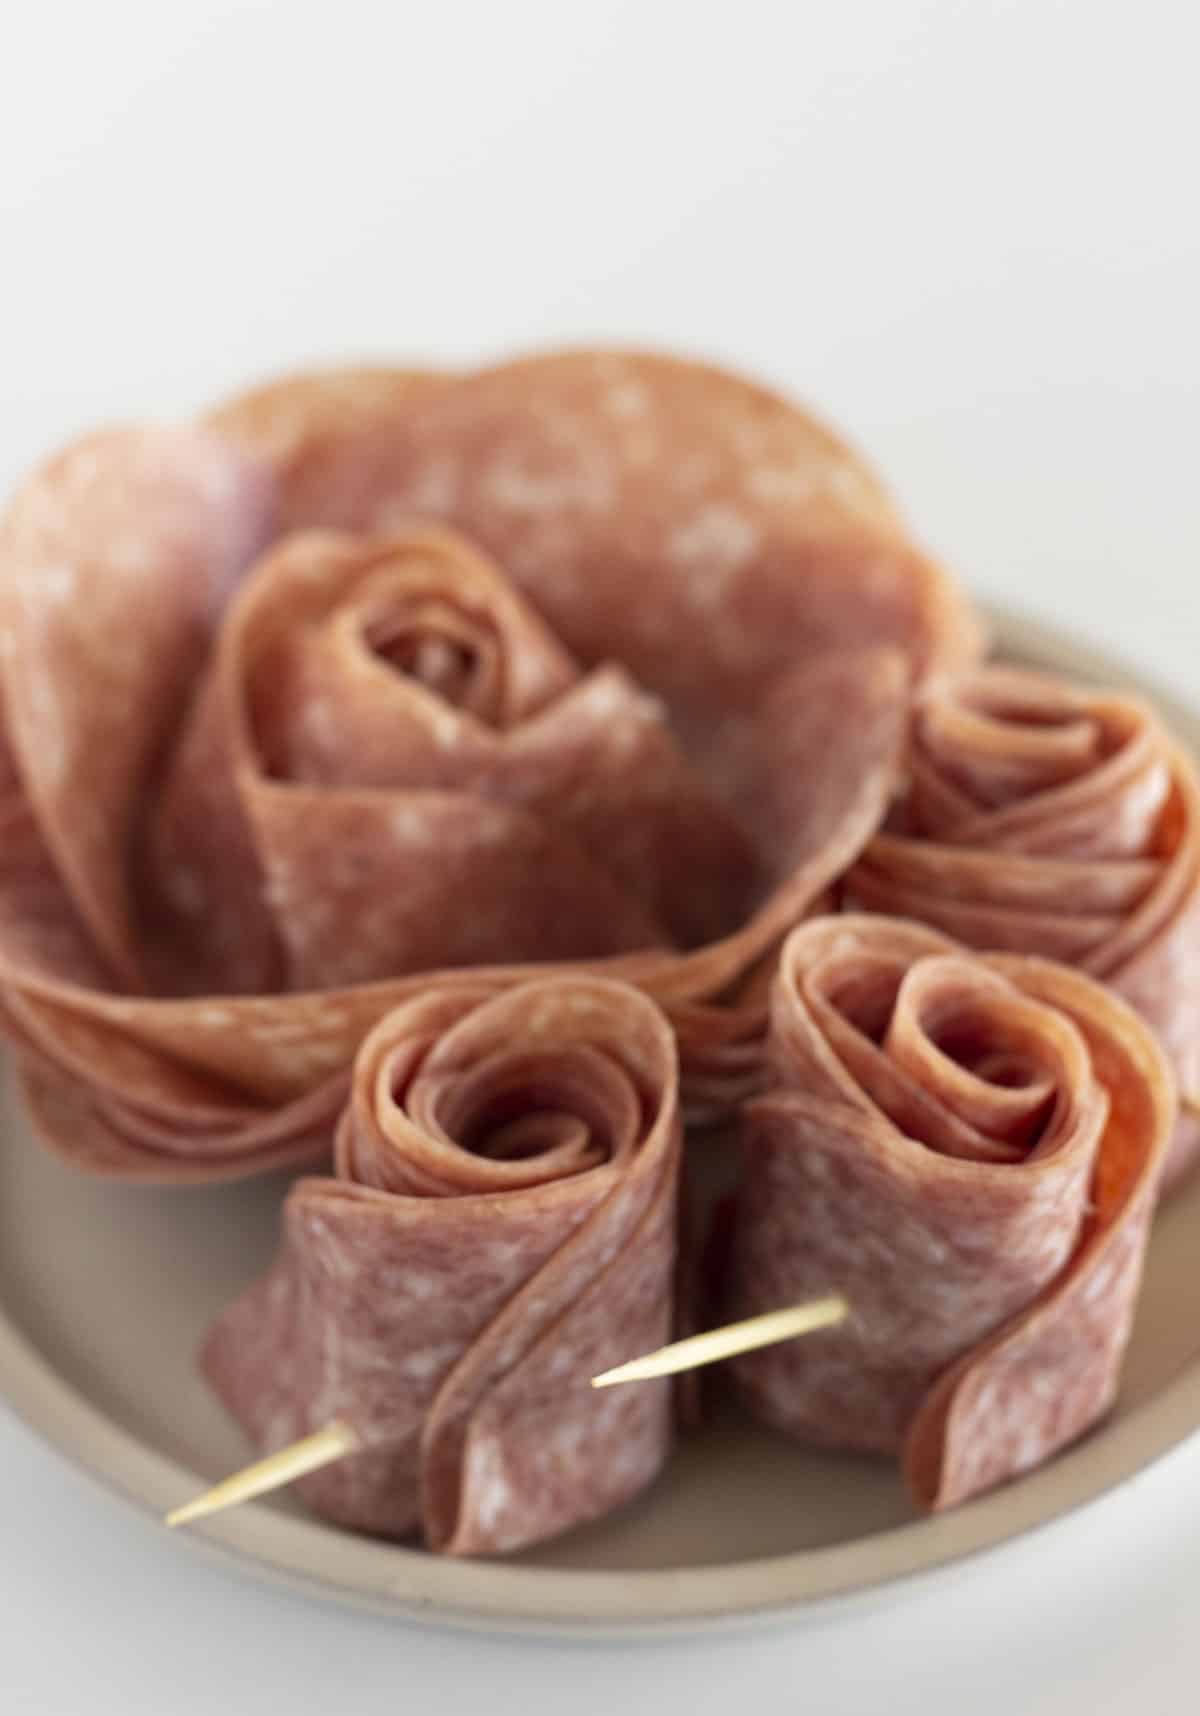
Transforming the meat into a small salami rose is a wonderful way to elevate the end result. Let me show you two ways to make salami roses here.
Cheese
Go with a variety of different types of cheeses. Normally 2-3 cheeses are used on a charcuterie board but easy charcuterie cups work best with one serving of cheese.
Cubes of pepper jack or cheddar cheese are a great option. Mini mozzarella balls are my personal favorite. Place a few mini cheese balls on wooden skewers to give them height.
Crackers/Bread
A typical charcuterie board always has a variety of everyone’s favorite crackers. Choose a cracker that goes well with both the meat and the cheese.
You could also use sesame breadsticks, cheese twists and parmesan crackers or other tall components.
Fruit
Start with seasonal fruits cut into small portions or are naturally small in size. Items like cherries, red grapes, berries and cut apples work well because they are smaller items and only take up a small portion of the cup. Of course you could always use dried fruit which is easy to find all year long.
Vegetables
Using garden-fresh veggies from a farmers market or the local grocery store is great because everything you find will be ripe and ready to use.
Use smaller sized veggies like baby carrots, grape tomatoes and cucumber slices. They also add a gorgeous pop of color.
Additional Savory Items
Use a combination of nuts, like spicy almonds or pistachios. Everyone also loves black olives and mini pickles. Think about different textures and choose snack food that goes together well.
Sweets
It is always nice to add something on the sweeter side. Make life easier and go with store bought treats that everyone will love. Small candies and mini cookies are a great addition.
If you would rather make your cookies instead of purchasing them, make a batch of these Mini Chocolate Chip Cookies!
Finishing Touches
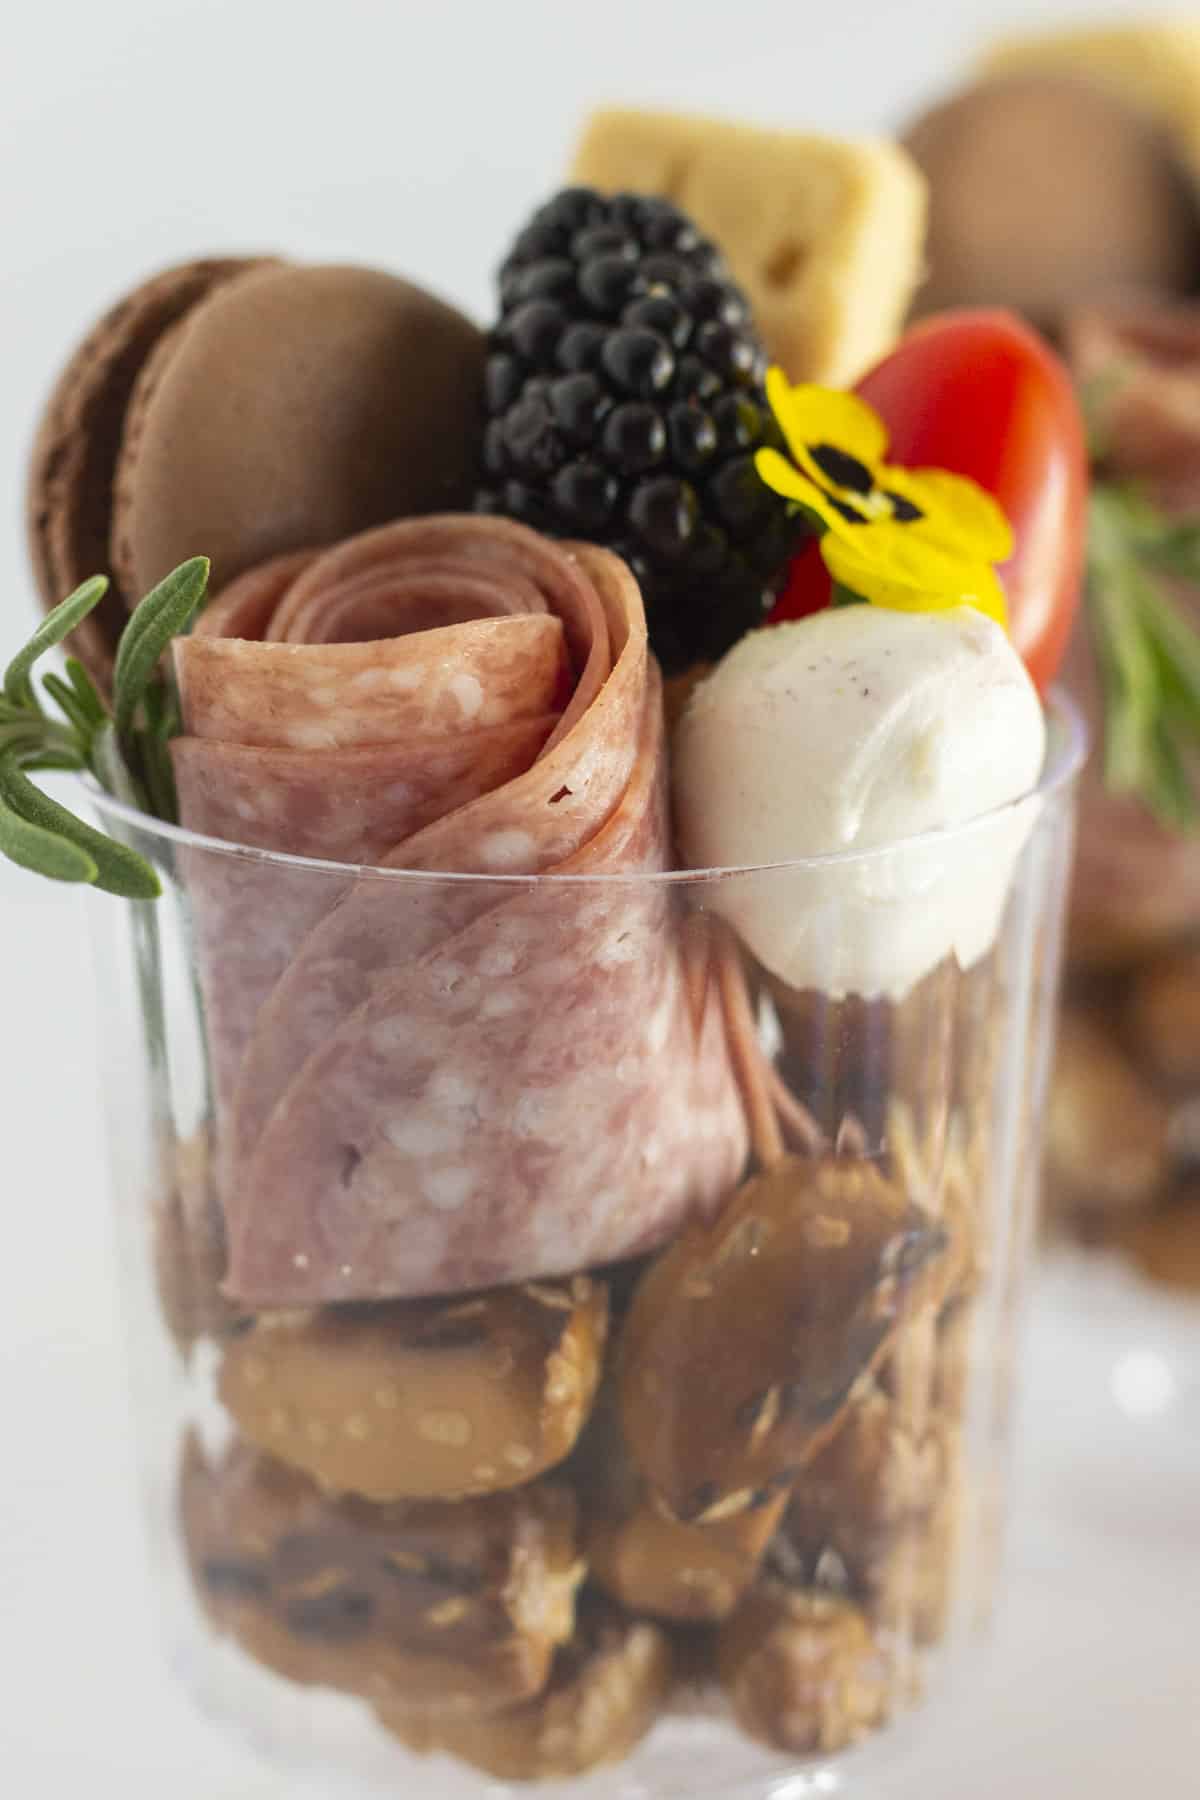
Using edible flowers and fresh herbs are a fun way to add just the right finishing touch for perfect mini charcuterie cups. I love adding a rosemary sprig.
Easy Charcuterie Cups Tips
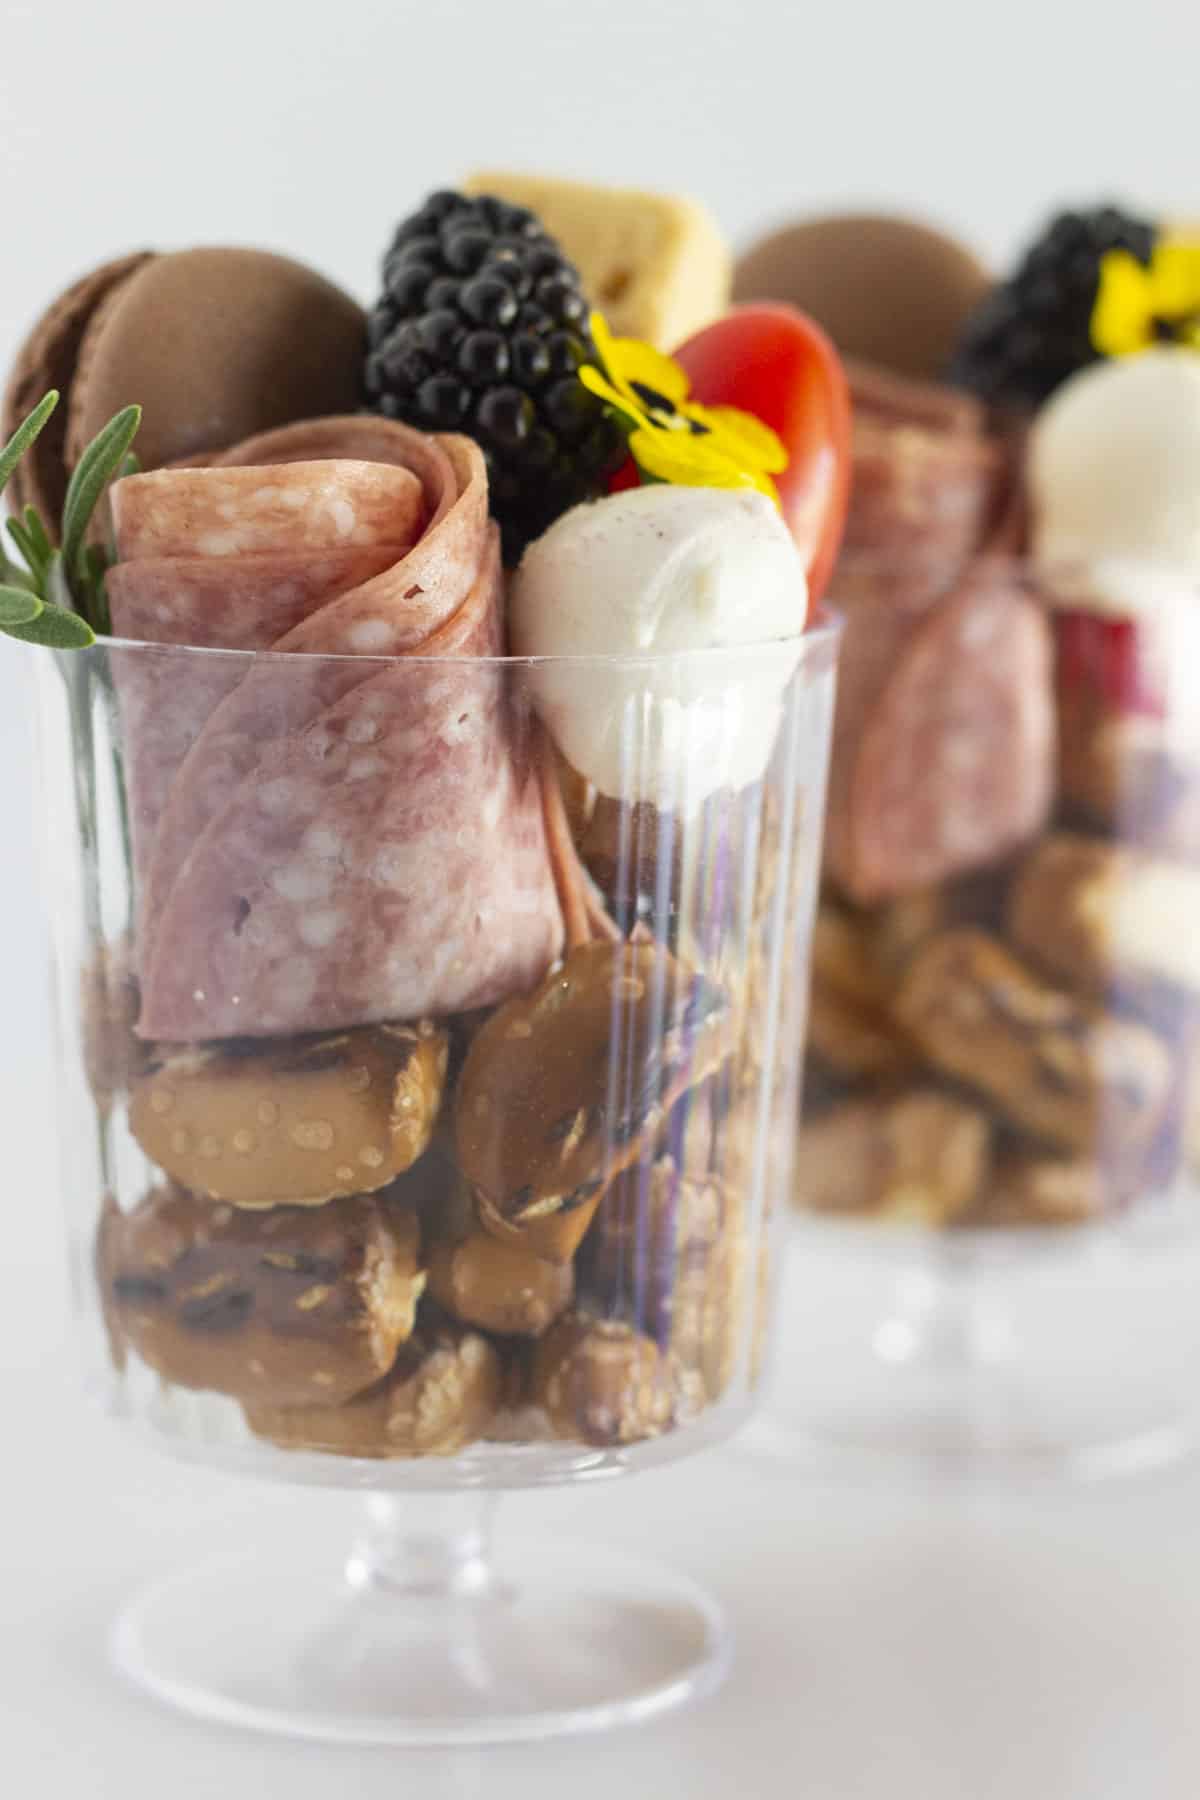
- Get creative with the cups you choose. A small jar, acrylic cups and a paper cup all work great. Individual cups around 9 ounces in size work well because they have enough room for a good serving size. Note: The cups used in these photos are from the Dollar Store.
- Keep the size of every item small. The foods shouldn’t be too large because you want to be able to add an abundance of foods into each cup and not just a couple items.
- Always fill the bottom of each cup with an edible filler. Items like green grapes, almonds and pretzels are a great starter.
- Have a combination of fresh and shelf stable items. Doing a combination of both foods gives you more flexibility. Additions like crackers and nuts can be bought ahead of time and will last long after.
- Go back and add in smaller foods like nuts to fill in any empty spaces. To get a lush and gorgeous mini charcuterie cup it should be full.
FAQs
I do not recommend making the cups the night before because some items could get soggy or lose integrity. However, you can have each individual food prepped and ready to assemble before serving.
Everything should be stored in an airtight container or covered tightly in plastic wrap.
Heavier items that help to fill the cup work best. I suggest pretzels, grapes, nuts and dried fruit.
The truth is that you can serve them anytime. Add them to your menu for special occasions. Serve at baby showers, bridal showers or your next party.
Do you love charcuterie? Try these..
Enter your email below and I’ll send it directly to your inbox!
How to make Easy Individual Charcuterie Cups
Ingredients
- 1 ounce cured meat {or deli slices}
- 1 ounce cheese {small pieces work best}
- 1 ounce crackers
- ½ ounce ripe or dried fruit
- ½ ounce fresh vegetables
- 2-3 large olives {black or green}
- 1 mini pickle
- 2 Tablespoons candy or a small cookie
- fresh herbs and edible flowers
- ¼ cup grapes, pretzels or nuts {for the bottom of the cup}
Instructions
- Add the ¼ cup of grapes, pretzels or nuts to the bottom of your cup as filler.
- Take any longer foods {like crackers} and tuck them into the back of the cup. Then add the meats and cheeses {place them on wooden skewers so you are able to stack items}.
- Finally, go back with the fruits, vegetables, olives and pickles. Place them in areas that are not full. Go back with small candies or nuts to fill in space. Top with a sprig of fresh herb and/or edible flowers.
Notes
- Get creative with the cups you choose. A small jar, acrylic cups and a paper cup all work great. Individual cups around 9 ounces in size work well because they have enough room for a good serving size. Note: The cups used in these photos are from the Dollar Store.
- Keep the size of every item small. The foods shouldn’t be too large because you want to be able to add an abundance of foods into each cup and not just a couple items.
- Always fill the bottom of each cup with an edible filler. Items like green grapes, almonds and pretzels are a great starter.
- Have a combination of fresh and shelf stable items. Doing a combination of both foods gives you more flexibility. Additions like crackers and nuts can be bought ahead of time and will last long after.
- Go back and add in smaller foods like nuts to fill in any empty spaces. To get a lush and gorgeous mini charcuterie cup it should be full.

