This post may contain affiliate sales links. Please see our full disclosure policy for details.
It is March! I know I have said this before but seriously…where does time go? We are in our third month of the new year and I feel like it has only been a few days. I can’t let the month of March come and go without posting a few St. Paddy’s day recipes. In Lakeview {the town where I live} it is a big deal. We dedicate an entire weekend for fun festivities that include things like potato hockey and outhouse races. Although the traditional Corned Beef and Cabbage is super tasty, I thought I would share my recipe for Cheddar & Chive Mini Soda Bread.

I love this recipe because it is so simple but also because they bake up quickly. Normally you would shape the bread into a large round loaf but I have divided it up to make the process quick. They are a lot like a biscuit in shape but the texture is a little different. Plus, when you add cheddar cheese and chives to anything…you automatically make it extra delicious.
Serve them with Shepherd’s Pie Skillet or this Brat and Potatoes Sheet pan meal for the ultimate comfort food.
Cheddar & Chive Irish Soda Bread, Step by Step-
Begin by combining the dry ingredients into a large bowl. You can sift them or whisk them together like I have done here.

The next step is the addition of the cheddar cheese and chopped chives. Isn’t it beautiful!
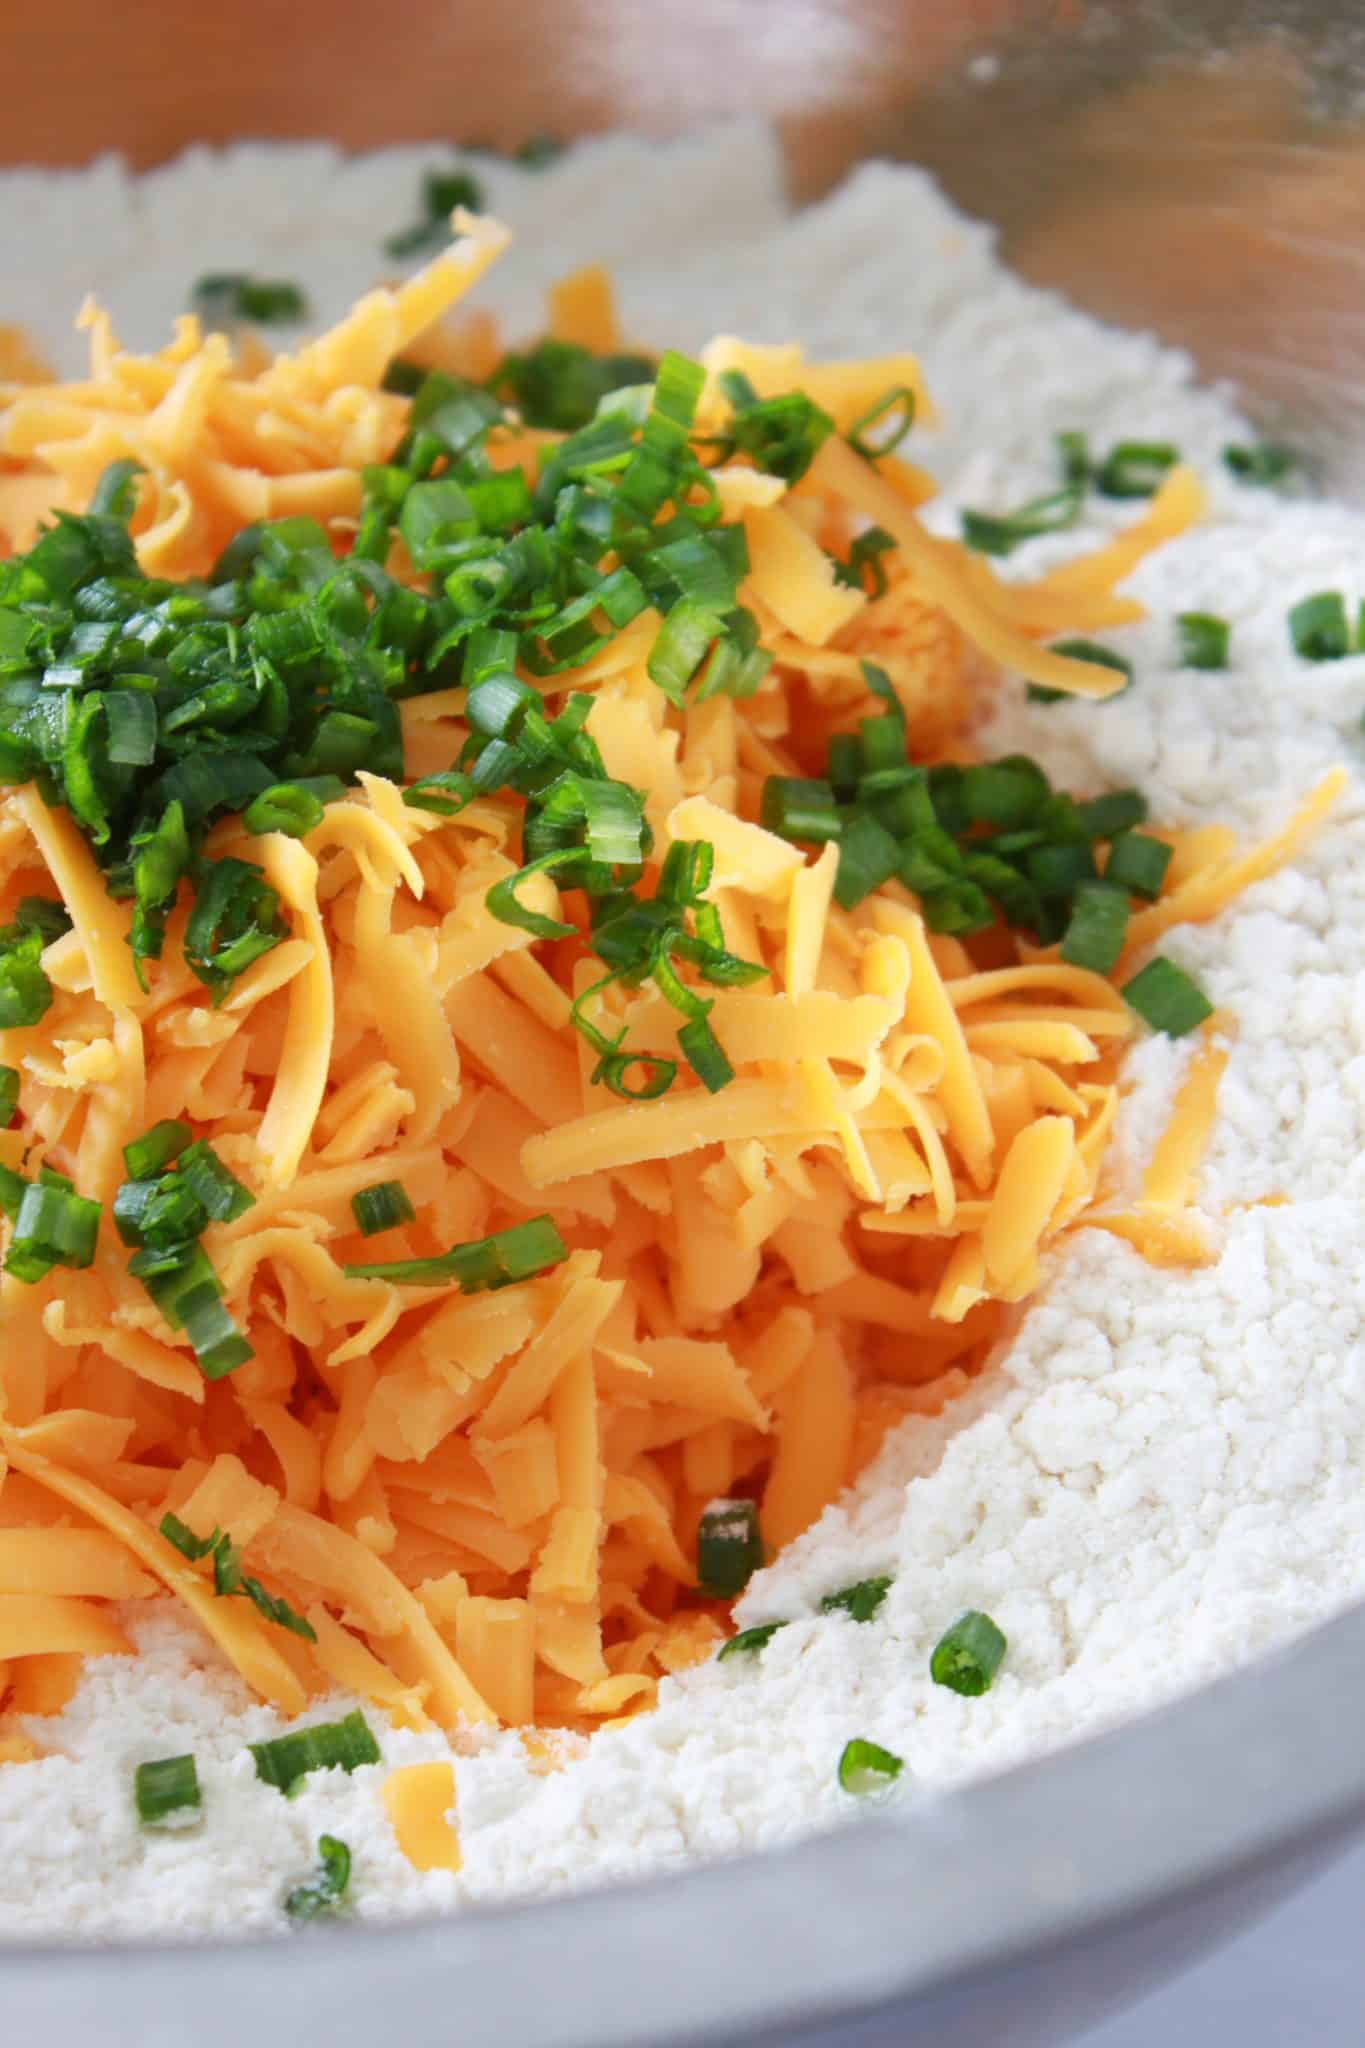
Combine the cheese and chives into the dry ingredients and then add the milk.

The mixture will come together into a large ball of dough. It shouldn’t be too wet but you may have to add a little additional milk to get the correct consistency.

Divide the dough into 8 equal pieces and then mold them into small rounds. Again, kind of like a biscuit but you aren’t rolling out the dough or cutting them out.

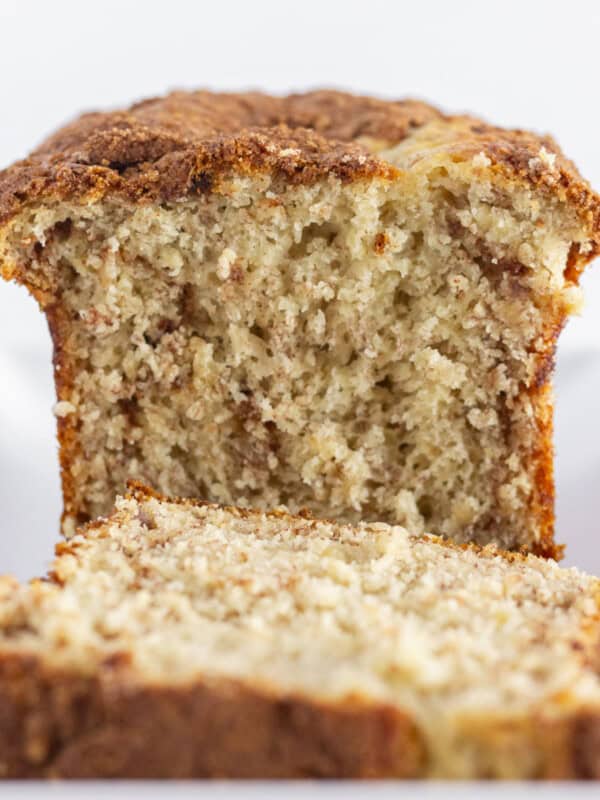
Bake the bread at 400 degrees for 20-25 minutes. When you remove them from the oven, spread a small amount of butter over the top of each bread. Look at how wonderful the inside of the bread looks. So divine.

Why Mini Soda Bread?
The traditional soda bread is a large loaf but that can take an hour or more to bake. By dividing the dough into smaller {and more adorable} bread, the bake time is cut in half. That means your bread is on the table faster. I also find it really nice to have individual servings for everyone.
I served them with a seasonal Stew but they would be wonderful as a side for almost any meal.


Cheddar & Chive Mini Irish Soda Bread
Ingredients
- 3 cups all-purpose flour
- 2 tbsp granulated sugar
- 1 tsp baking soda
- 1 tsp salt
- 2 cups cheddar cheese {shredded}
- 2 tbsp chives {chopped}
- 1 1/4 cup milk
- 2 tbsp butter {softened}
Instructions
- Preheat oven to 400 degrees. In a large bowl combine the flour, sugar, baking soda and salt. Whisk or sift ingredients together. Add shredded cheese and chopped chives to the dry ingredients and combine. Pour in milk and stir into dry ingredients until you have a soft dough {you may need to add a tablespoon or two of extra milk}. Divide the dough into 8 equal pieces and shape them into small rounds {they will resemble biscuits}. Place rounds on a parchment or Silpat lined baking sheet and bake for 20-25 minutes or until bread is golden brown and cooked through. Spread a small amount of butter onto each warm bread when you remove from the oven. Serve warm or store in an air tight container at room temperature for up to 3 days. Note: They would also freeze well for up to 3 months.
Nutrition
Nutrition information is automatically calculated, so should only be used as an approximation.


I made these for brunch and they were a hit!