No Bake Cheesecake Waffle Cones Recipe
Today I have a super fun and over the top delicious treat for you! I think we can all agree that cheesecake is awesome. It is especially wonderful in a no bake version because it is so easy but have you ever thought about serving no bake cheesecake in a waffle cone? Yes, you heard that correctly. No Bake Cheesecake Waffle Cones! A cross between cheesecake and an ice cream cone, I think these Cheesecake Cones might just be the next BIG thing.
Do you love waffle cones? Try this Drumstick Ice Cream Pie!
Free Email Series
Tips & tricks to achieve the most delicious cookies of your life!
No Bake Cheesecake Filling served in a Waffle Cone
Honestly, thinking of cheesecake in this new way has me so excited. Not only are Cheesecake Waffle Cones delicious but the fact that they are totally portable is pretty amazing too.
I can imagine all of us serving these cheesecake filled cones for special occasions and holidays. All one would have to do is set out the cones {dipped is even better} and cheesecake, maybe even with toppings.
Then friends and family can create their own Cheesecake Cone that will fit their tastes exactly. Summer dessert just got exciting again and I for one can hardly wait!

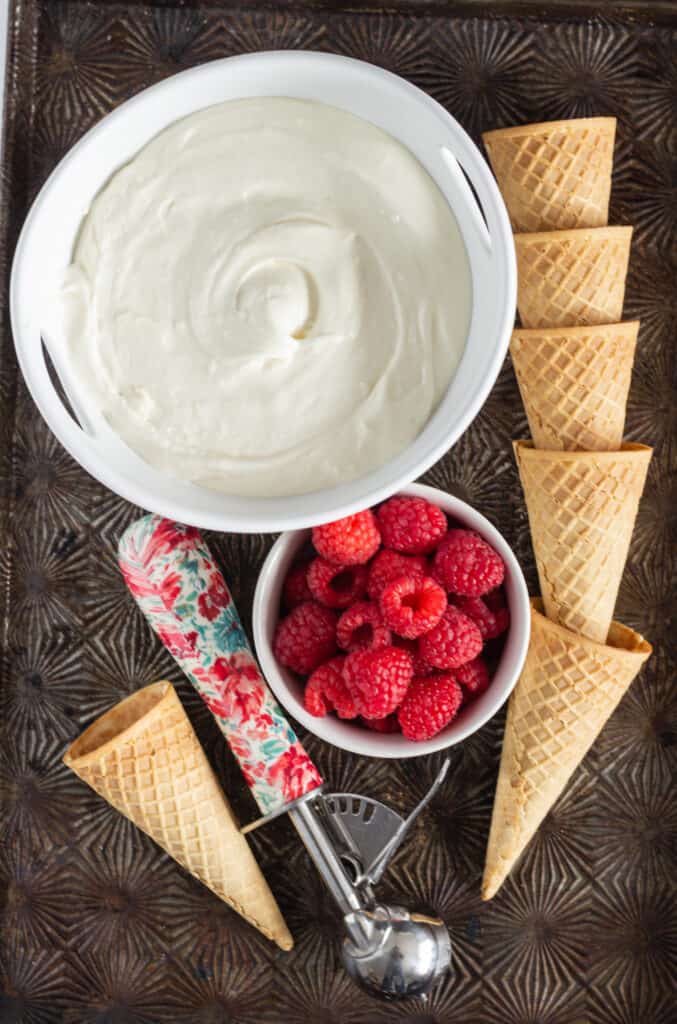
Ingredients Needed for your Cheesecake Waffle Cones
- Cream Cheese-Be sure that you are using the full fat version, using a low fat cream cheese won’t give you the thick rich filling you go crazy for.
- Sweetened Condensed Milk-The perfect ingredient for adding sweetness and creaminess to a no bake cheesecake filling.
- Whipped Topping-It is important that you fold the whipped topping into the filling so that you don’t lose the airy texture.
- Waffle Cones-The varieties are endless! There are mini cones, large cones and even different flavored ones.
How to make Cheesecake Cones
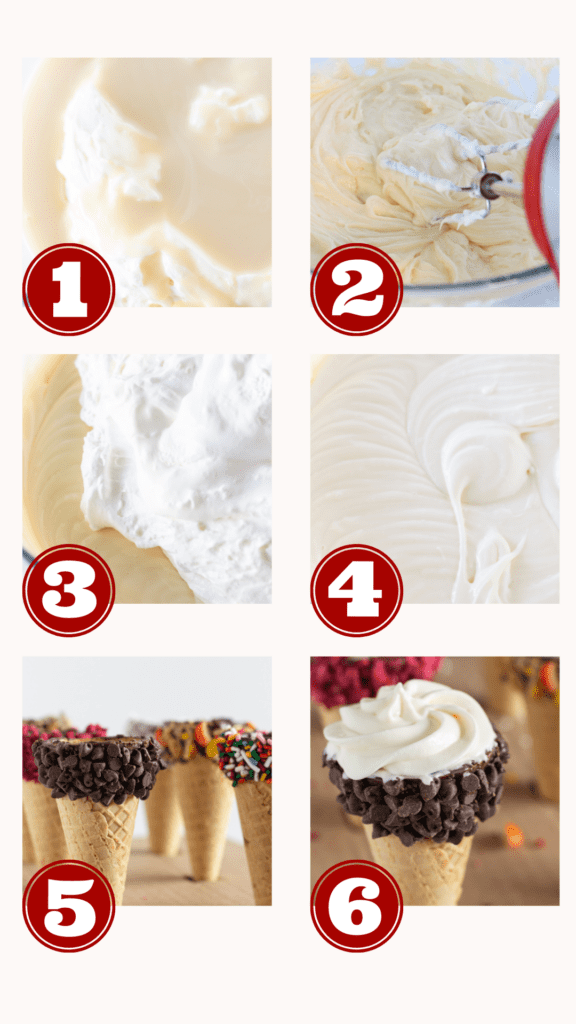
- Add the softened cream cheese to a bowl and use a hand held mixer to mix it until the cream cheese is smooth. Once smooth, add the sweetened condensed milk.
- Continue to mix using the hand held mixer until you have a smooth mixture.
- Finally, add the whipped topping to the mixture and slowly fold it into the cream cheese and sweetened condensed milk.
- Place the cheesecake mixture into the refrigerator for at least 2 hours or until it is set up.
- Gather your waffle cones. It is a great time to dip them if you would like to.
- Fill the waffle cones with the no bake cheesecake mixture, eat and enjoy!
Top 4 Cheesecake Cone Tips
- Use room temperature cream cheese for the cheesecake. This will ensure that the cheesecake filling will be creamy, smooth and free from any lumps.
- Allow the filling to refrigerate for at least 2 hours before filling the cones. Chilling the cheesecake filling is important because it will allow the filling to set up nicely.
- Decorate your cones. You can always serve the cheesecake in a simple waffle cone but a little edible decorations around the edge of the cone will really give these No Bake Cheesecake Cones a beautiful touch.
- Set all of the ingredients out and let your guests build their own Cheesecake Cones.
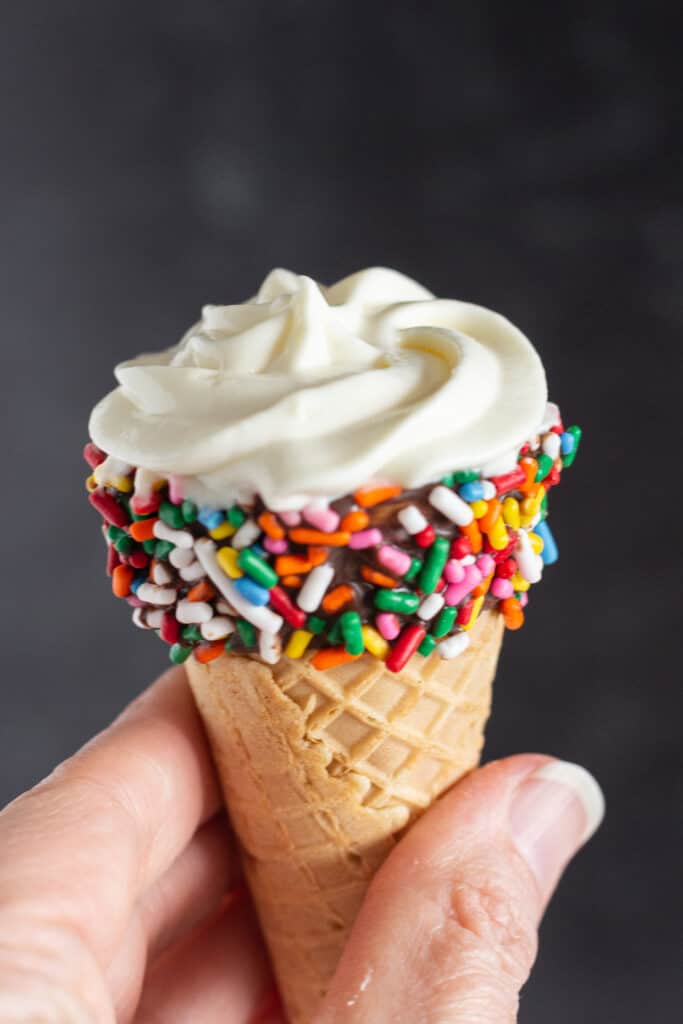
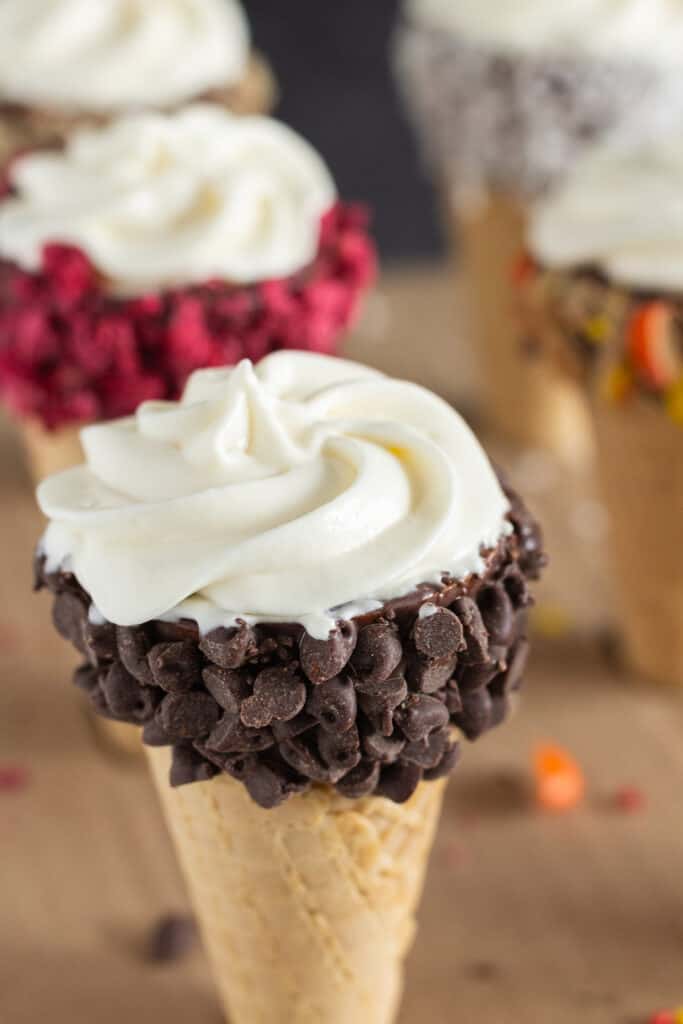
Ideas for Dipping your Cheesecake Waffle Cones
Putting the No Bake Cheesecake into a waffle cone is amazing but adding it to a dipped waffle cone takes it to the next level. A bit of chocolate and a sprinkling of delicious ingredients make this dessert super tasty. Here are some great ideas.
- Sprinkles-I have used rainbow sprinkles but use whatever you have on hand.
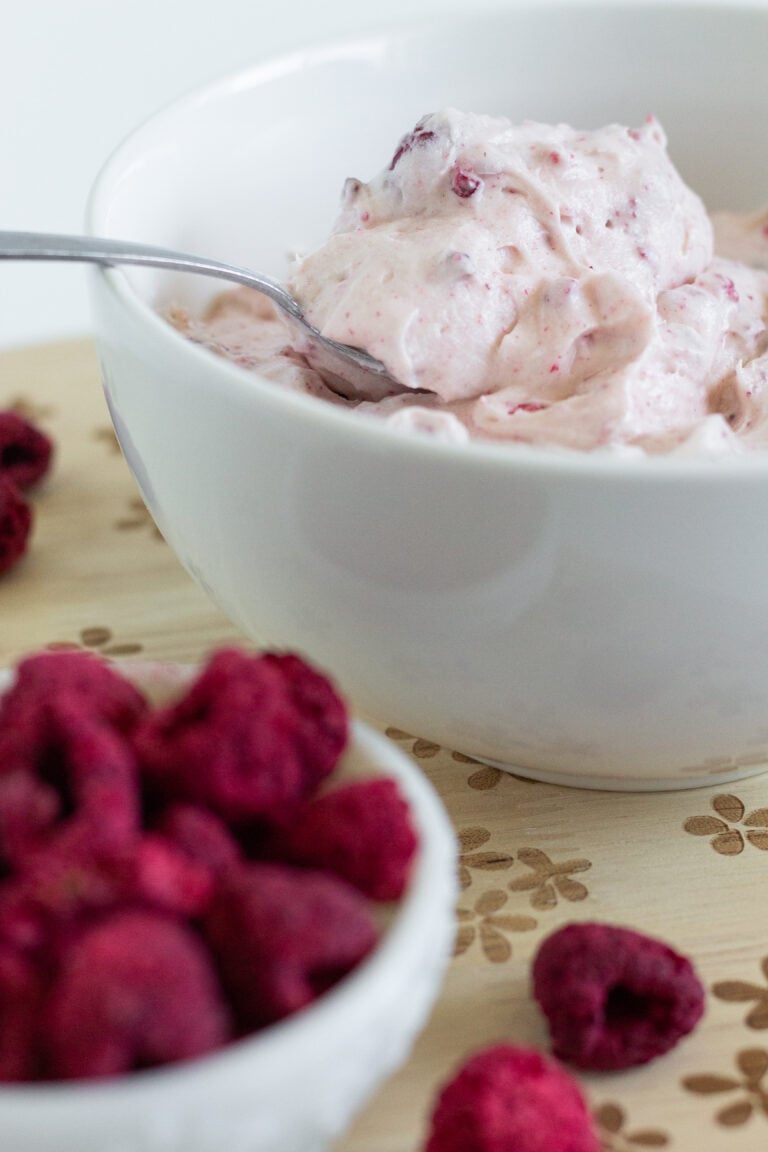
- Freeze Dried Fruit-The raspberries are so awesome but there are a variety of freeze dried fruit that would work great.
- Candy-Almost any kind of candy would be wonderful. Just be sure to chop it down into bite sized pieces.
- Coconut-Sweetened coconut was delicious but toasted coconut would be great too.
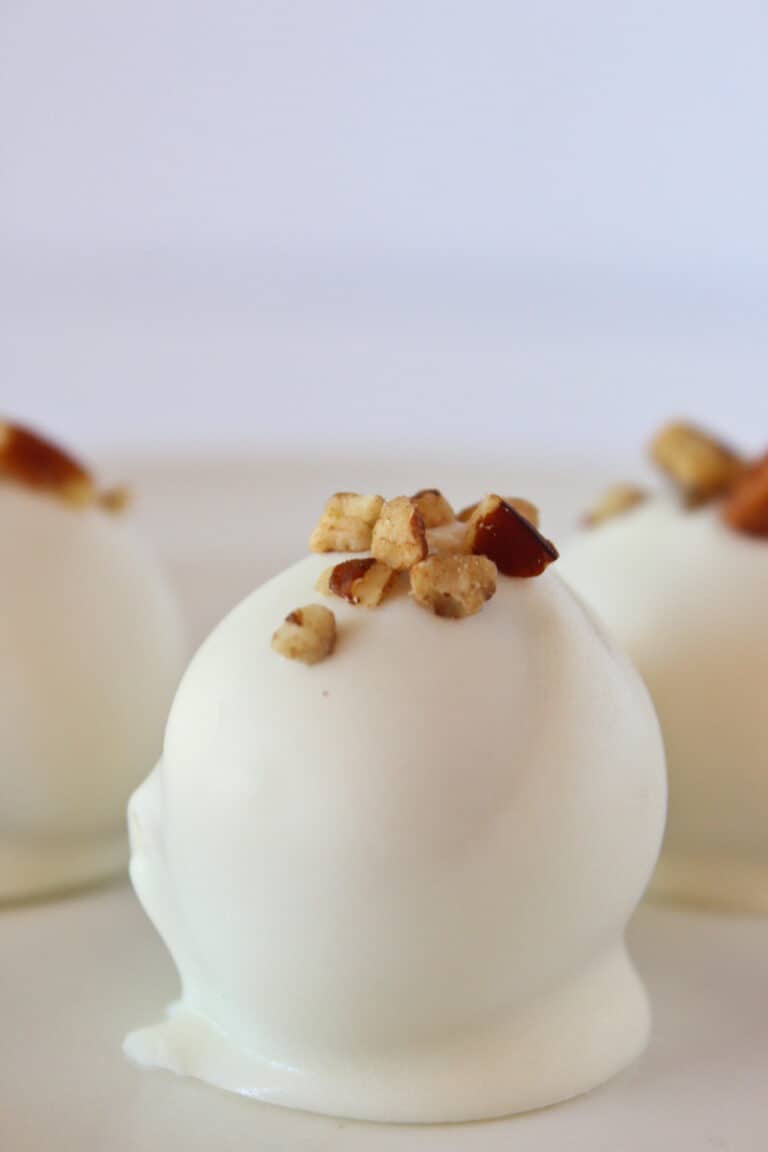
- Chopped Nuts-Any variety of nuts that you like give the dessert an amazing sweet and salty flavor.
- Mini Chocolate Chips-There could never be enough chocolate…right!?
- Pretzels-Chop them up for an extra special taste.

Can I make Cheesecake Cones ahead of time?
Yes, you can. In fact, you can do it a couple of different ways. First, you could completely assemble the cones and refrigerate them until they are ready to be eaten. They should be good for about 24 hours. This holder is perfect for keeping them upright.
If you want to make them farther ahead than that, you can make the filling and gather the cones without assembling. The cheesecake filling will keep in the fridge for up to 3 days this way. Then you can assemble before eating or create a cheesecake cone bar.
Can you use any kind of No-Bake Cheesecake filling?
Absolutely! I have a handful of amazing no-bake cheesecake fillings that would be so delicious inside of a waffle cone.
You could try the Oreo No Bake Cheesecake, Cookie Butter No Bake Cheesecake, Pina Colada Cheesecake filling, Cookie Dough No Bake Cheesecake or even just serve it with fresh fruit as a topping.
Do you love No Bake Cheesecake? Try these awesome recipes…
- Golden Oreo No Bake Cheesecake Recipe
- Cookie Butter No Bake Cheesecake Recipe
- No Bake Raspberry Cheesecake Recipe
- No Bake Margarita Cheesecake Recipe
- Caramel Apple No Bake Cheesecake
- Easy No Bake Strawberry Cheesecake

No Bake Cheesecake Cones Recipe
Ingredients
- 12 waffle cones
- 2 8 ounce cream cheese {at room temperature}
- 1 14 ounce can sweetened condensed milk
- 1 8 ounce tub whipped topping
Instructions
- Mix cream cheese with a hand held mixer {or stand mixer} until creamy and smooth. Add sweetened condensed milk and continue to mix hand held {or stand mixer}. Finally, add the whipped topping and fold into the cream cheese mixture until combined. Refrigerate for at least 2 hours or until the filling is set.
- Add the filling to each cone using a spoon or pipe it into each cone. Serve and enjoy. Refrigerate any leftover filling for up to 3 days or cones for up to 24 hours.
Notes
- Dip the cones in chocolate and fun ingredients like sprinkles, mini chocolate chips, candy, chopped nuts and freeze dried fruit for an extra special treat.